
Lucas car horns as originally supplied sound pretty good. The problem with original horns is that time is generally not kind to them. Usually car horns are right up front. In the case of spridgets, they are always just behind the grill where they are exposed to the elements. Commonly, the electrical terminals simply snap off. Other times there is enough corrosion inside the units that they simply stop working. In the case of horns where the only thing wrong is that the terminals have snapped off, they are easy enough to fix. The horns that came with my car are each made of two aluminum castings, a stamped steel top case, a metal diaphragm sandwiched between the upper and lower case, a coil, and some contact points (more on those later). The two aluminum castings are press fit together.
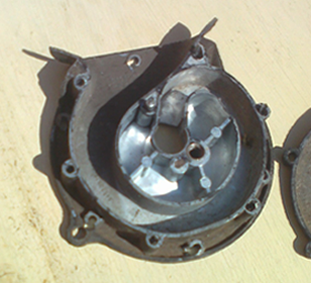
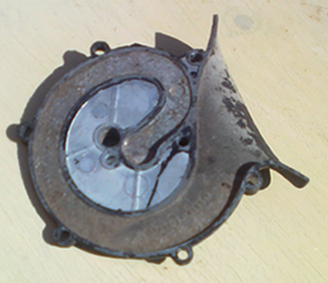
There really is no reason to ever separate the two castings, nor is there any way to permanently rejoin them. I did this with a horn that had already proved unsalvageable. Still it is interesting to see the insides. The castings for the high note horn are different from the low note horn. The diaphragms likewise differ. If you were to tap each diaphragm on a table you would hear a slightly different pitch.
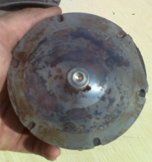
The diaphragm btw, is a metal disk with a magnet in the middle and a ring around the magnet that presses against the points to open them. The unit operates on the following cycle. When you press the car horn button, it closes the circuit and activates the coil in the top cover of the horn, this attracts the magnet on the diaphragm and pulls the diaphragm towards the coil. This opens the points, breaks the circuit and the diaphragm snaps back to its original shape and closes the points (and the cycle continues until you release the horn button). The points are adjustable and it is possible to do this without taking it apart by using the adjusting screw near one of the terminals on the top cover.
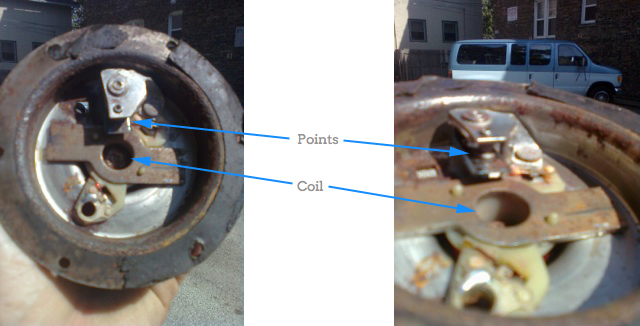
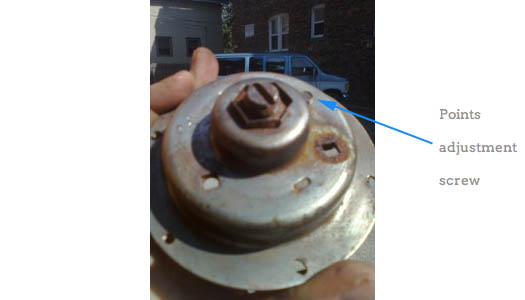
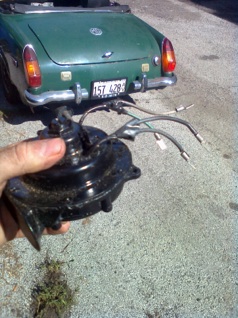
The top cover is held onto the bottom castings with rivets. All you have to do to break them apart is drill them out. This really is the only way to repair broken terminals. I have tried soldering onto the rivets on the outside terminals, but solder doesn't stick to them. Instead the best thing to do is drill some holes in the steel cover for some wires, solder some wires to where the old contacts used to connect on the inside. The points adjustment screw should be totally slacked off at first and then tighten until the points just start to open and then back off slightly. A test light or electrical multitester can help you find the spot where the points are just starting to open. Seal up all the holes in the top cover (especially around the wires) with black silicone, make gaskets for between the cover and the diaphragm, then pop rivet the whole thing back together. Solder some male spade connectors on the wires, paint it black, and test by touching the leads to the car battery.
When you have both horns working at the same time, it will sound like this. I don't know for sure what the moss replacements sound like. I also know that the earlier horns featured on bug eyes and some early midgets also likely sound different.
~ Seth