
Installation was a snap. Although a brand new distributor clamping plate was included with the 100AYV, I opted to simply reuse the one I already have simply because I didn't care to take the extra time and effort to replace it. Anyway, it's always good to have a spare handy should any trouble arise later. All In all installation is little different than the basic removal and refitting of any distributor. just slacken off the clamping plate bolt, disconnect the low tension lead, the high tension lead, and all the spark plug wires, and the old unit slides right out.
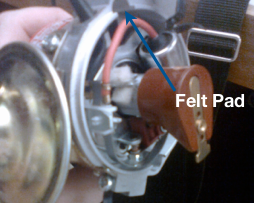
As the Haynes manual says, "Installation is the reverse of removal" or something like that. Still, in my experience installation is slightly more complicated because installation requires ignition timing, and connecting the wires up right. But, before you do anything else, take the distributor cap off and put a few drops of oil on the felt pad that wipes the cam (see picture). Assuming that your distributor drive dog gear was properly installed and is oriented correctly, the vacuum unit should be "pointing" almost straight up. The distributor rotor rotates counter clockwise, and the lead on the distributor cap closest to the number one spark spark plug goes to the number one spark plug. As always the cylinders are conveniently numbered front to back (thats 1 in the front by the radiator, and 4 in the back by the battery tray). 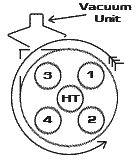 In short, the diagram on the right shows how it should be connected, and how it should look when installed (vacuum unit pointing up). Not shown is the low tension lead wire which comes out the side of the unit, and is almost but not quite long enough to reach the low tension lead on the coil all by itself.
Next we have to time it. Aldon Automotive includes a sheet for recommended static timing based upon compression ratios and cams, but my cam wasn't listed, and I am not sure of what compression ratio my engine has at the moment. If you have read about the engine rebuild on my car, you probably know that the head and block had to be resurfaced. Apex Engineering tells me that alone shouldn't affect the compression much, however, I did use pistons that were slightly less dished than stock. The compression ratio might be 9.5:1, so I used the suggestions for the 10:1 compression ratio.
In any case, unless you are using something near a full race cam with an 11:1 compression ratio, Aldon's figures are more or less the same as stock. Aldon may well be right that for best results, fine tuning the settings on a rolling road is essential. However, thats expensive, so I'll have to see what can be done on my own with more primitive tools. What should be done on a tight budget is dynamic timing at full mechanical advance.
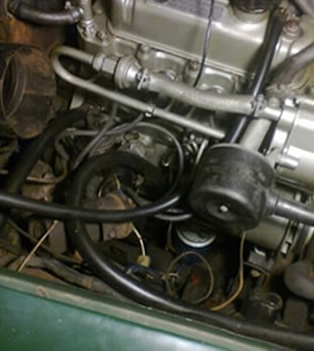
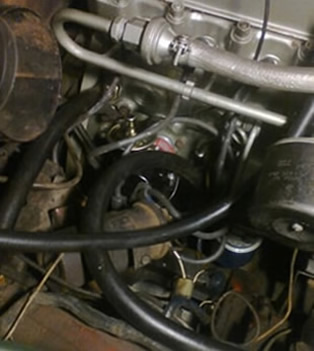
In the end, you can just barely notice a difference between the way the engine bay looked before, and the way it looks now. As soon as I have it timed properly and the snow outside melts, I'll give my initial impression of how it affected performance.
~Seth Jones
 |
 |
|
|