
The last time I bought anything from Victoria british was some years ago when I didn't know any better. Parts often came that could work but required some modification. The gas pedal for example was drilled the wrong way so that I had to drill two new holes in the thing just to get it bolted onto the floor of the car! Anyway, I remember having sunvisors in the car when I was a kid and i wanted to put them back on the car even though I also remember my Dad saying that he thought sun visors were a generally bad idea and that if he were king of the world he would have them all banned.
So I started looking trough catalogues and i tried ordering them from Moss UK, They told me that they were on backorder. Moss USA didn't even list the part, and Victoria British seemed like the best choice for the sunvisor kit. It arrived in a big (and i do mean ginormous) box that was marked "seat foams". Inside was a huge pile of packing peanuts and a long brown box that probably would have been ok to use as a shipping container all on its own.
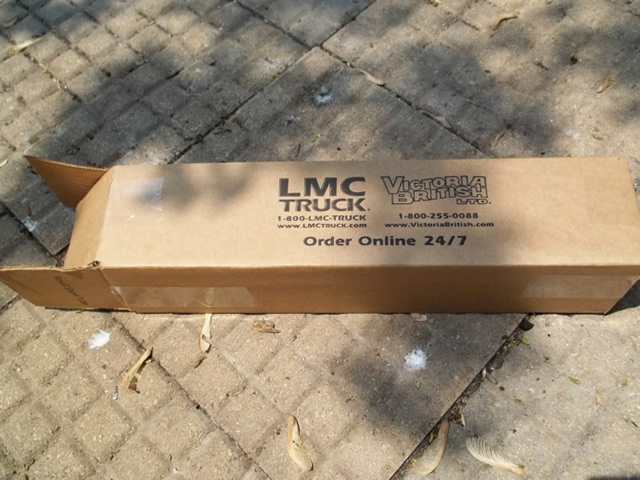
They made certain that the kit was complete. Ill use the original factory parts numbers to give you a list of what is included in the kit. You get one CHA709 RH sun visor, one CHA710 LH sun visor, two CHA708 pivot brackets, two AHH9838 stay brackets, two AHH8799 spherical washers, two AJD7721 thackery washers, two GHF220 #10-32 nylock nuts, and 8 AHH7138 rivets.
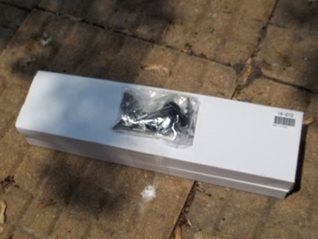
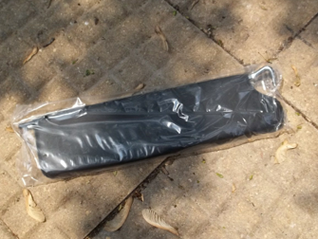
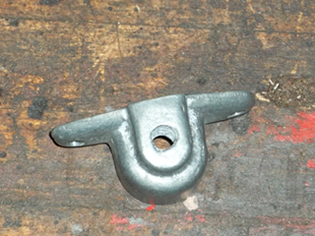
No instructions were included so I was a bit in the dark as to how the whole thing was supposed to fit together. However, Moss Europe has a wonderful diagram in their catalogue (page 216 in the hard copy) that explains how it all it was supposed to go together. The first thing you are supposed to do is put the spherical washers on the visors, then put the visors in the pivot brackets, then put the thackery washers in the pivot brackets, and then the nylock nut. I guess having the spherical washer running in a counterbore gives the visor a little more flexibility as far as where you can move it. The first problem I noticed was that the pivot brackets were not counterbored from the top as per original.
 |
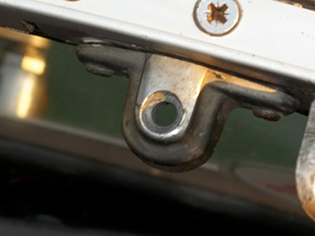 |
Unless the pivot brackets are counterbored, it is impossible to get the nut to thread on the sun visor with the thackery washers in place, never mind the spherical washers. I didn't have a drill bit the right size so i headed off to the MGA guru's house to see if he could be of assistance. He drilled out the counterbore and got one side assembled, but he didn't have the right size pop rivet gin so after drilling out all the rest of the old pop rivets I thanked him and went home. We did leave the original pivot bracket in place thinking that it should work fine. On the way i picked up a pop rivet gun for about 15 bucks at Autozone and finished installing the drivers side (omitting the spherical washer because that seemed to keep anything from threading), it was dark and I don't really have a garage so I decided to finish the next day.
So went back at it the next time I had the chance. Getting the nut to thread on the sun visor with a thackery washer in the way and the pivot bracket already installed isn't easy. I used a nut driver with a socket I stuffed full of paper (just enough to get the nut to stay flush with the end of the socket so I could compress the thackery washer). Unfortunately, it turns out that there is another problem with the Victoria British kit, the threaded portion of the sun visor isn't long enough to use with the factory counterbore depth, even without the spherical washers. With the brackets counterbored far enough to get it installed, you still have to omit the spherical washers which eliminates some flexibility. When you try swinging them over to the door to block glare coming from your side, it tends to point down slightly and there really isn't any way around it. When someone comes out with better CHA709 and CHA710 visors, i may want to try installing those. Until then i will keep them in their stay brackets.
I should also mention that installing the stay brackets with a pop rivet gun is tough and you may find that the holes on the windscreen need to be reamed out a tiny bit before they can accept the correct size rivet. The hard part is getting the rivet gun jammed deep inside the rubber stay bracket so that the gun can work its magic. I had to make a few attempts before I figured out that you really have to stretch the bracket over the gun to get it to function, and then you need to press the gun into the windshield with one hand while you squeeze the handles with the other.
-Seth 6/5/2011