
Tom Smith of Windsor Wisconsin (aka tomshobby on the MGExperience Forums), has written the following instructions for installing a headlight relay wiring harness sold by Victoria British. They are used with permission.
Now in general I have not always been especially thrilled by the quality of parts sold by Victoria British, but this kit seems to be right on the money. It is part number 10-679 and at the time of writing only costs $29.95 plus shipping and handling. The advantage to using this set up is that it will prolong the life of your headlight switch (replacement switches are not as good as the originals), while making your headlights shine brighter. The factory set up has the headlights drawing current from the switch. Adding a relay allows more power to go to the headlights. Adding relays to this circuit is often recommended (it is even mentioned in British Electrical Systems by Rick Astley).
First is to know it is really simple to install this harness. If you start getting complicated stop and either ask questions or think it through.
The first photo shows where to mount the relays. The power leads for the harness connect to the hot post on the solenoid where the positive battery cable connects (as shown in the photo below and to the right). This will give you full battery power and not have to run an unsightly wire to the battery post.
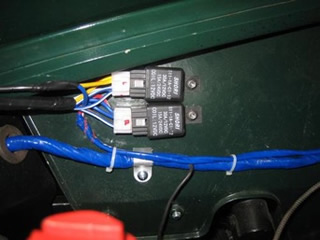
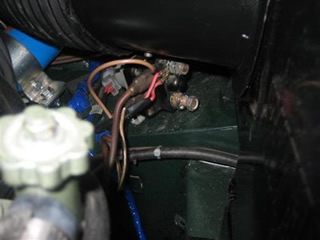
I removed the yellow covering and wrapped my wires in blue harness tape and used wire ties to make the job look a little cleaner.
The photo in the wheel well shows the blue original wiring and the black VB harness with the main part going through the splash guard and the right hand headlight wires splitting off to the headlight.
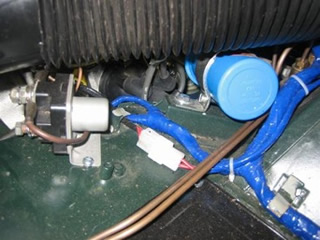
Then simply connect to one of the existing headlight plugs. This is what provides the switching power for the relays. A very small amount is all that will pass through here.
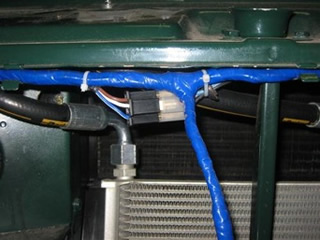
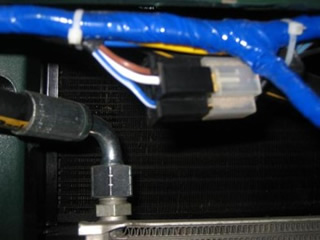
Be aware that to pass the wires through the splash guard and light bucket holes the plastic part of the plugs will have to be removed. It is easy to do this so don't panic. A small screw driver along the brass connecter will push the tang back enough to release it and the connector will slide out.
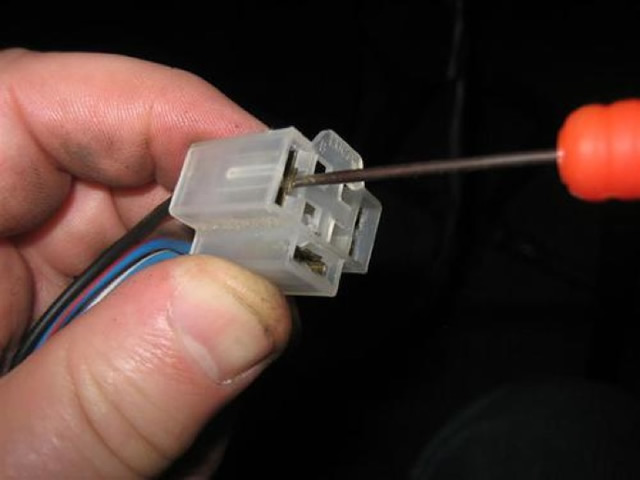
Two things; take photos of the wire locations before removing them from the plugs. It is a good thing to put them back in the same place. And the tang will likely be bent back slightly and might not catch when re-assembling them so slightly bend the tangs back out before re-assembly.
On the left side run the blue and yellow wire through for the left headlight.
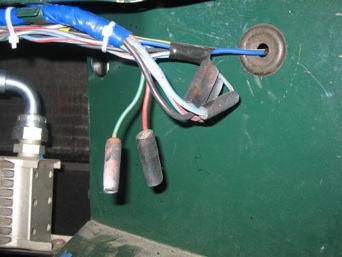
One more thing. the headlight buckets do not make a good place to ground the lights. Be sure to run a ground wire to the body and make a secure connection.
And this goes at the top of the list. REMOVE THE BATTERY GROUND BEFORE STARTING THIS PROJECT!
You may also want to do a voltage check on the alternator or generator. Turned out mine was over-charging and I burned out a pair of new headlights in no time. Had no problem until I "improved" my system.