
For much of the cars production, a front swaybar was an optional performance piece which could dramatically enhance the handling of the car. The stock swaybar diameter is only 9/16" inches but it is enough to stabilize the car some while cornering. It won't be as flat as a modern corvette or a spridget with a larger bar, but it does make the car feel more planted, and sure footed than without it installed. Installation is quite simple and can be done in less than an hour. This first picture shows you all the parts you need for a 9/16" bar installation. Factory Part numbers are from AKM 3513 (published 1968) and no doubt were changed in the subsequent BL parts publications. Moss and Victoria British numbers were only current at time of writing. Personally I prefer the prothane bushings which is what was used in this installation, but the rubber part numbers are also provided.
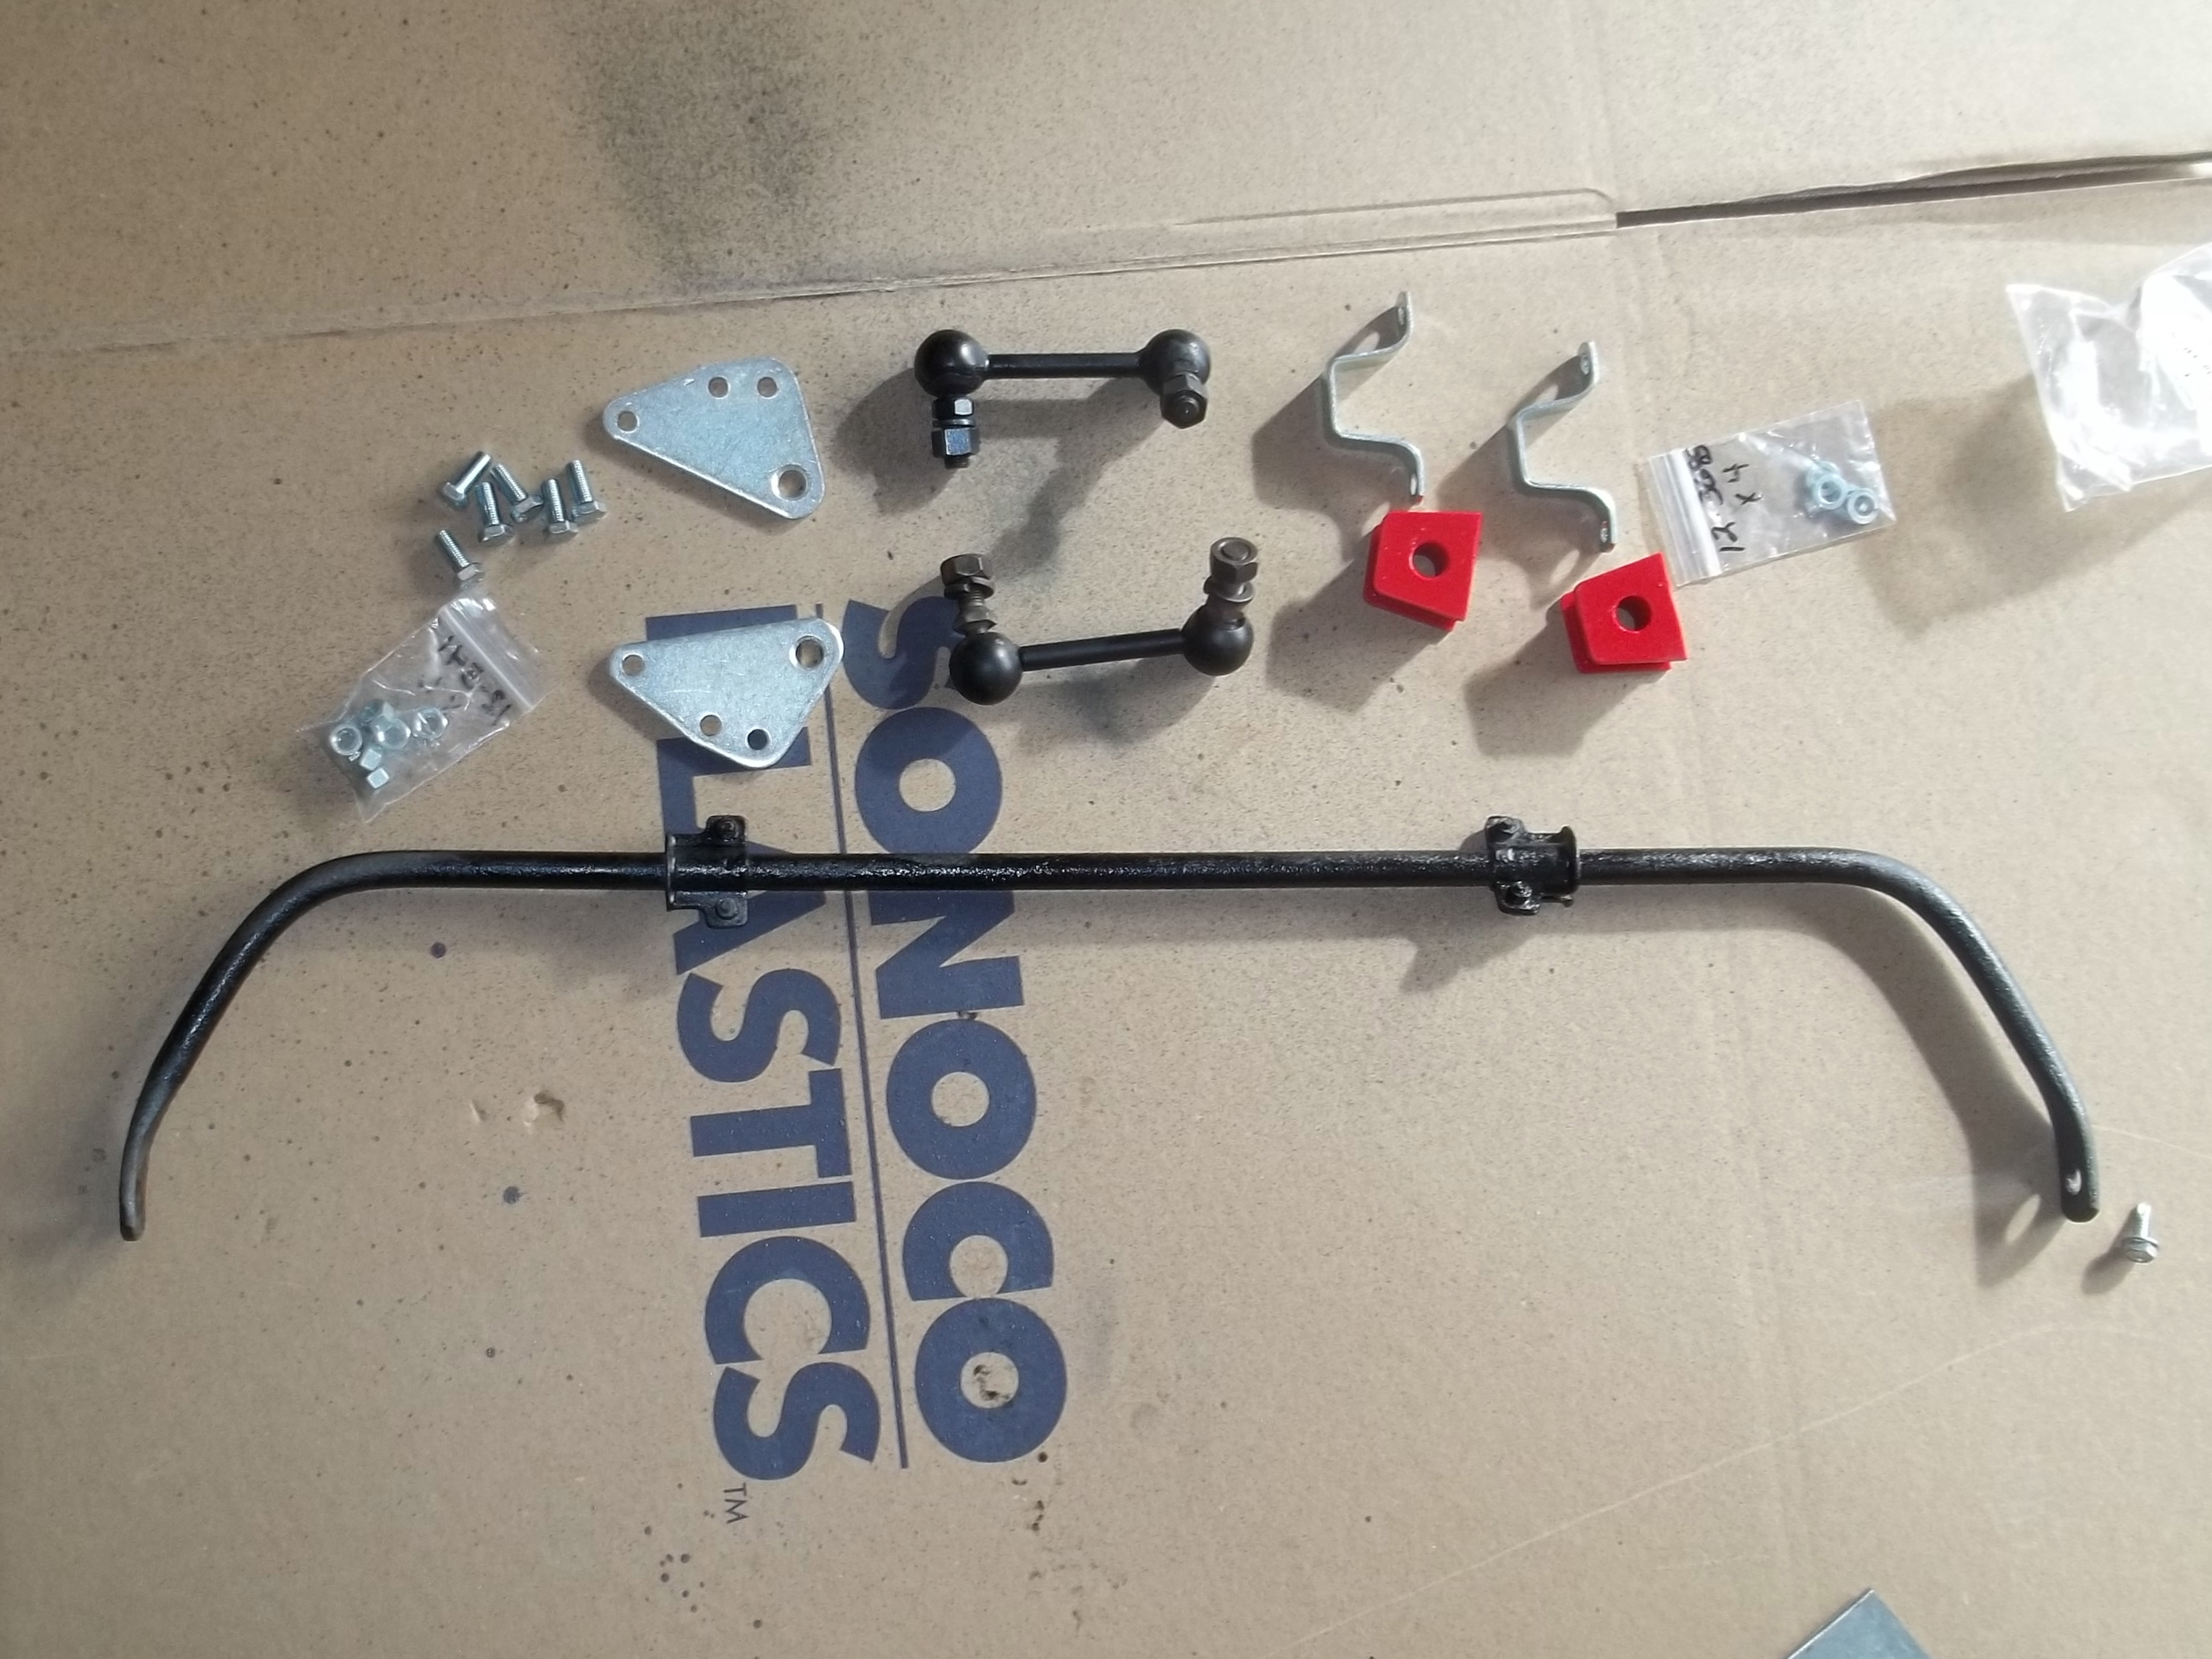
| Description | Quantity | Factory Part# | Moss USA part# | Victoria British Part# |
| 9/16" Swaybar | 1 | AHA 7013 | 264-105 | 12-804 |
| Link, R/H | 1 | AHA 7011 | 264-115 | 5-272 |
| Link, L/H | 1 | AHA 7012 | 264-125 | 5-271 |
| Bracket - Anti Roll Bar Link | 2 | AHA 7028 | 264-135 | 12-811 |
| Swaybar Bushing (original rubber) | 2 | AHH 6541 | 280-920 | 5-270 |
| Swaybar Bushing Set (Prothane Polyurathane) | 1 | N/A | 280-935 | 5-9907 |
| Strap-Swaybar Bushing | 2 | BHH 2000 | 263-430 | 5-322 |
| Hex Head Screw - Zinc Plated 5/16" UNF x 3/4" | 6 | HZS 0506 | N/A | 12-308 |
| Hex Head Screw - Zinc Plated 5/16" UNF x 5/8" | 4 | HZS 0505 | N/A | 5-322 |
| Lock Washer (Medium) - Zinc Plated 5/16" | 10 | LWZ 205 | N/A | 12-3685 |
| Nut - Zinc Plated 5/16" UNF Standard Strength | 6 | FNZ 105 | N/A | 12-3685 |
| Sway Bar Locator | 4 | AHH 6546 | N/A | 12-813 |
| Sway Bar Locator Set W/Hardware | 2 | N/A | 263-778 | N/A |
| #10 UNF Phillips Machine Screw x 7/16" (zinc) | 4 | PMZ 0307 | N/A | 12-813 |
| #10 Medium Lockwasher (zinc) | 4 | LWZ 203 | N/A | 12-2914 |
| #10 UNF Plain Nut (zinc) | 4 | FNZ 103 | N/A | 12-1922 |
NOTE: The #10 screws, washers, and nuts are only for the sway bar locators. If you plan on buying the locators from Moss USA, or your used swaybar already has the locators on it, then omit these. Some of these parts can be found used for very little money. I found mine in the dumpster following a swap meet some years ago.
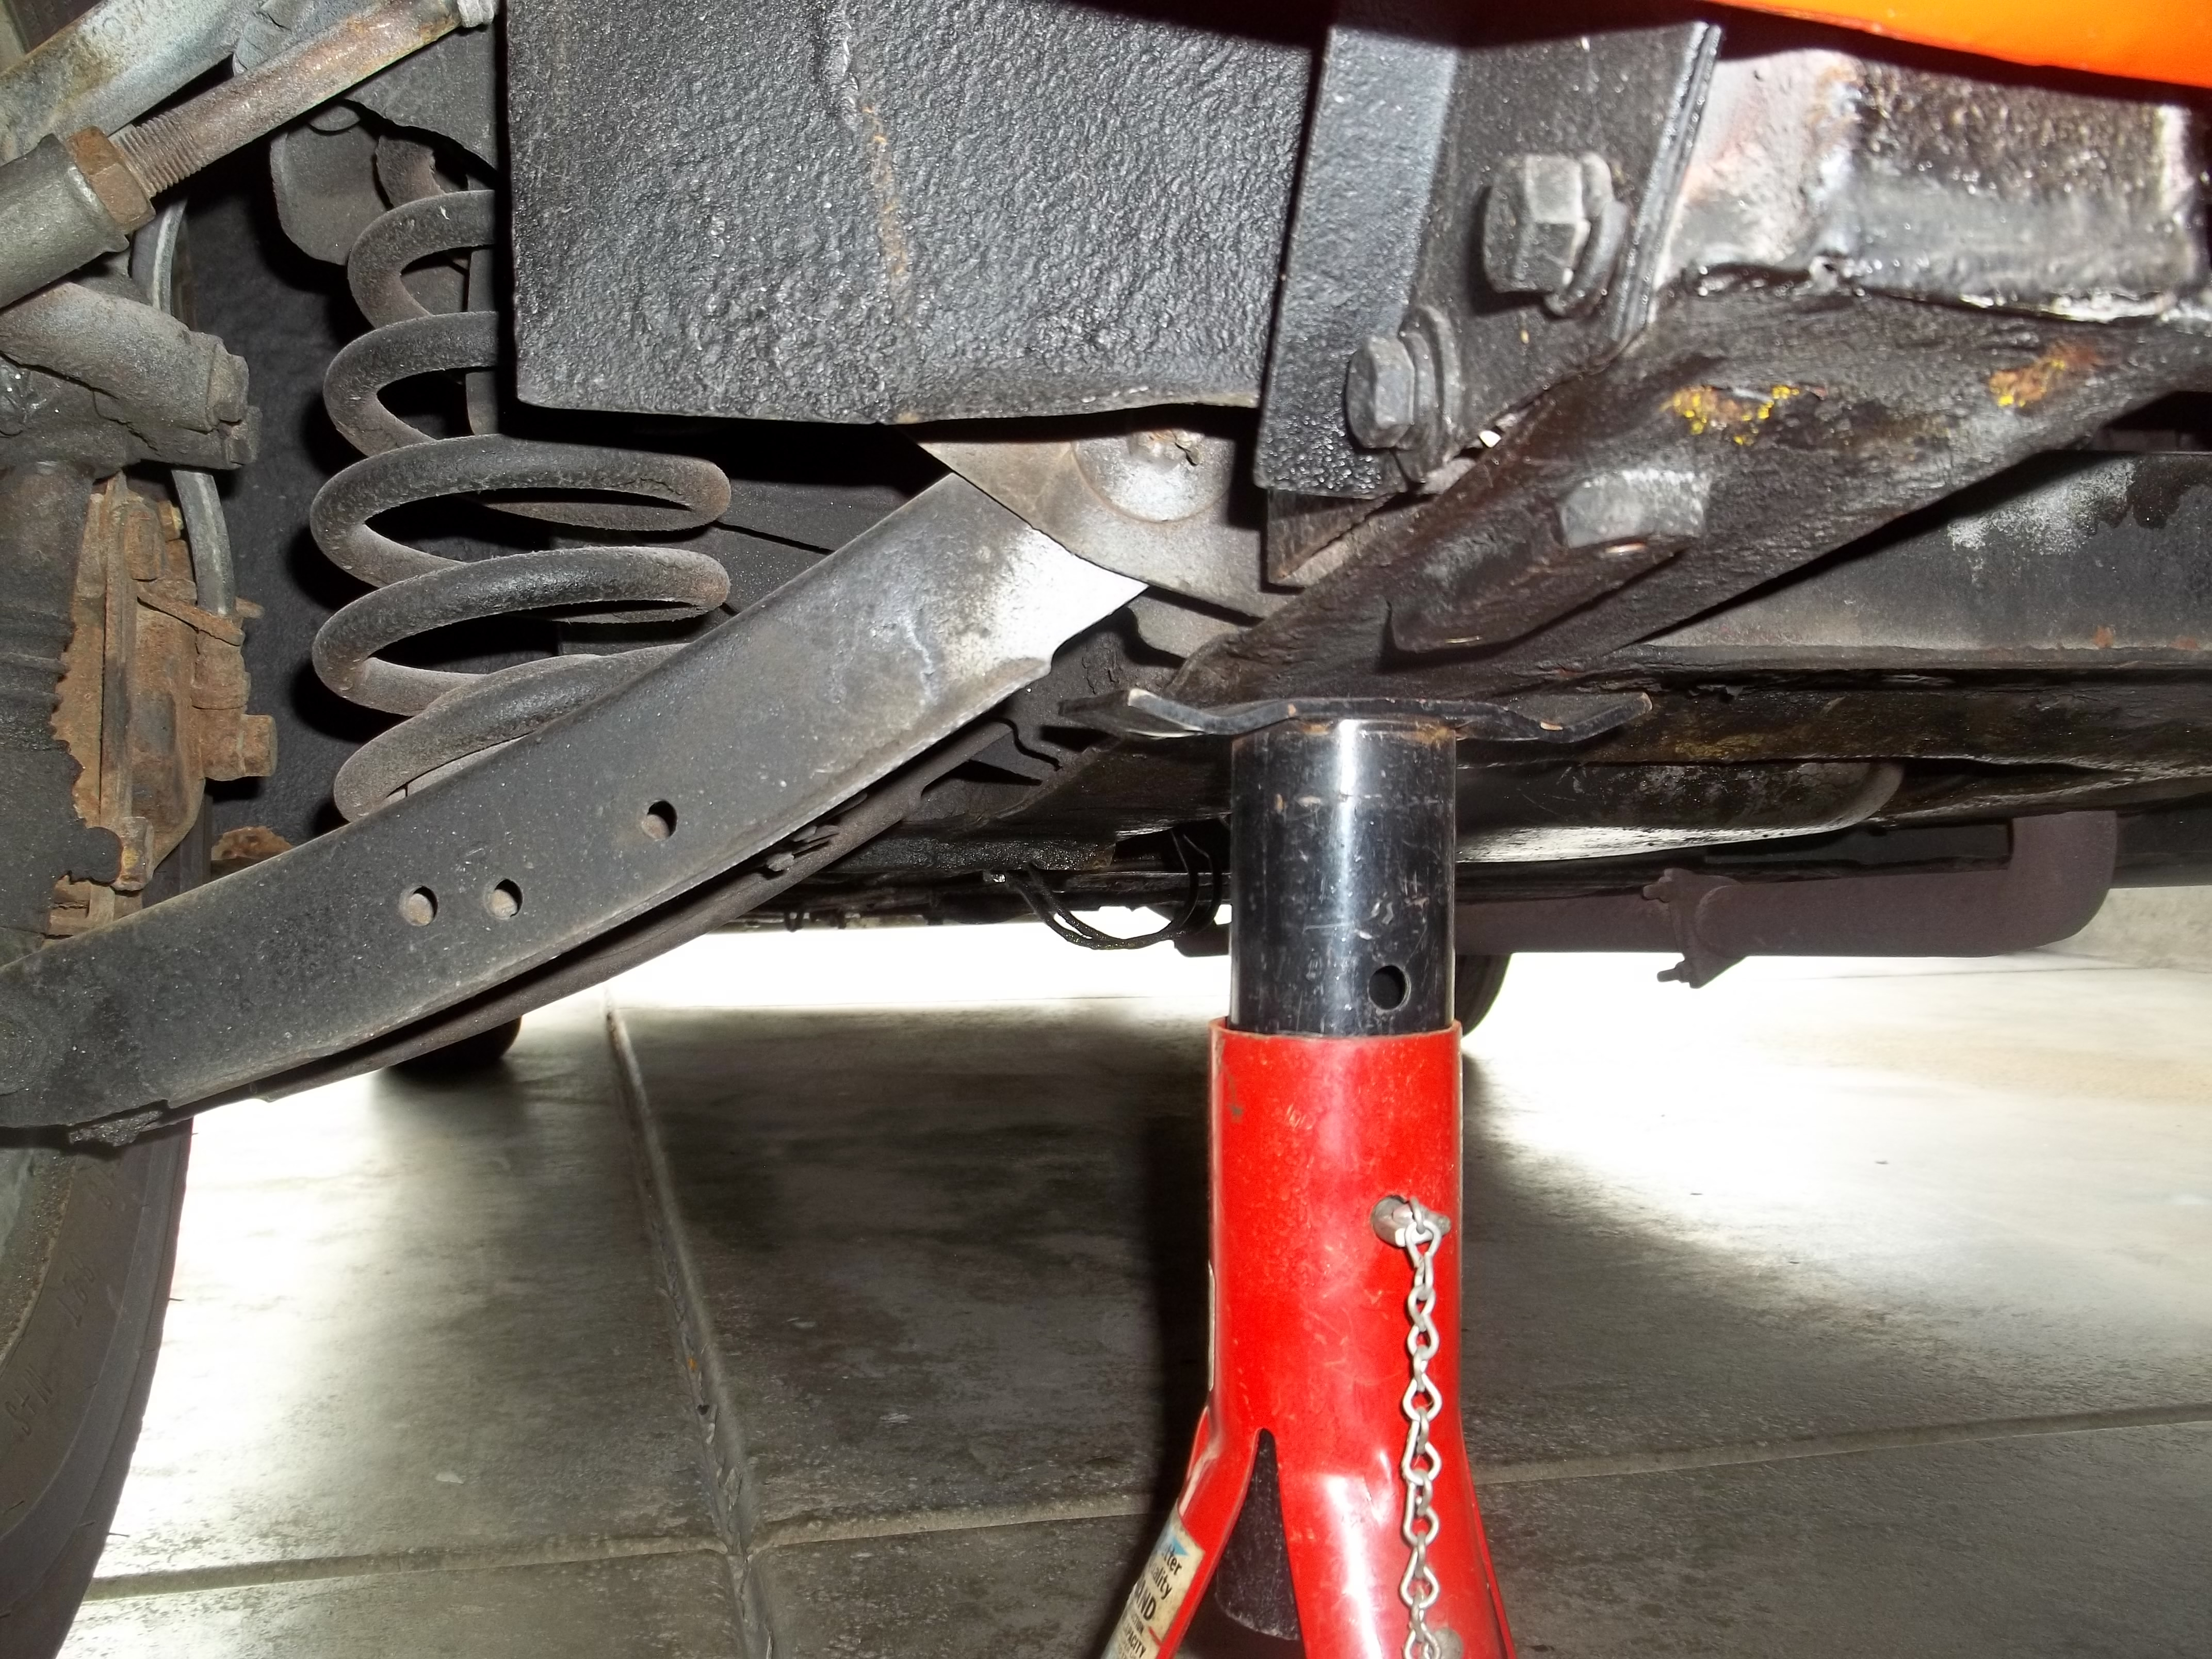
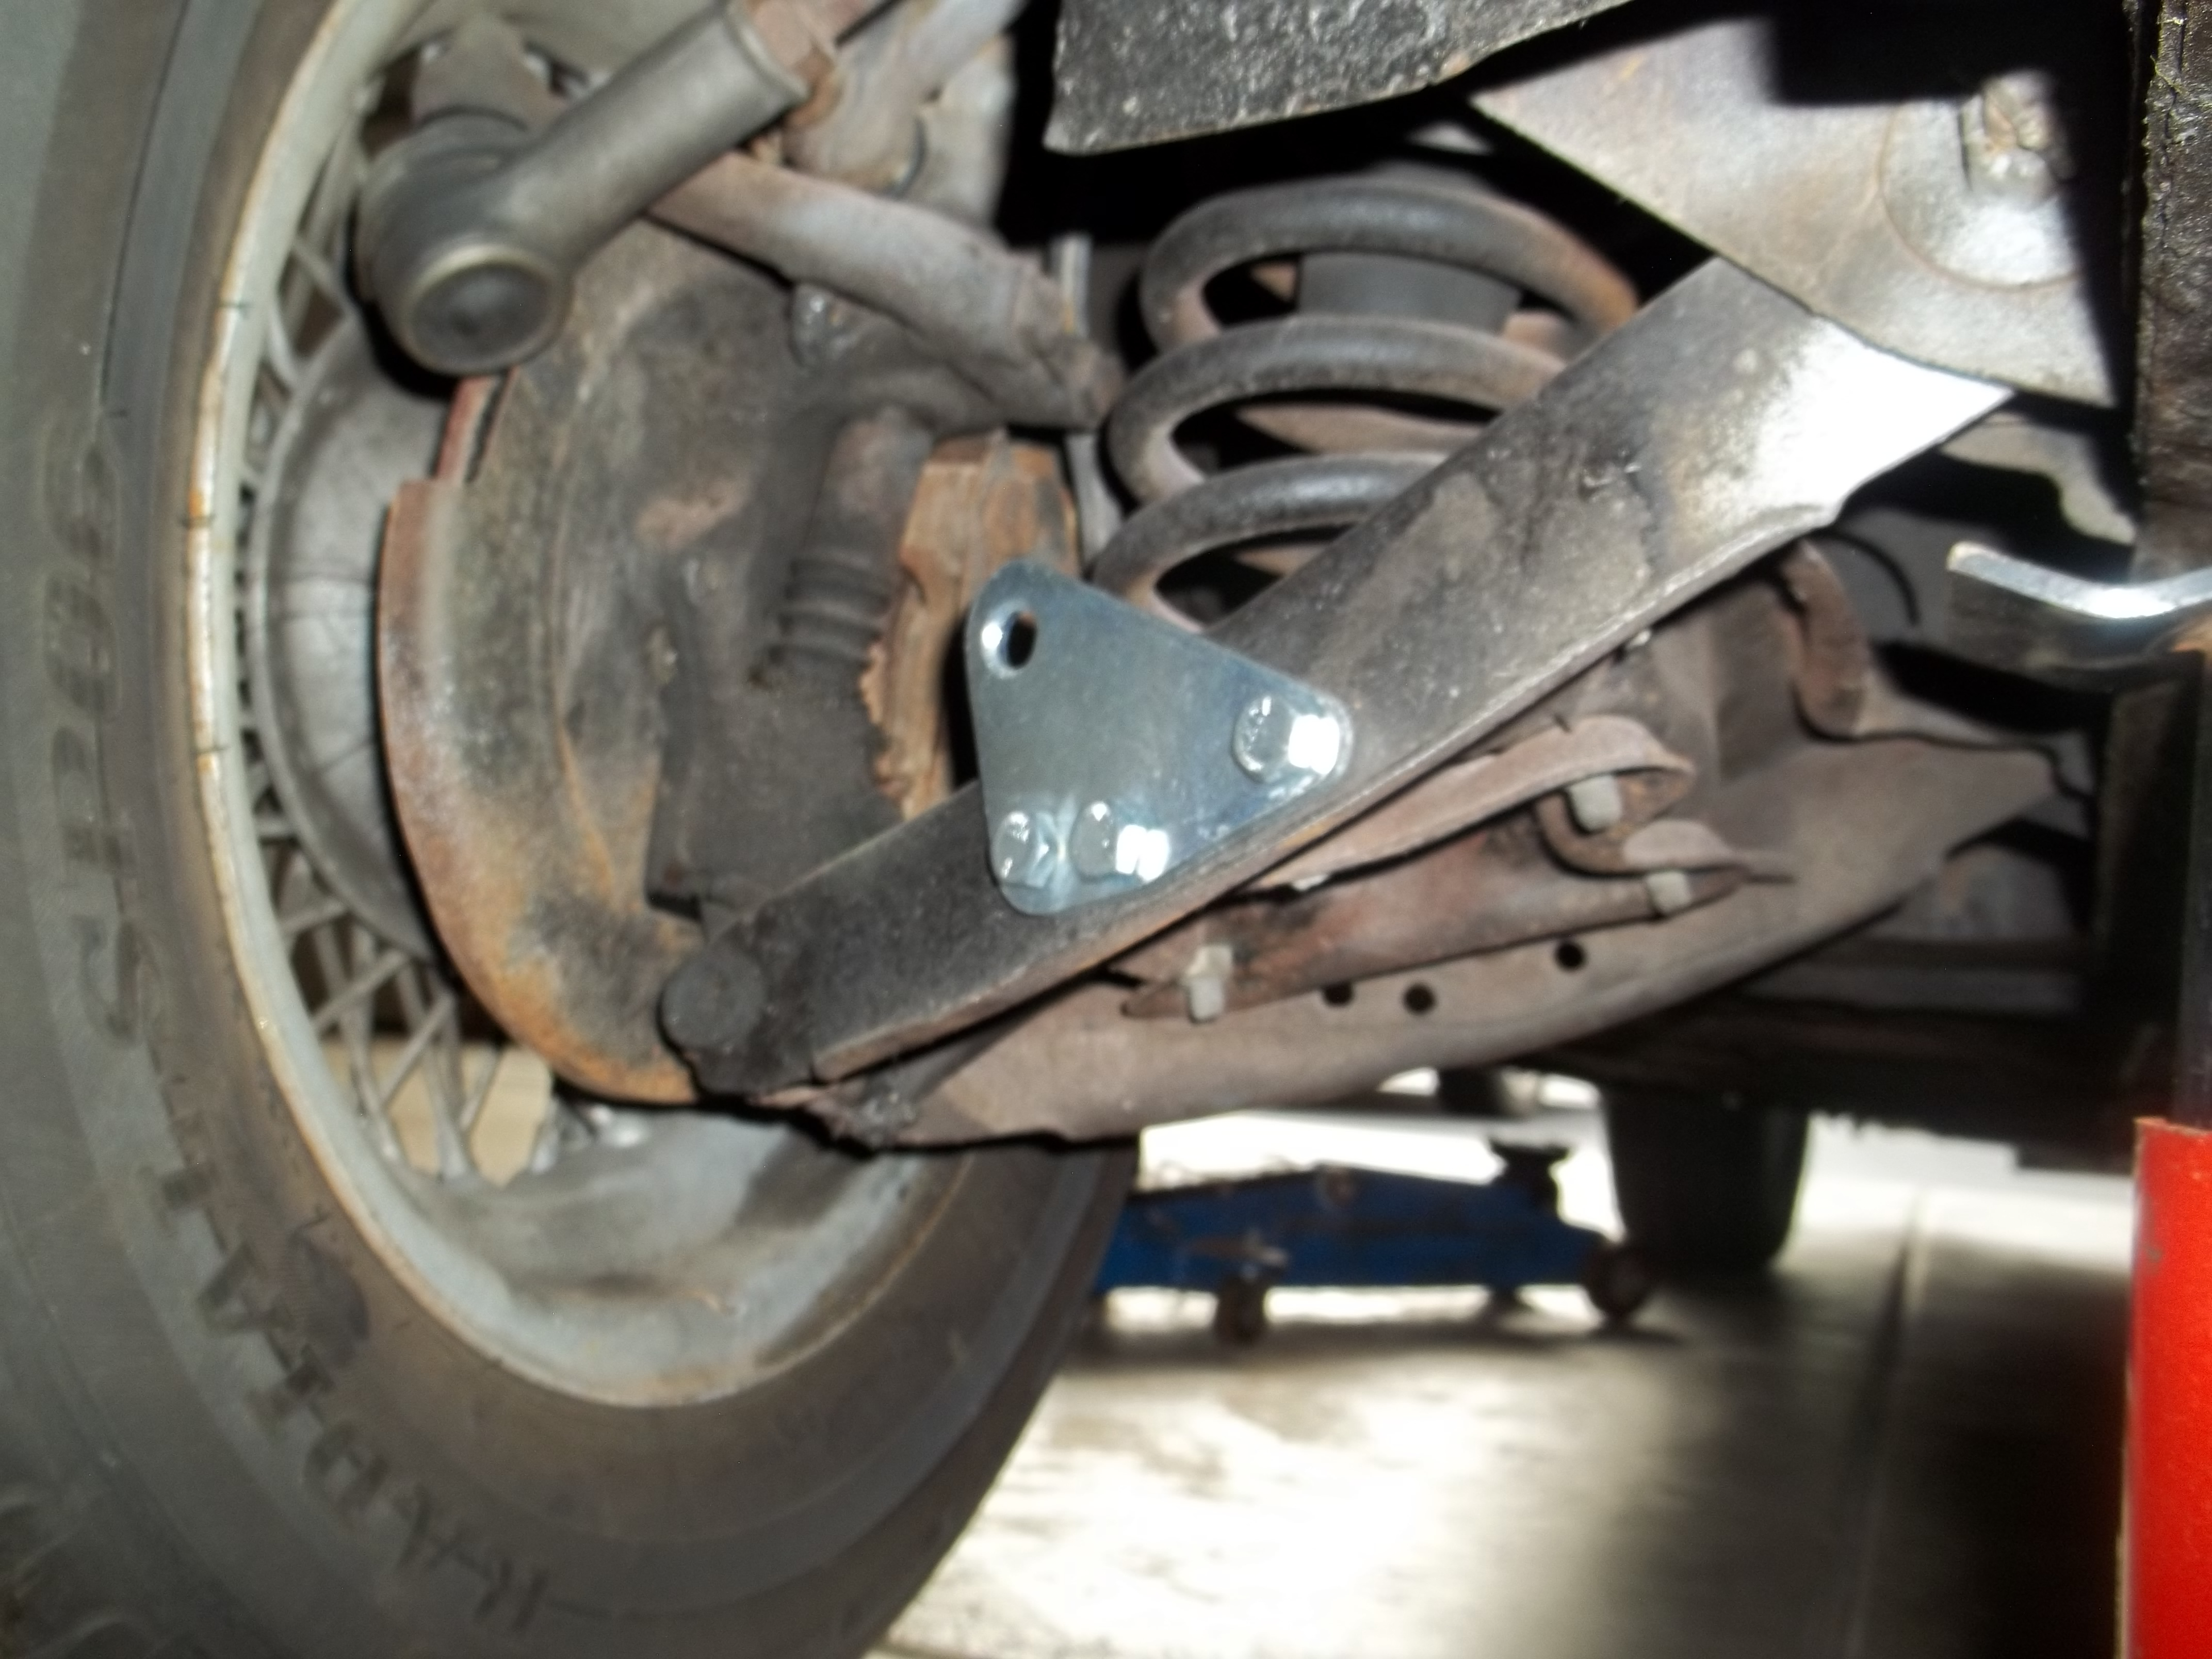
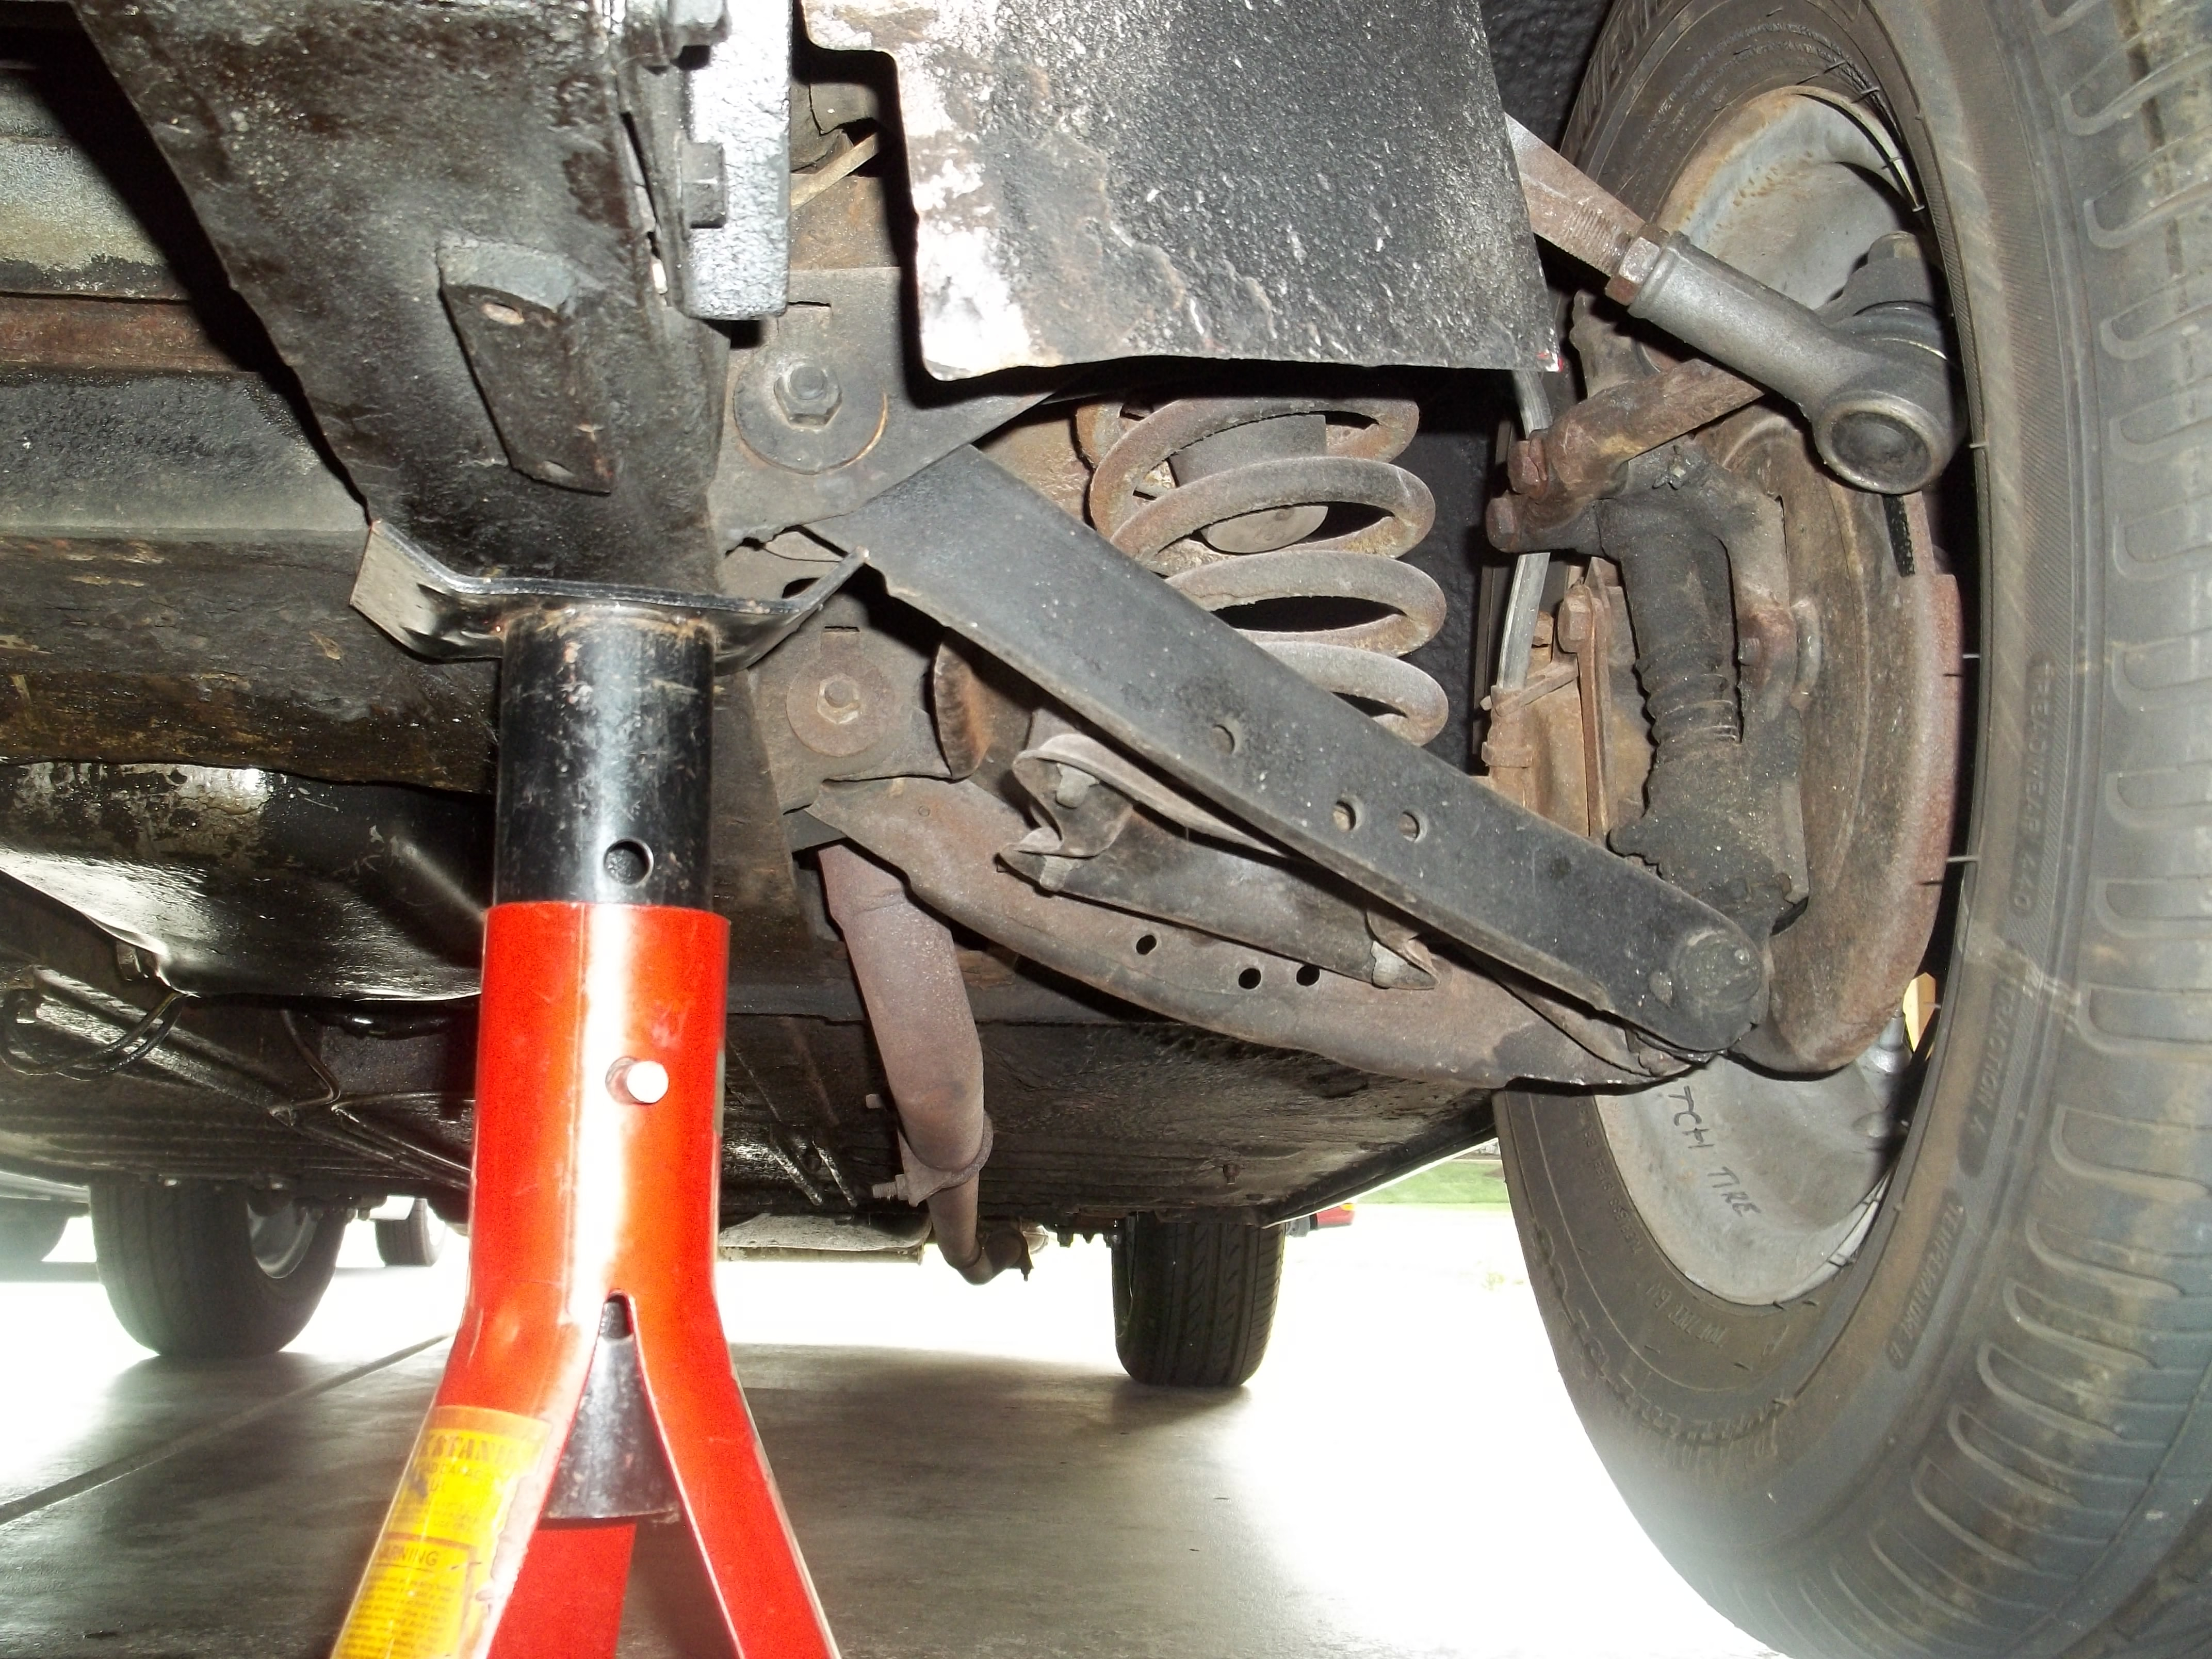
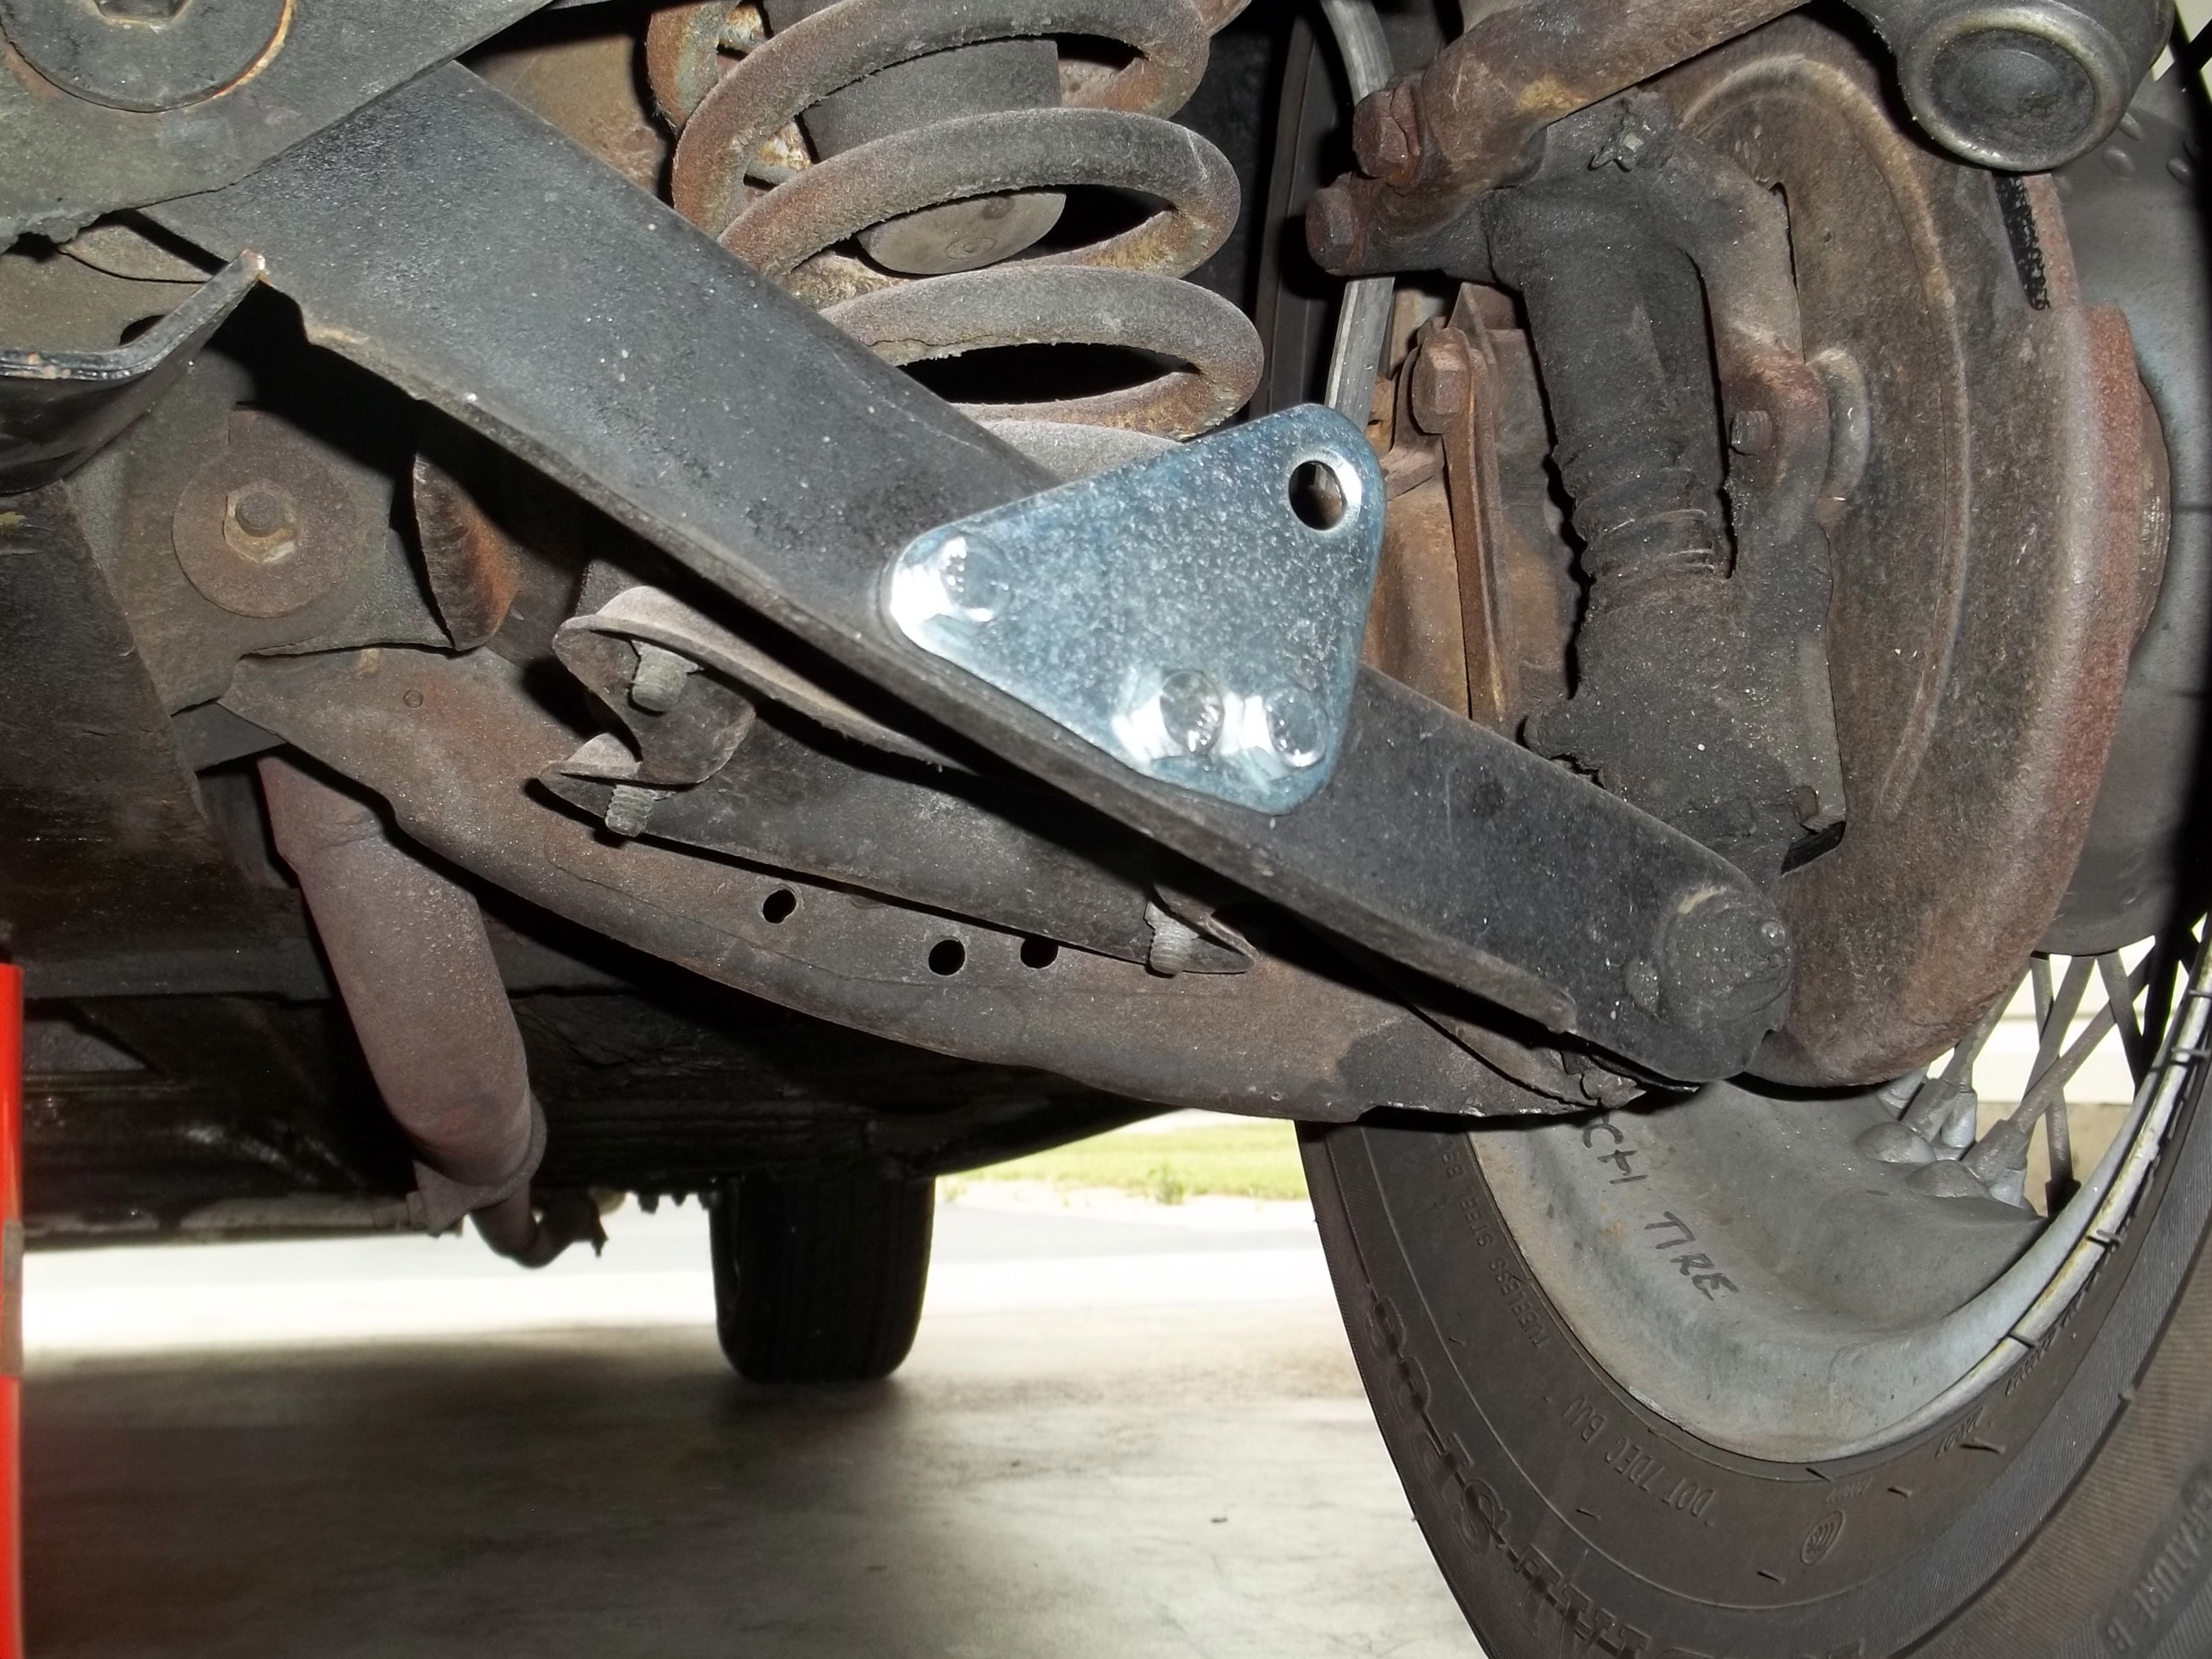
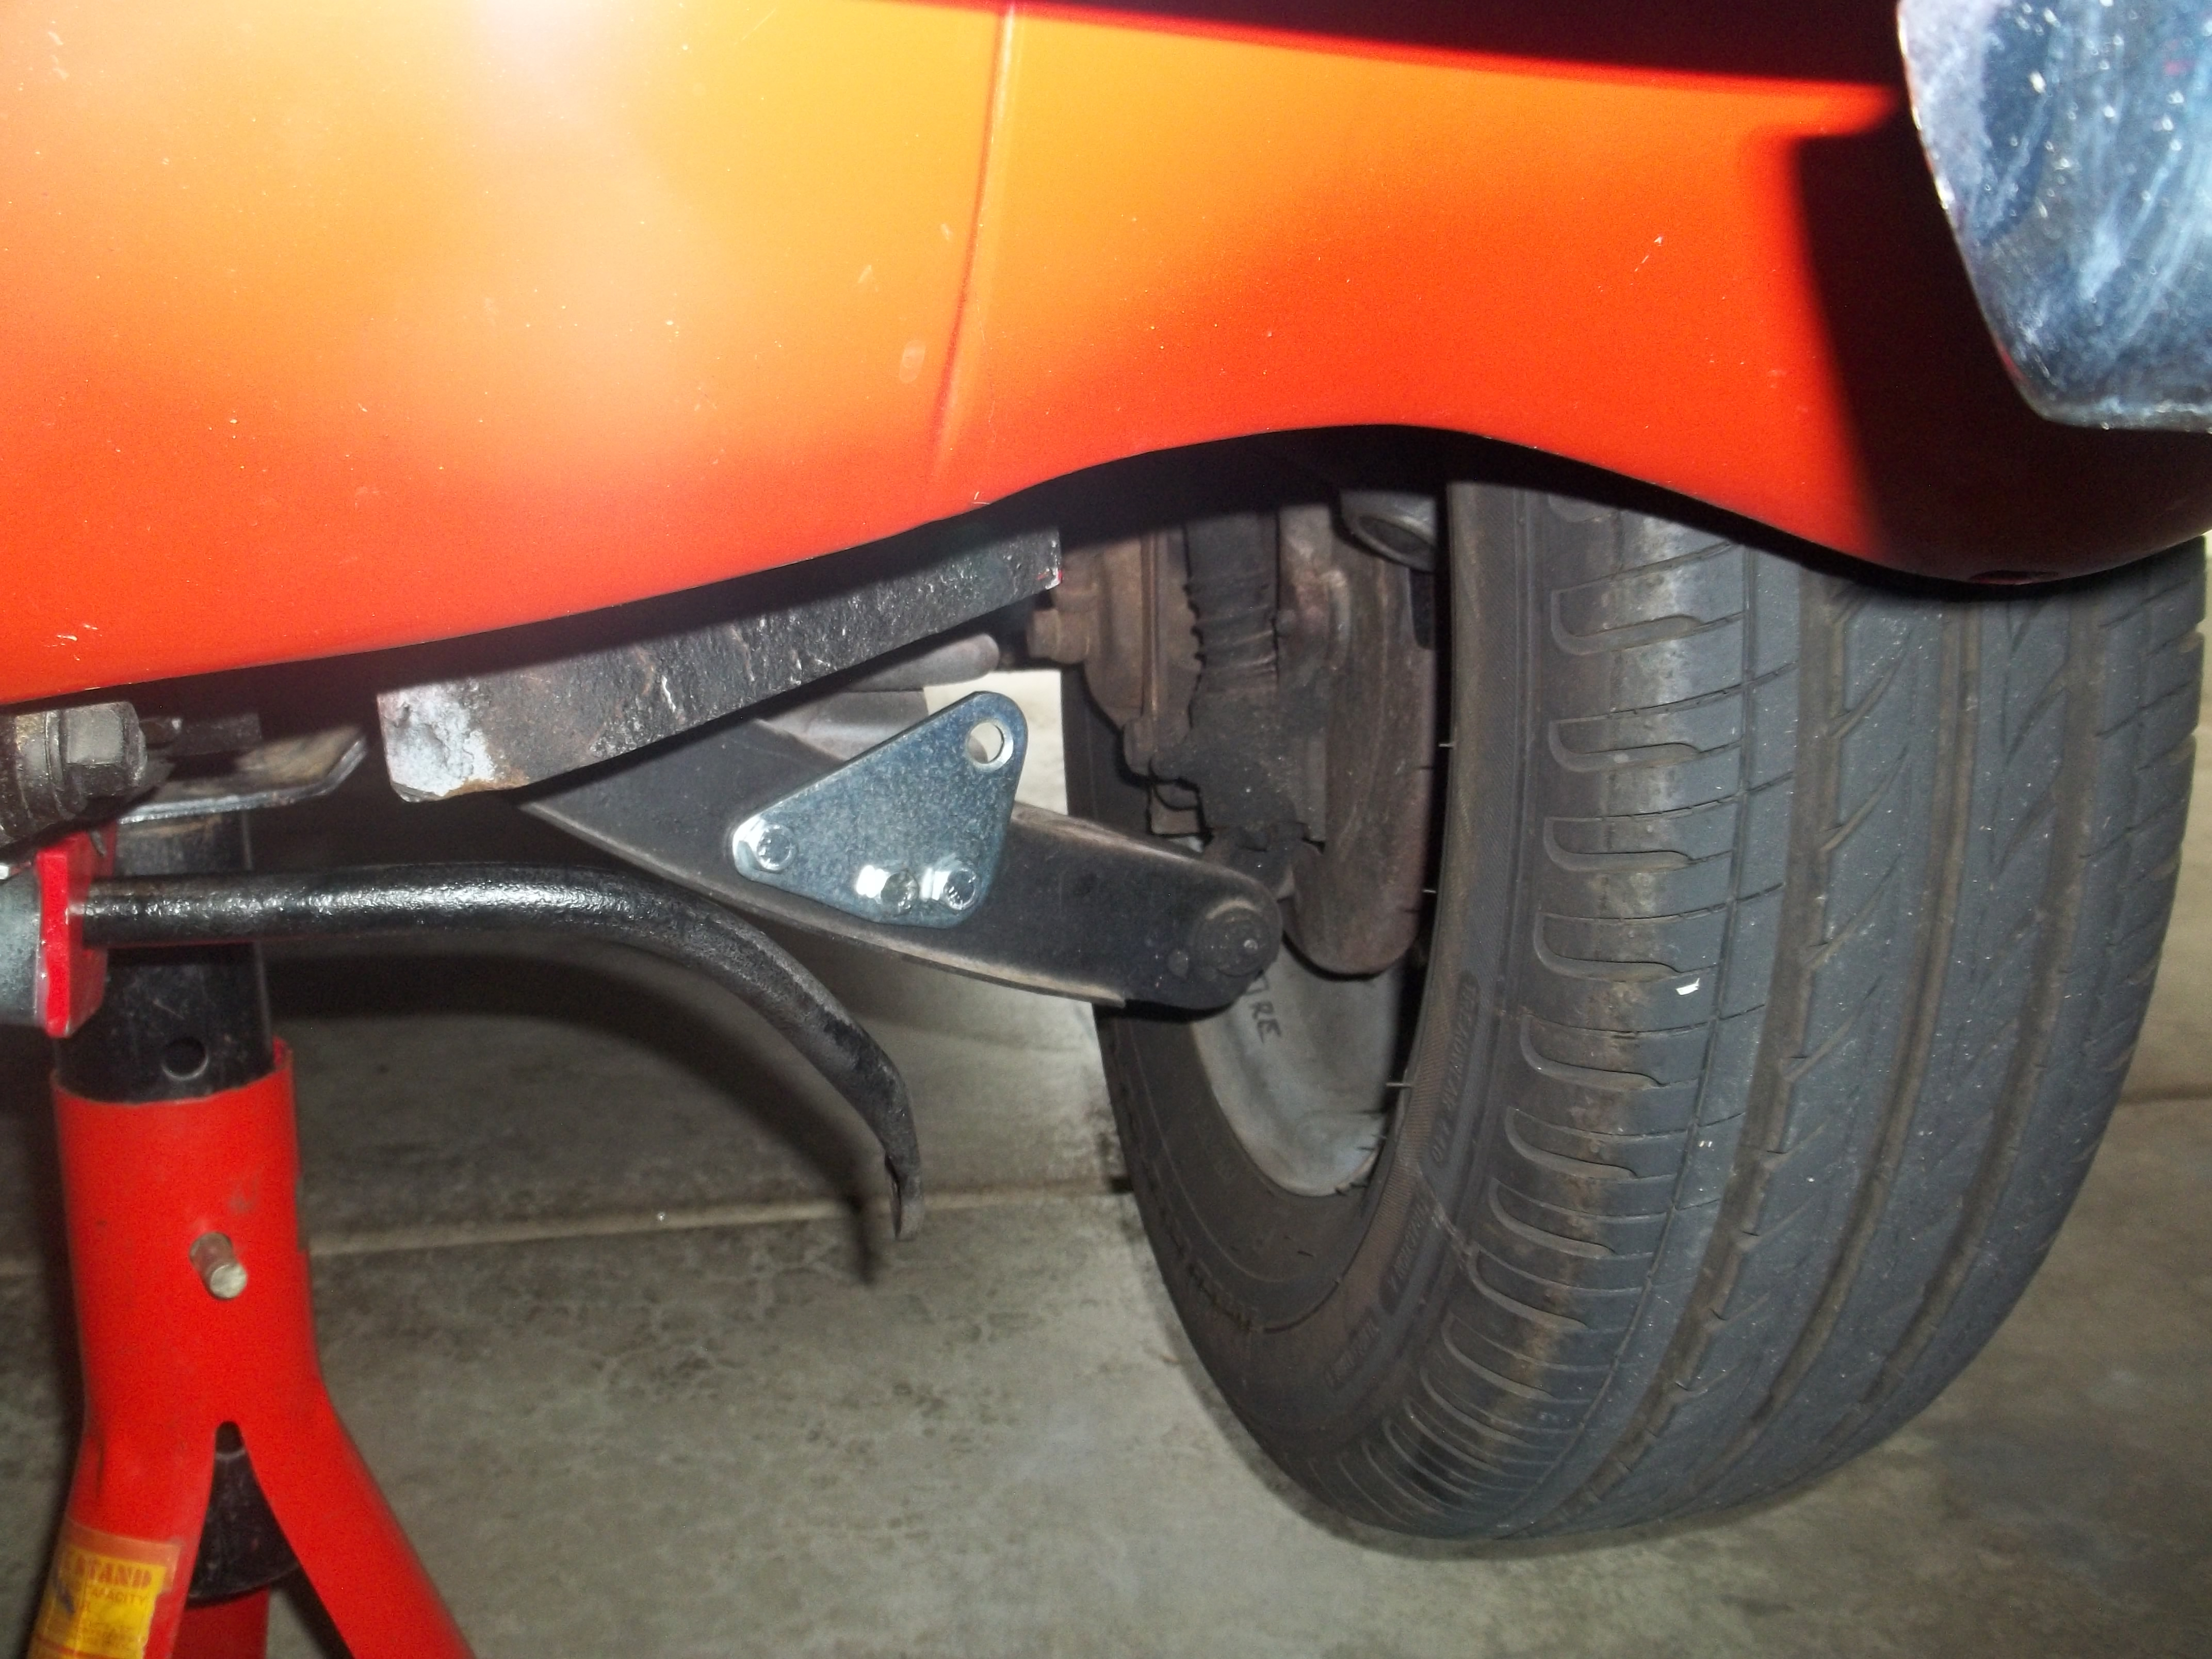
The first thing I did was install the brackets on the lower a-arms. The drill pattern on the brackets and a-arms make it impossible to put them on wrong. Neither are handed. They each bolt on with 3 Zinc Plated 5/16" UNF x 3/4" hex head screws, 3 lockwashers, and three nuts. To avoid future headaches when you want to remove the swaybar, always lightly coat the threads of any bolt with anti-seez or a similar product.
 |
 |
 |
 |
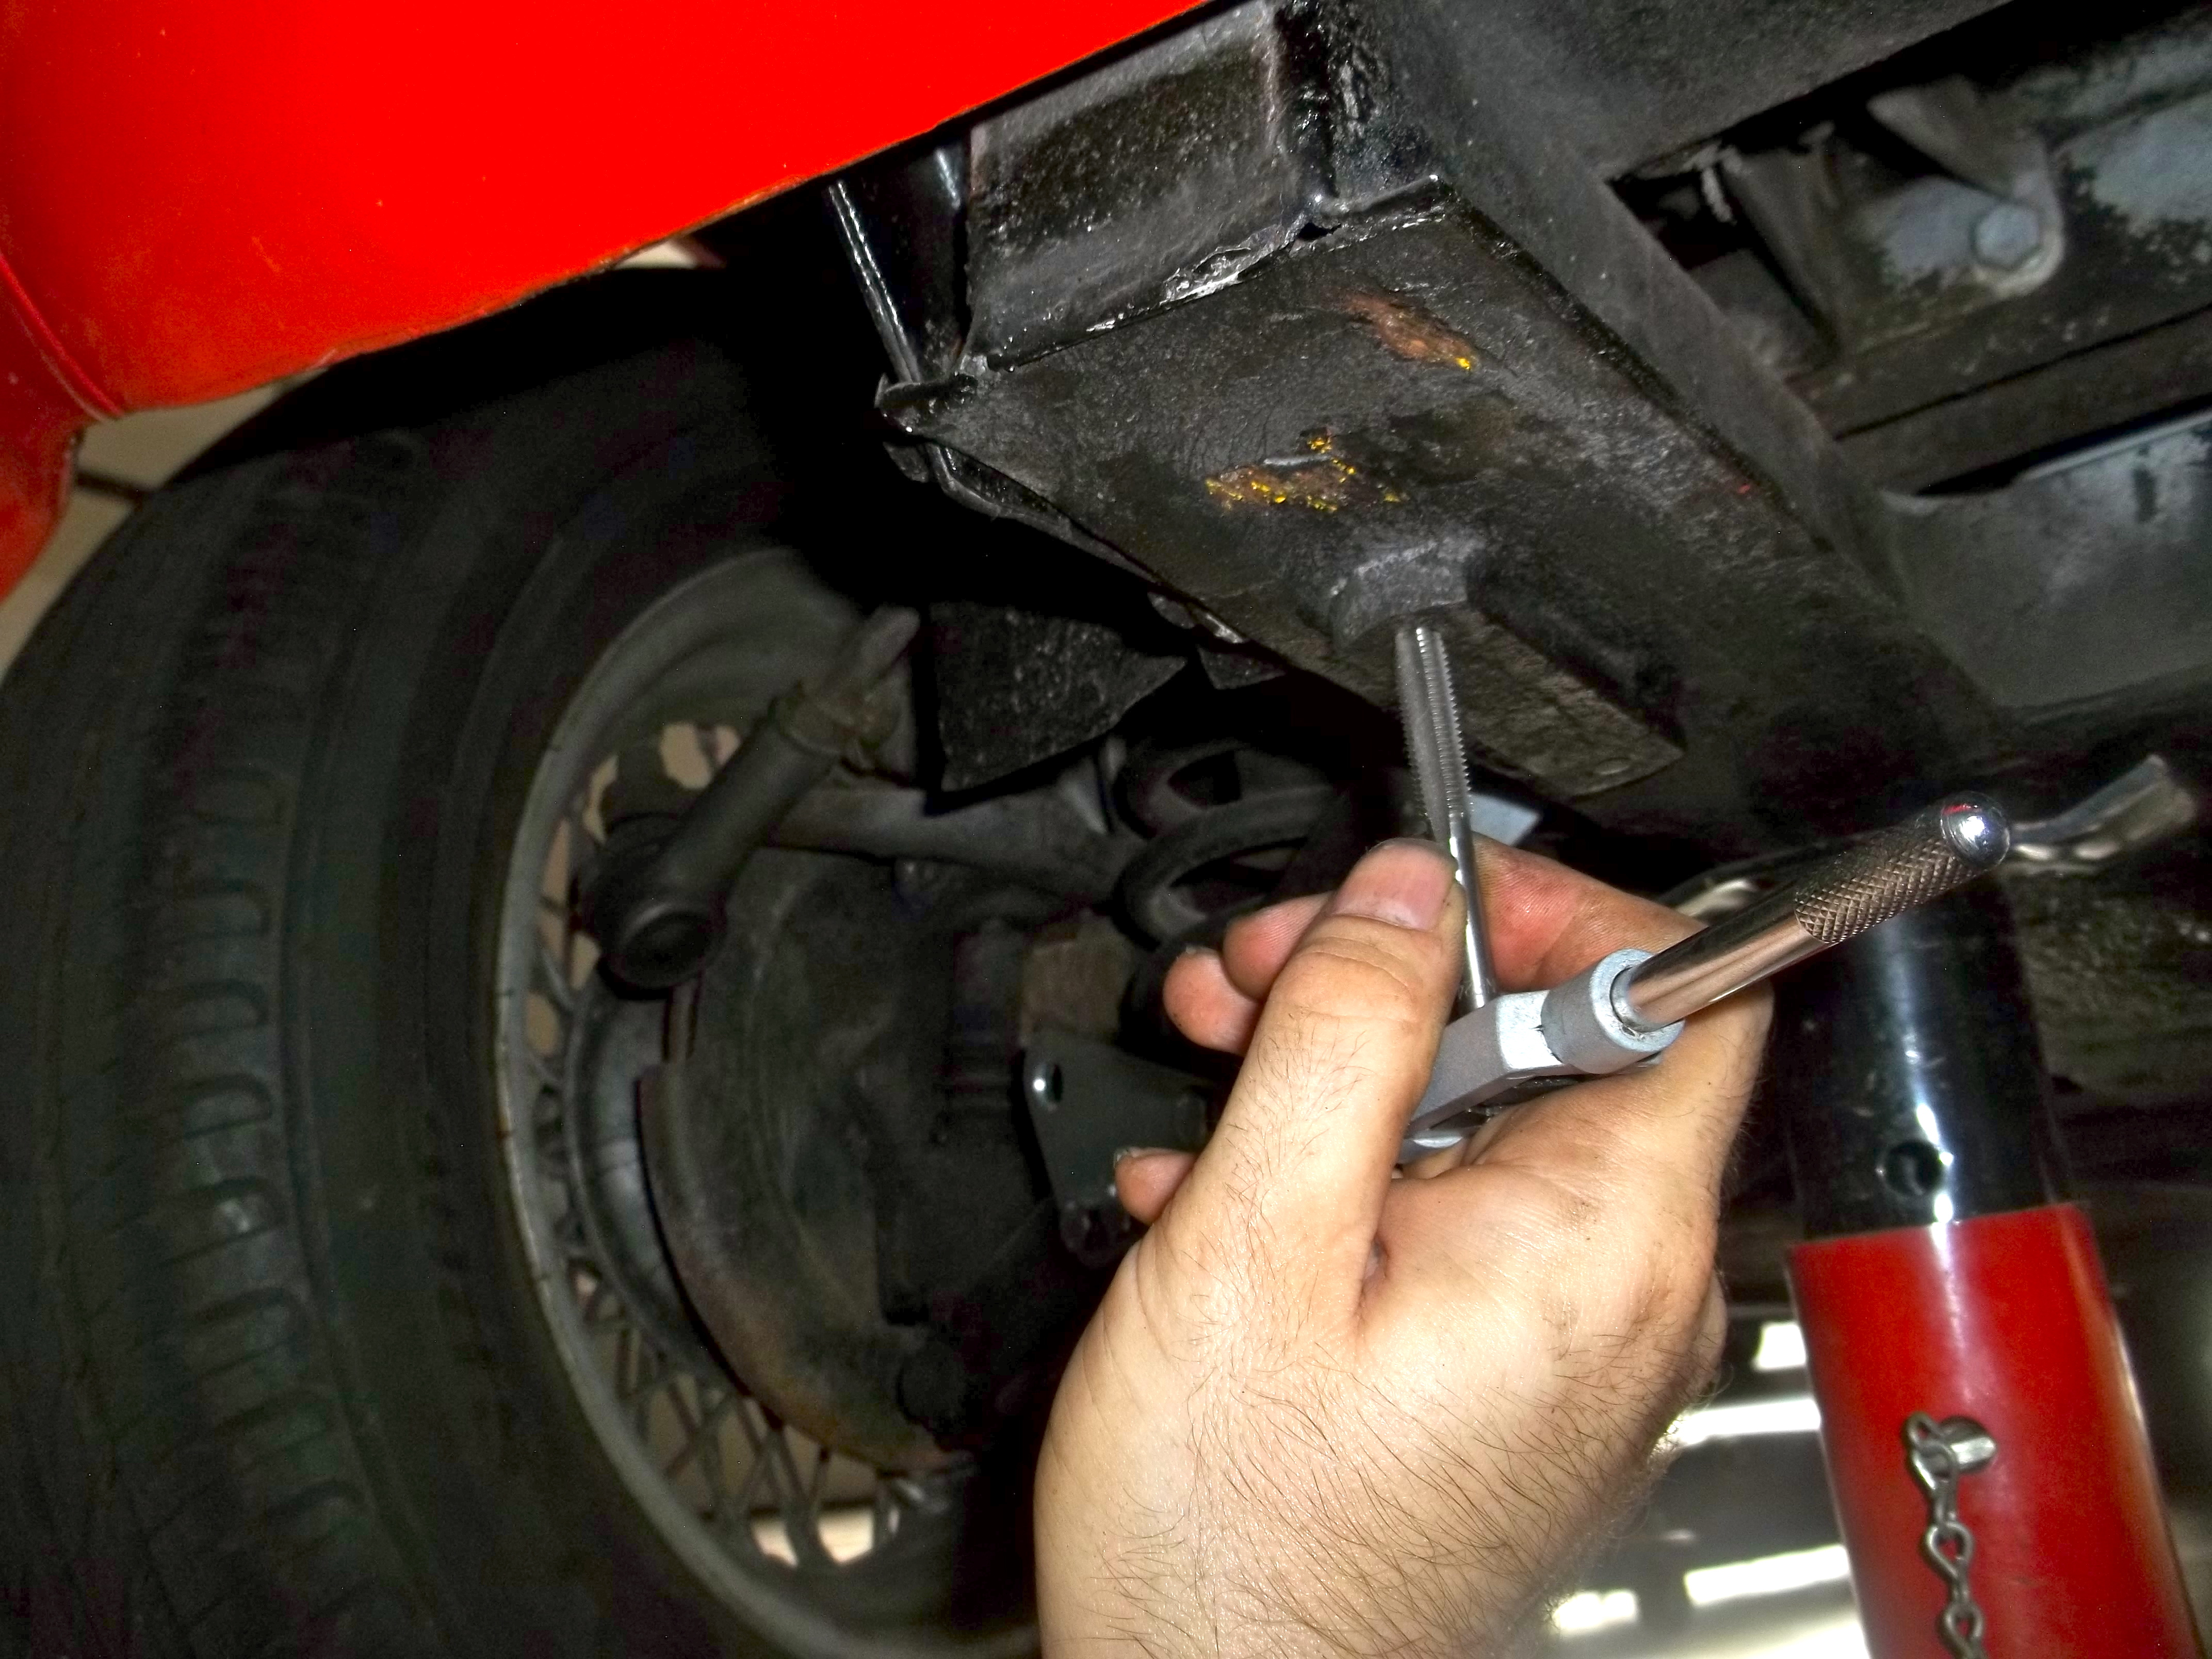
Next use a 5/16 UNF thread tap to clean out the threads in the mounting plates on the frame. This is always a good idea when you are doing work on an old car that has been driven for years without anything bolted in to the threads you are about to use. Use some cutting oil and make sure the jackstand leaves room for the tap handle.
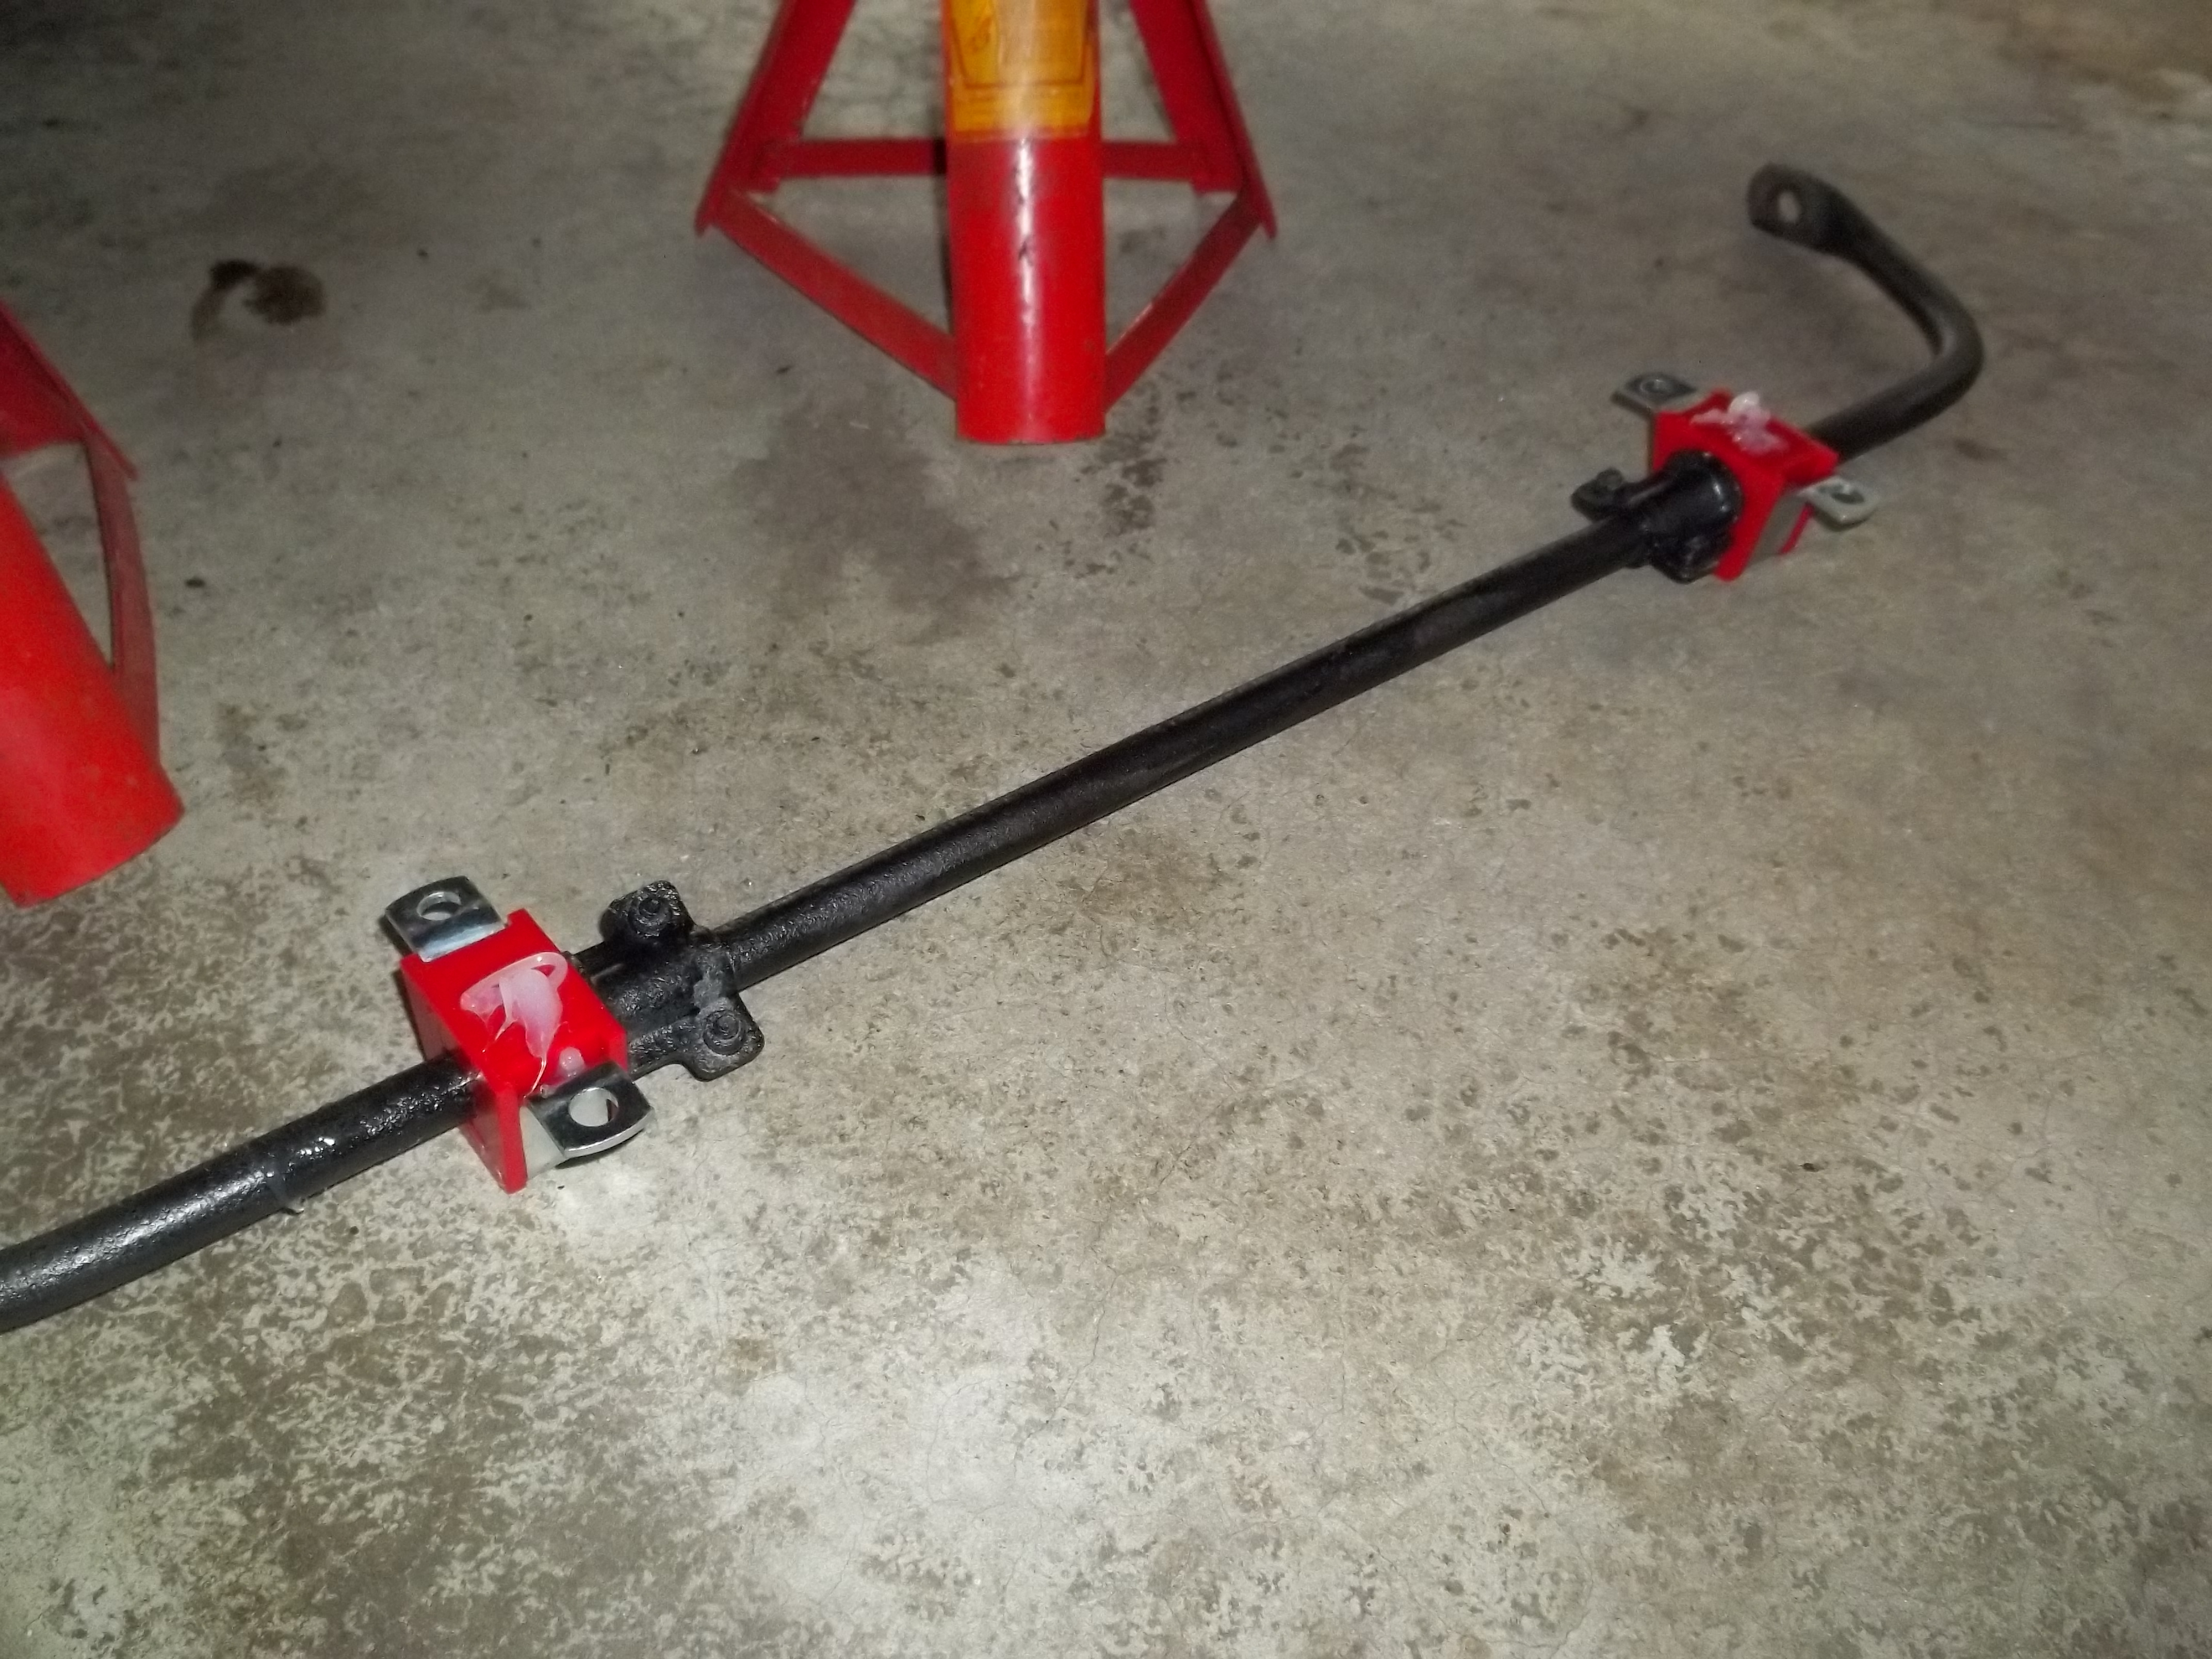
Now its time to assemble the swaybar. First install the locators with the #10 machine screws, nuts, and lockwashers. Don't tighten them yet, but its easiest to do this now (I think). Some used bars already have them installed. Next install the bushings. All bushings are designed to split and snap over the bar. First install the bushing then the strap. The strap fits into a groove in on the outside of the bushing. If you are using Prothane polyurathane bushings, be sure to use the included grease to lubricate the bushing before installation.
When you're done, it should look a bit like this.
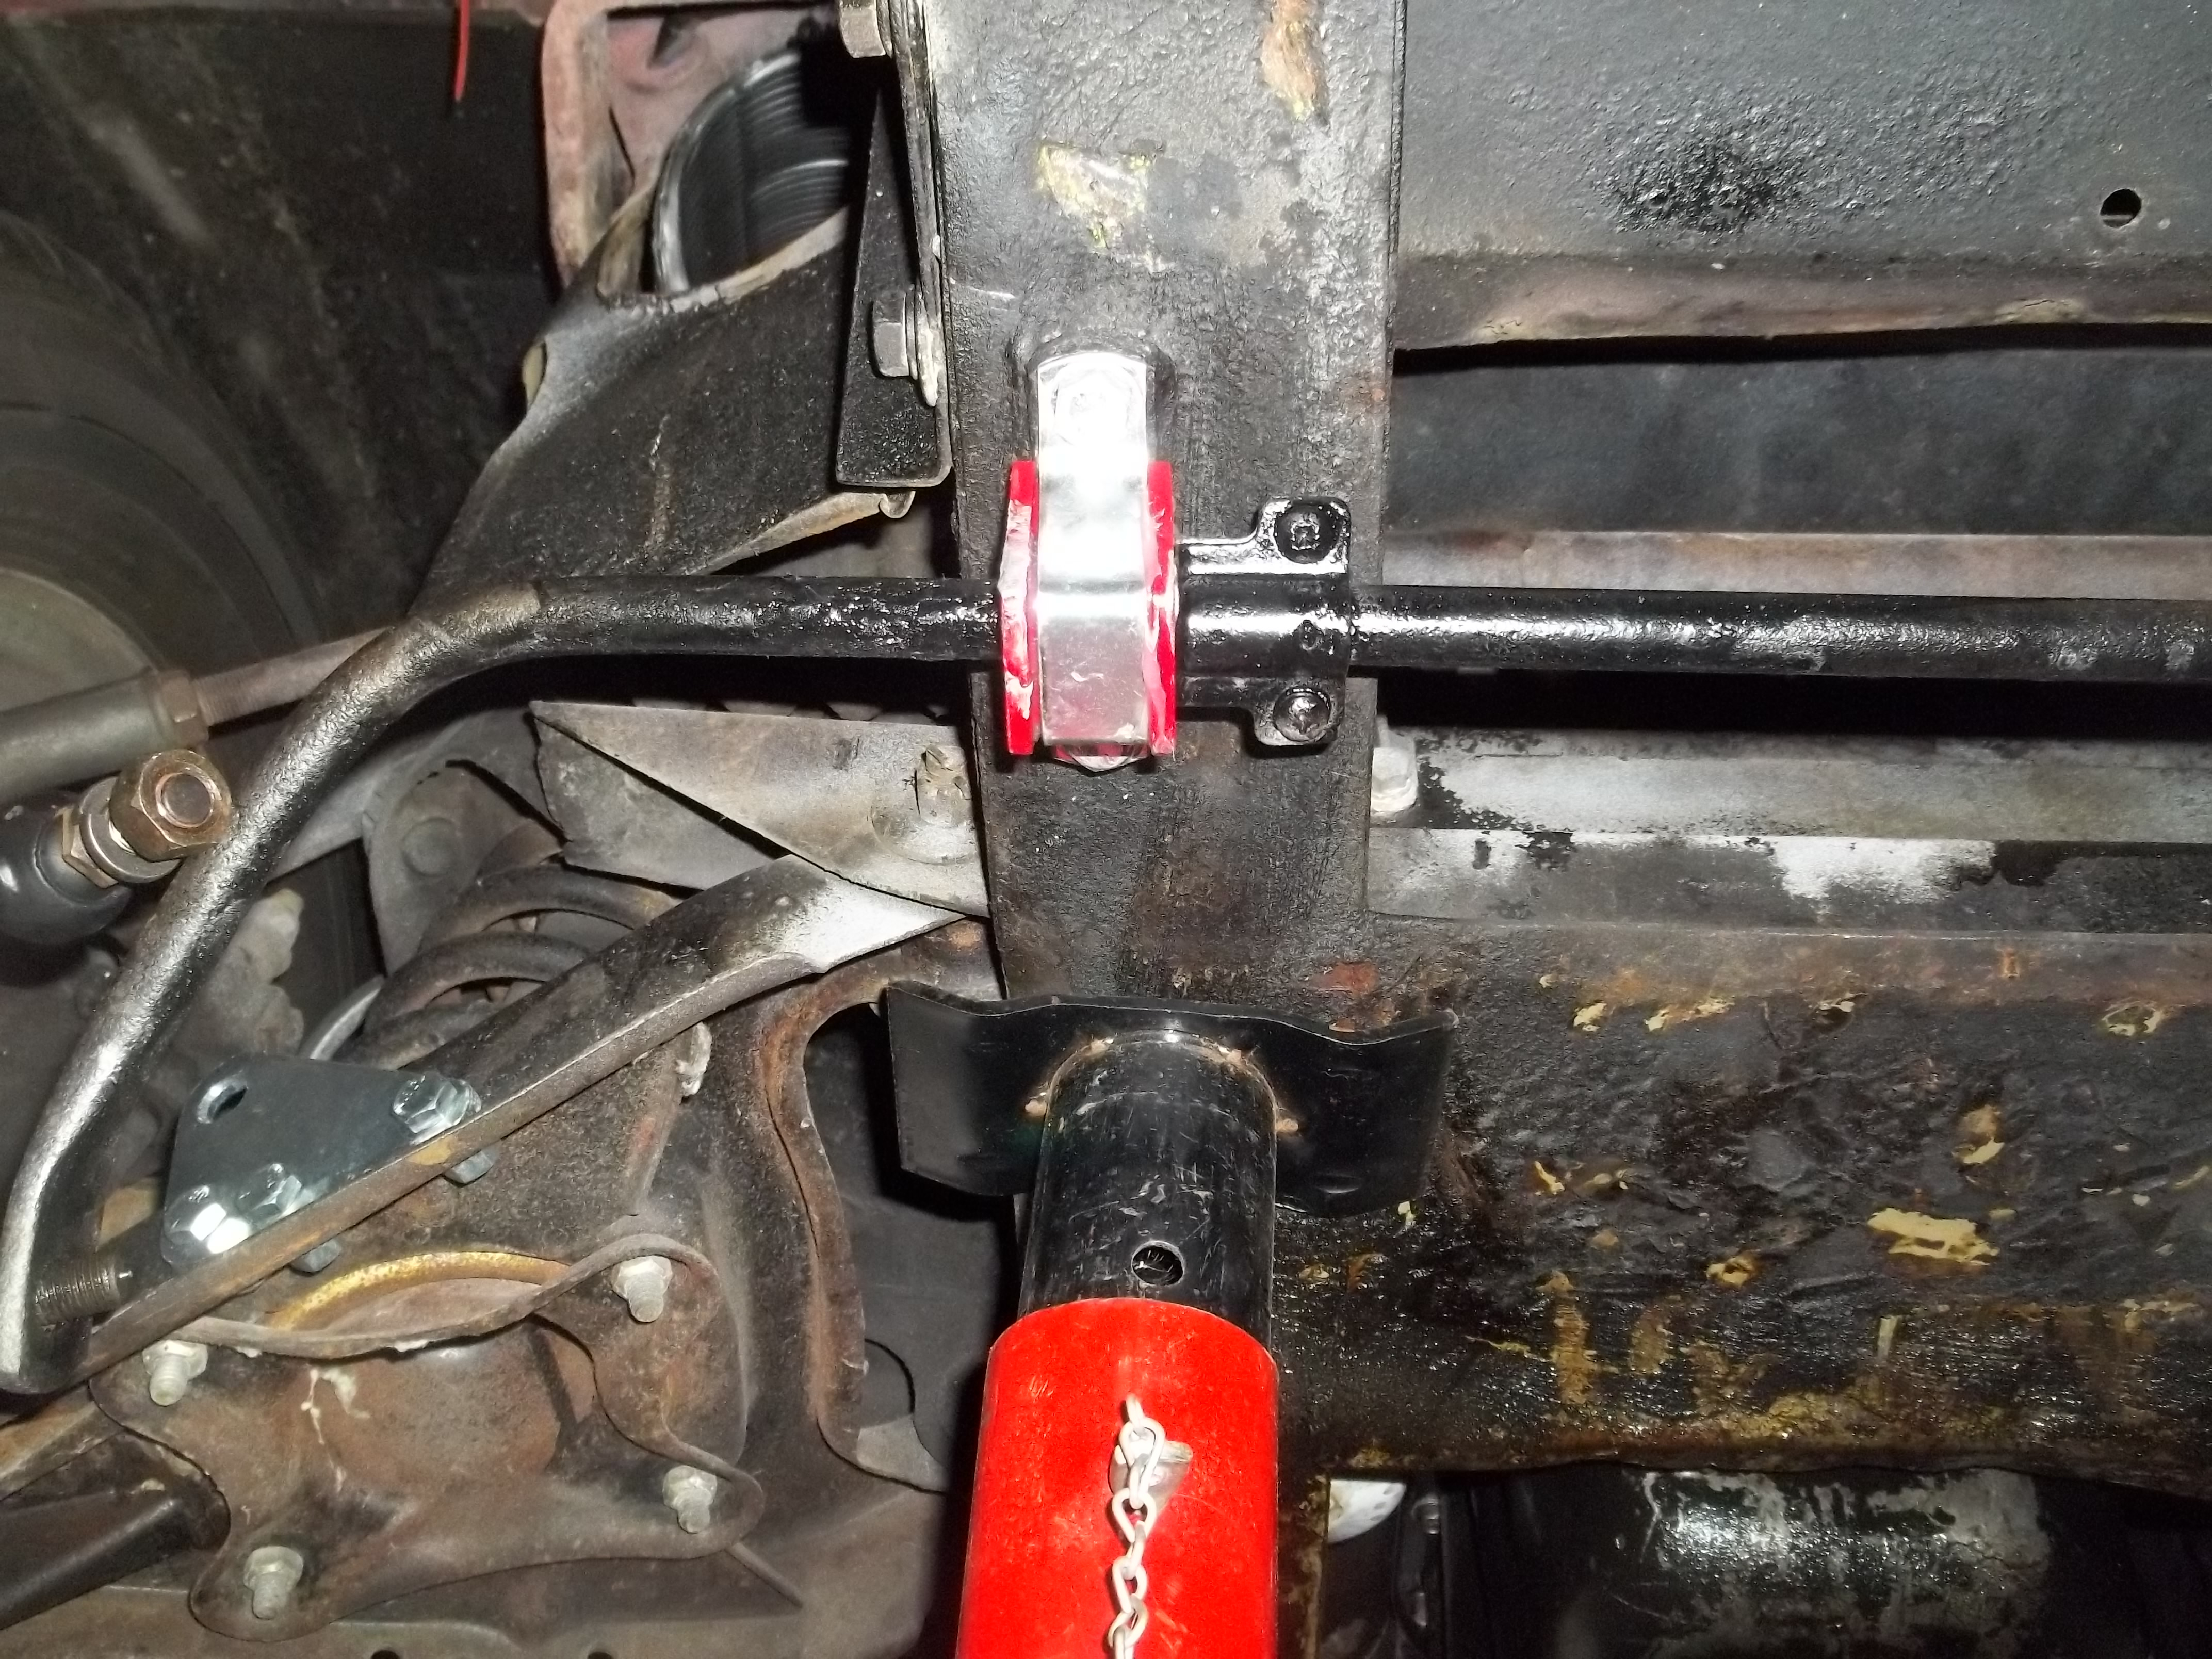
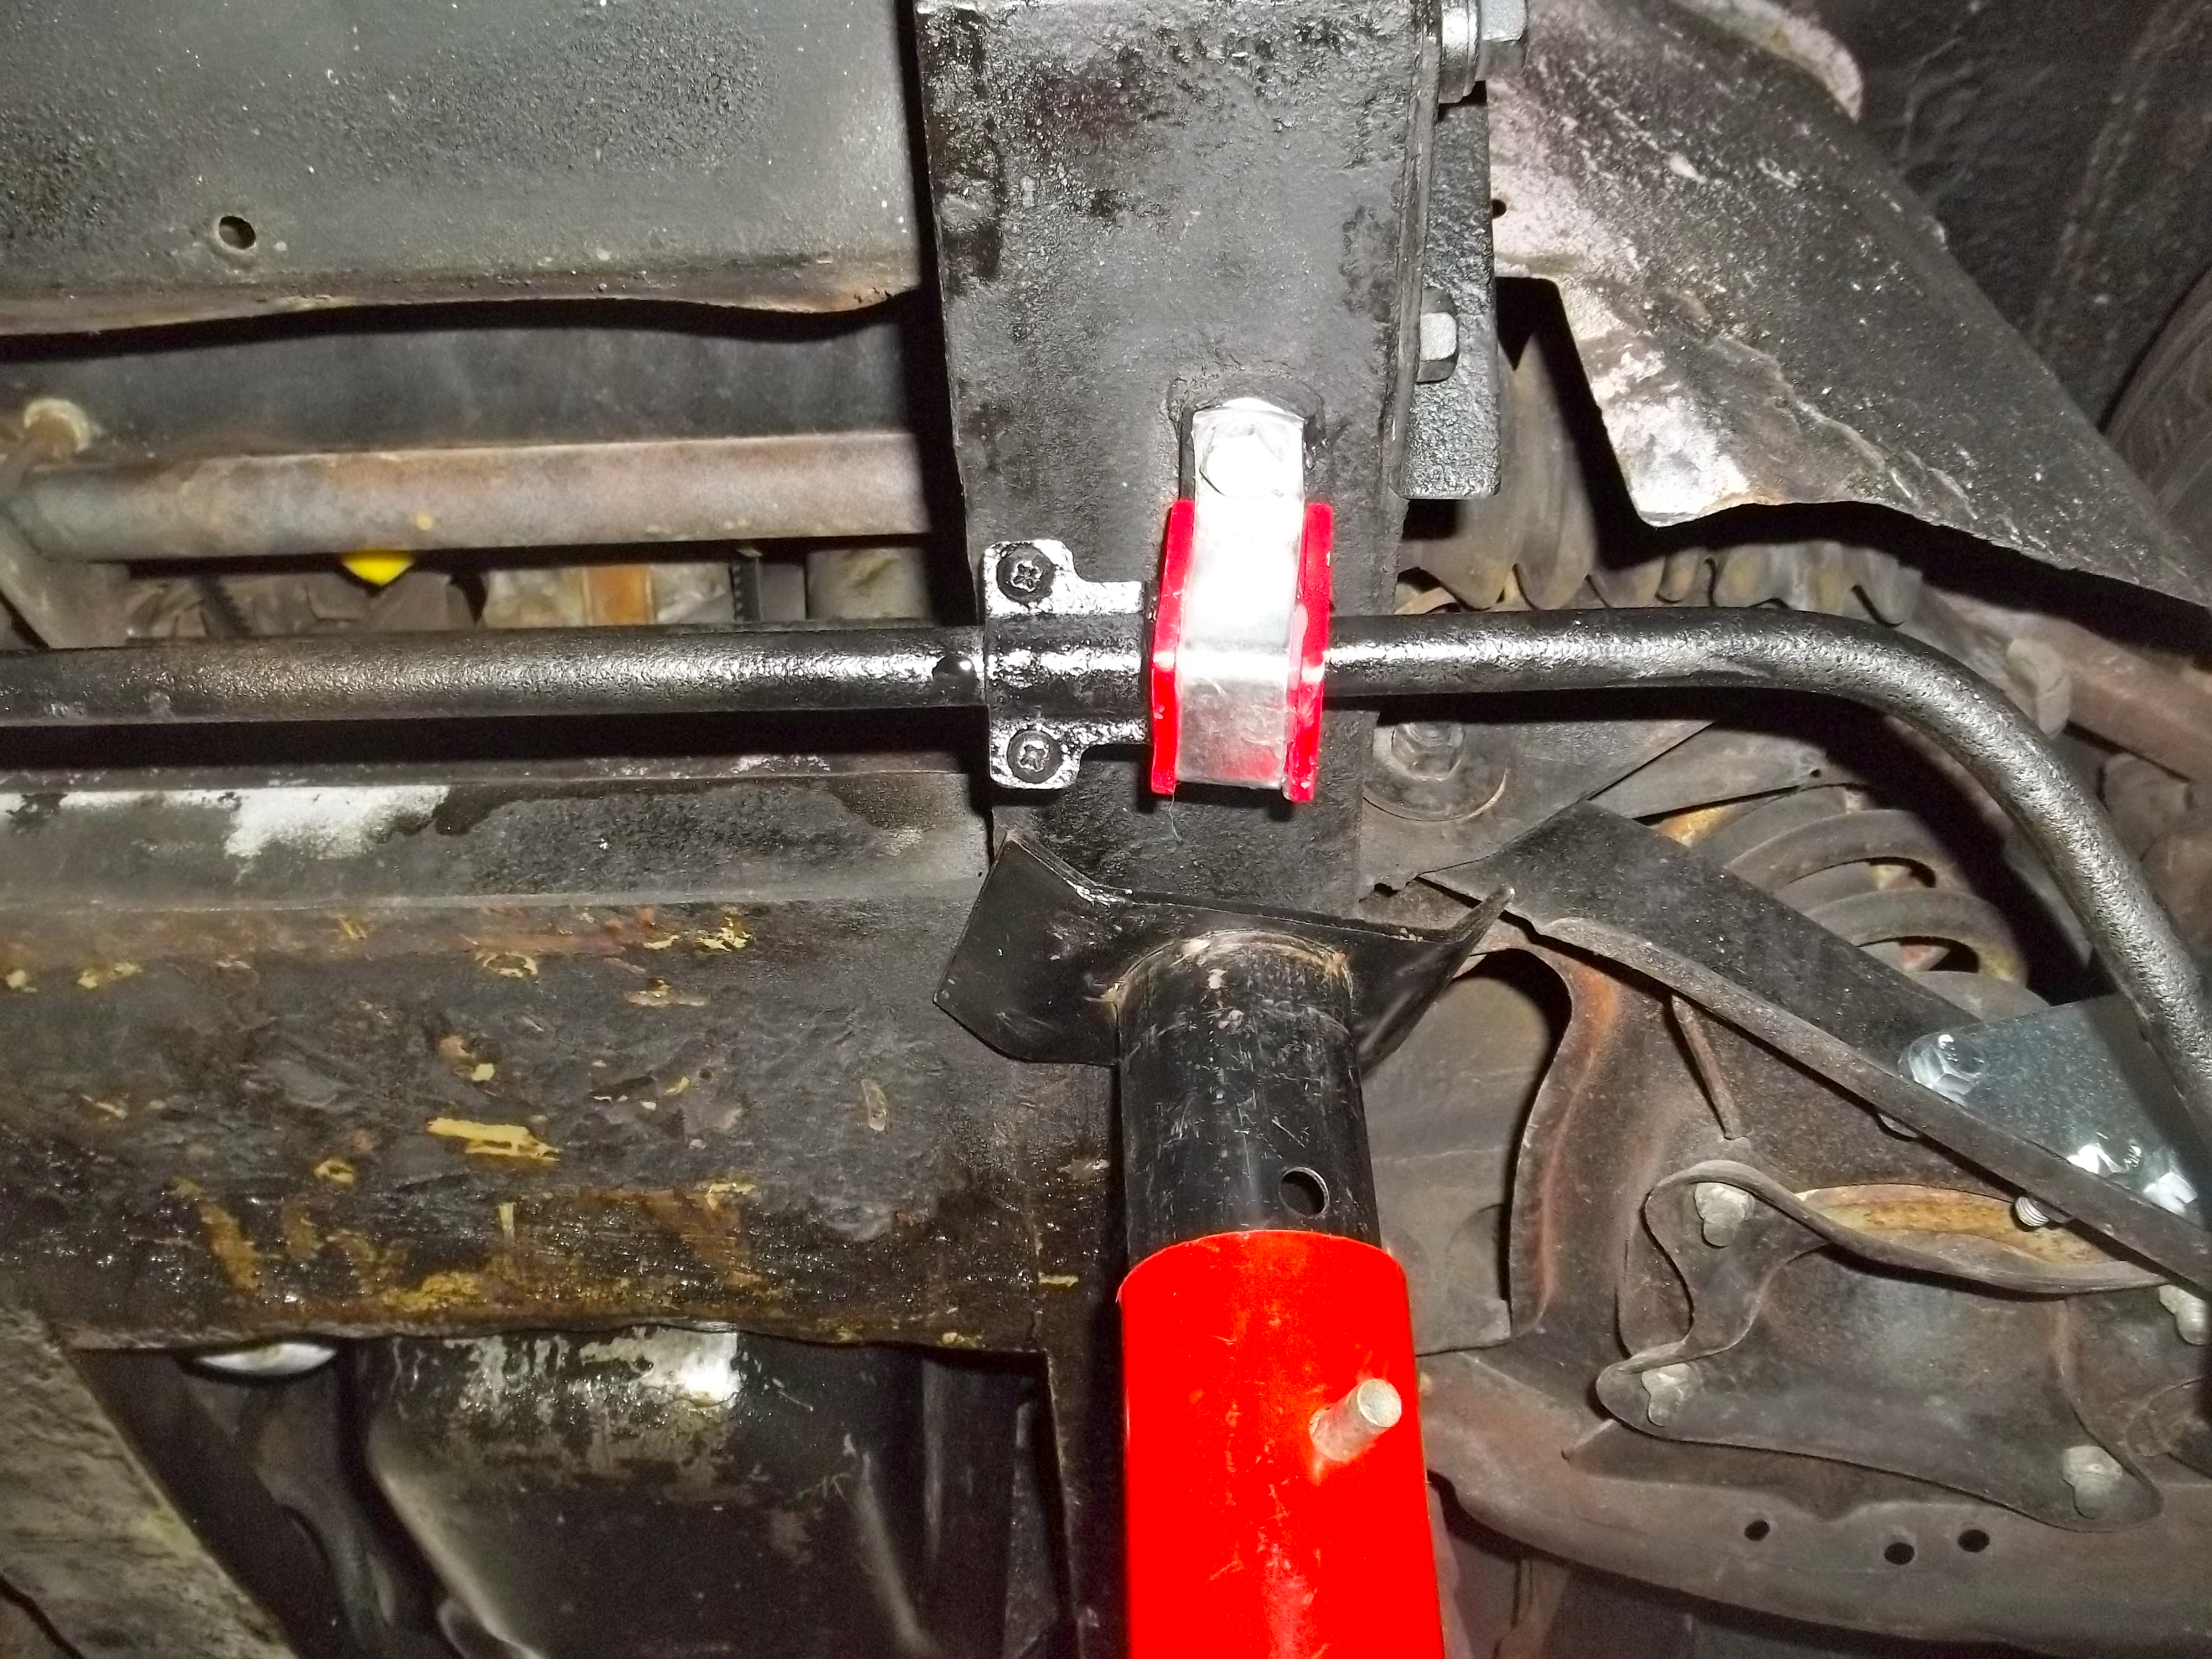
Next, use four 5/16" UNF x 5/8" hex head screws and four 5/16" lockwashers to fasten the straps to the mounting plates on the frame as shown.
 |
 |
 |
|
If the bar didn't come with the locators preinstalled, now is the best time to center the bar. Move the locators to their final positions and tighten them down. Next we install the swaybar links. Quality control on the nuts that came with the links (from Victoria British) is nonexistant. I had to use three different wrenches because it seems the manufacturer couldn't make more than 2 nuts that were the same external dimension. It would've been easier to bolt these onto the brackets before installation because there isn't much room to move a wrench on the upper nut, but doing it in this order can help avoid mistakes and confusion. A short stubby wrench can help speed this along. As long as you install the links on the correct sides they should go in easily.
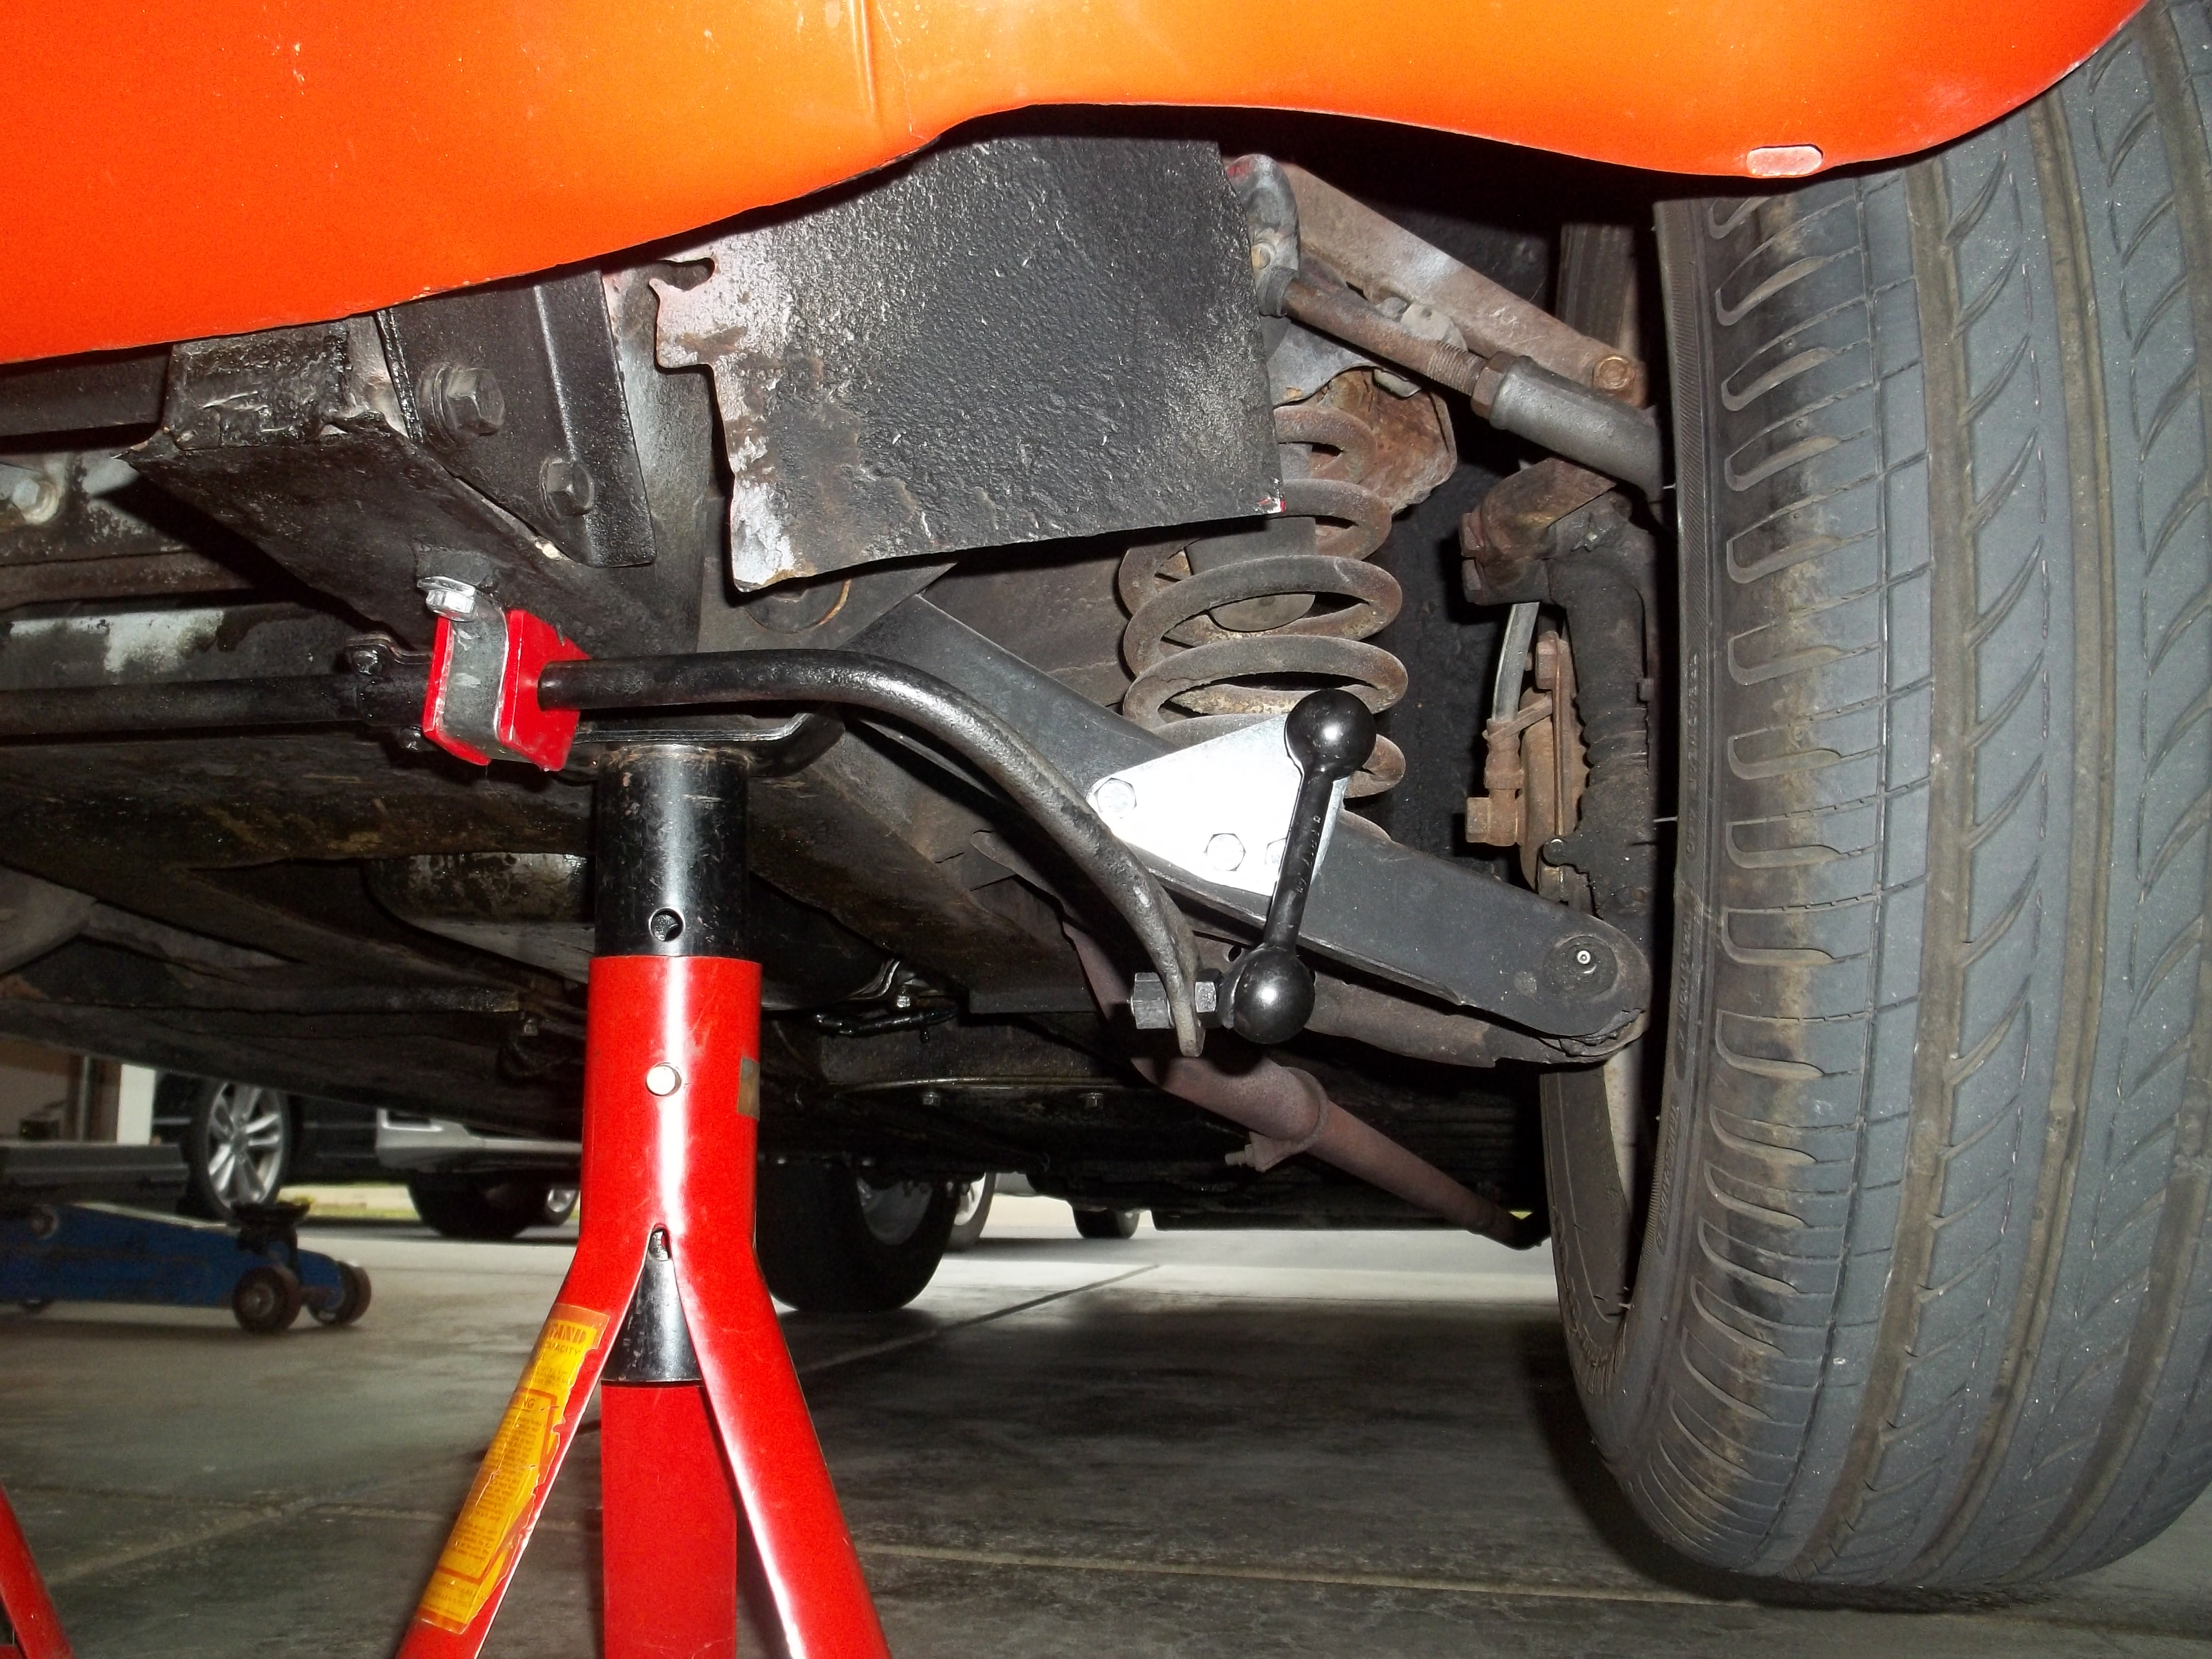
All thats left to do is find some serpentine stretch of road to test drive the car on. If this is your first swaybar on a spridget, I think you're going to be amazed at the result.