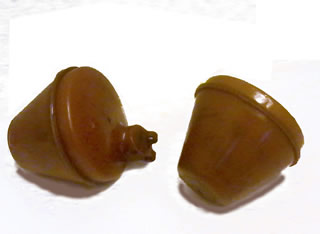
 Sometimes one of the best and least expensive options for buying parts, is a swap meet or autojumble. The problem is that you don't really know the condition of what you have untill you start taking it apart or testing it. The same thing applies with ebay. In this case, I purchased a box of miscelaneous carburettor parts that I knew had some things that I could use on my car or on other people's cars (I was rebuilding a set of HS2 carbs for a friend at the time). Anyway, the rebuild kit didn't include floats, so I had to make sure that at least two of the floats in that box of parts still worked. The following method will work for any carburettor float. This test should be conducted any time you are rebuilding a carb, after any attempted repair of an old float.
First, weigh your floats on a postal scale or tripple beam balance scale, and write down the weight of the float. If you are doing multiple carbs, it is a good idea to mark the floats you're testing with a perminant marker so you can tell them apart. Next, you will need to submerge them under 4-5 inches of water for at least 24 hours. I find the easiest tool to do this with, is an 8 cup french press. The pressures at this depth are 4x greater than what a float experiences in normal operation, but still not enough to cause damage. After the 24 hours have past, take the floats out, dry them off, and weigh them again. If they weigh the same as they did before, they arent leaking, and will work fine.