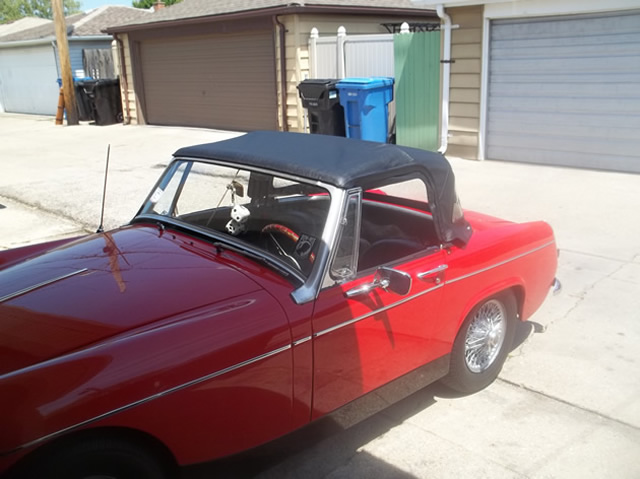
Here is how to replace the soft top on cars that have removable soft tops but also wind up windows. This would be the MkIII Sprites and MkII Midgets with VIN numbers beginning with HAN8-38854 and GAN3-25825 and ending with HAN8-64734 and GAN3-52389. Roughly between Jan 1964 and Sept. 1966 production. However Australian market cars got chassis numbers beginning with YHGN8 and production continued till Nov. 1969 ending with a YHGN9 VIN prefix.
Anyway, the first step is to pick a nice hot sunny day and lay your brand new top out in the sun. Then remove your old top from the car, and take pictures. Note how everything attaches to the chassis rail. I have many pictures in this article, but please take your own because I may have missed something.
The top is a fixed to the front rail with contact cement and some pop rivets attaching an extruded aluminum retainer bar, and also holding the corners tightly too the rail. There are also some plastic pads held in with a few Phillips screws.
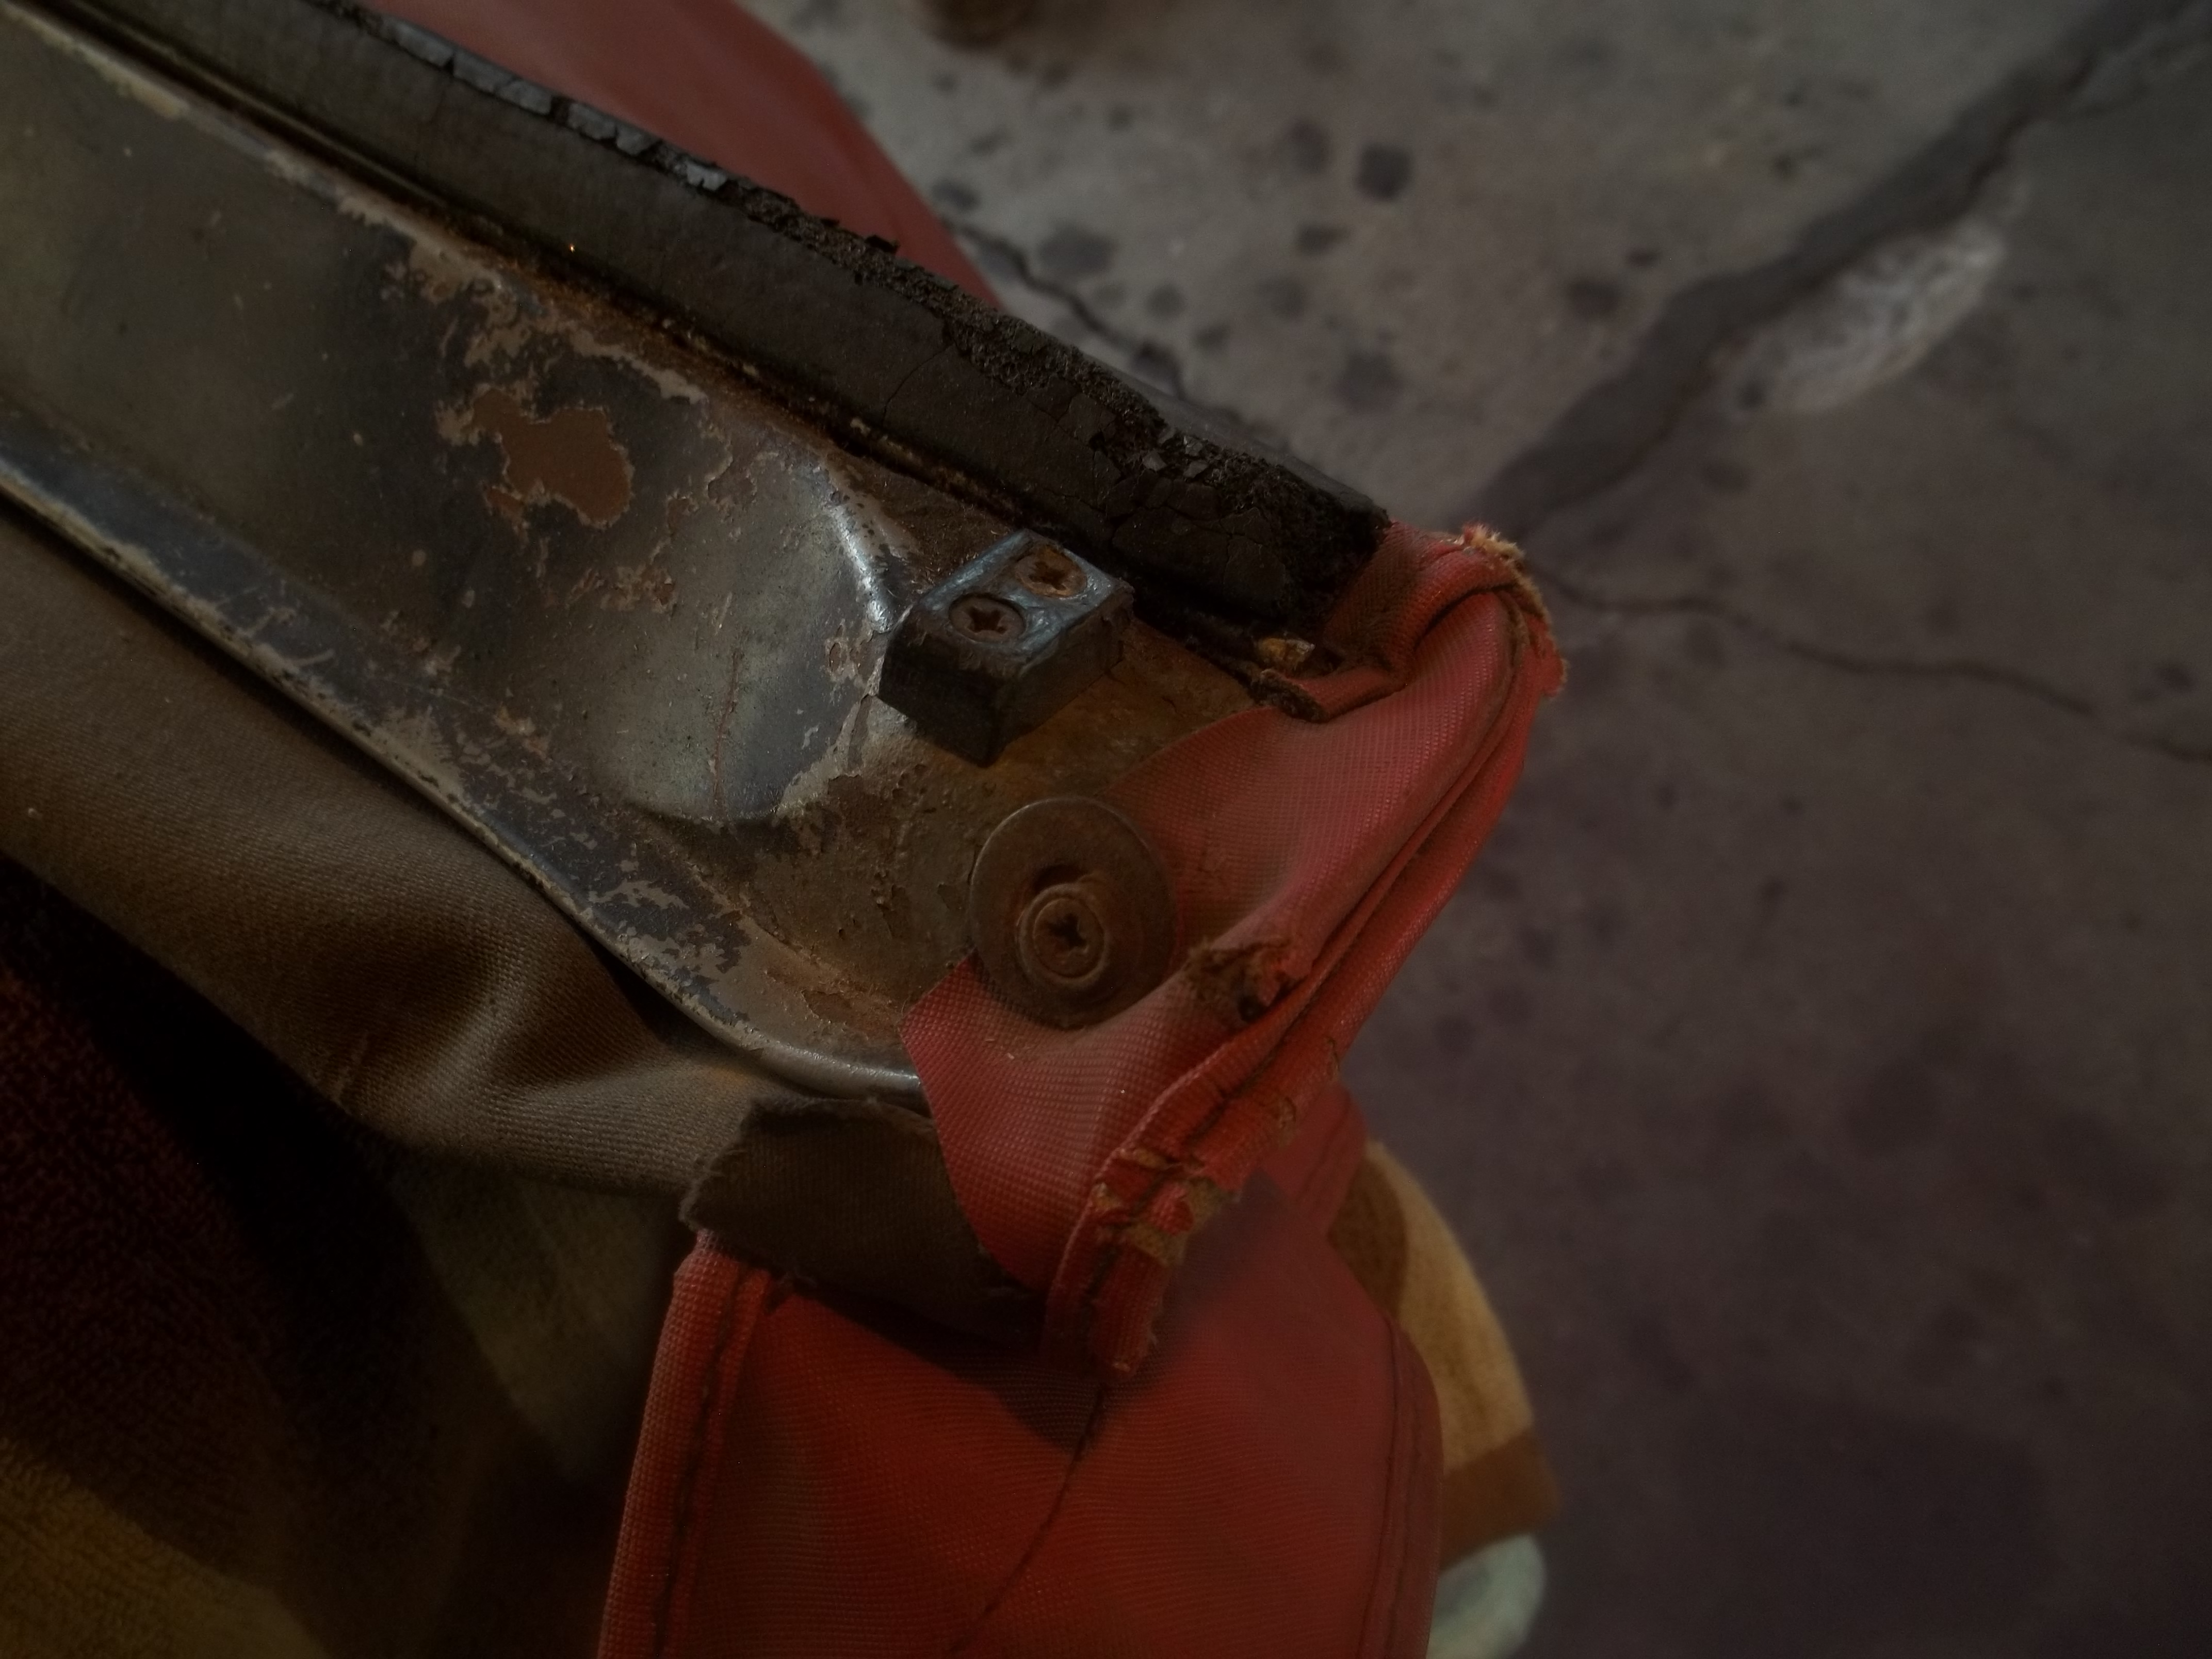
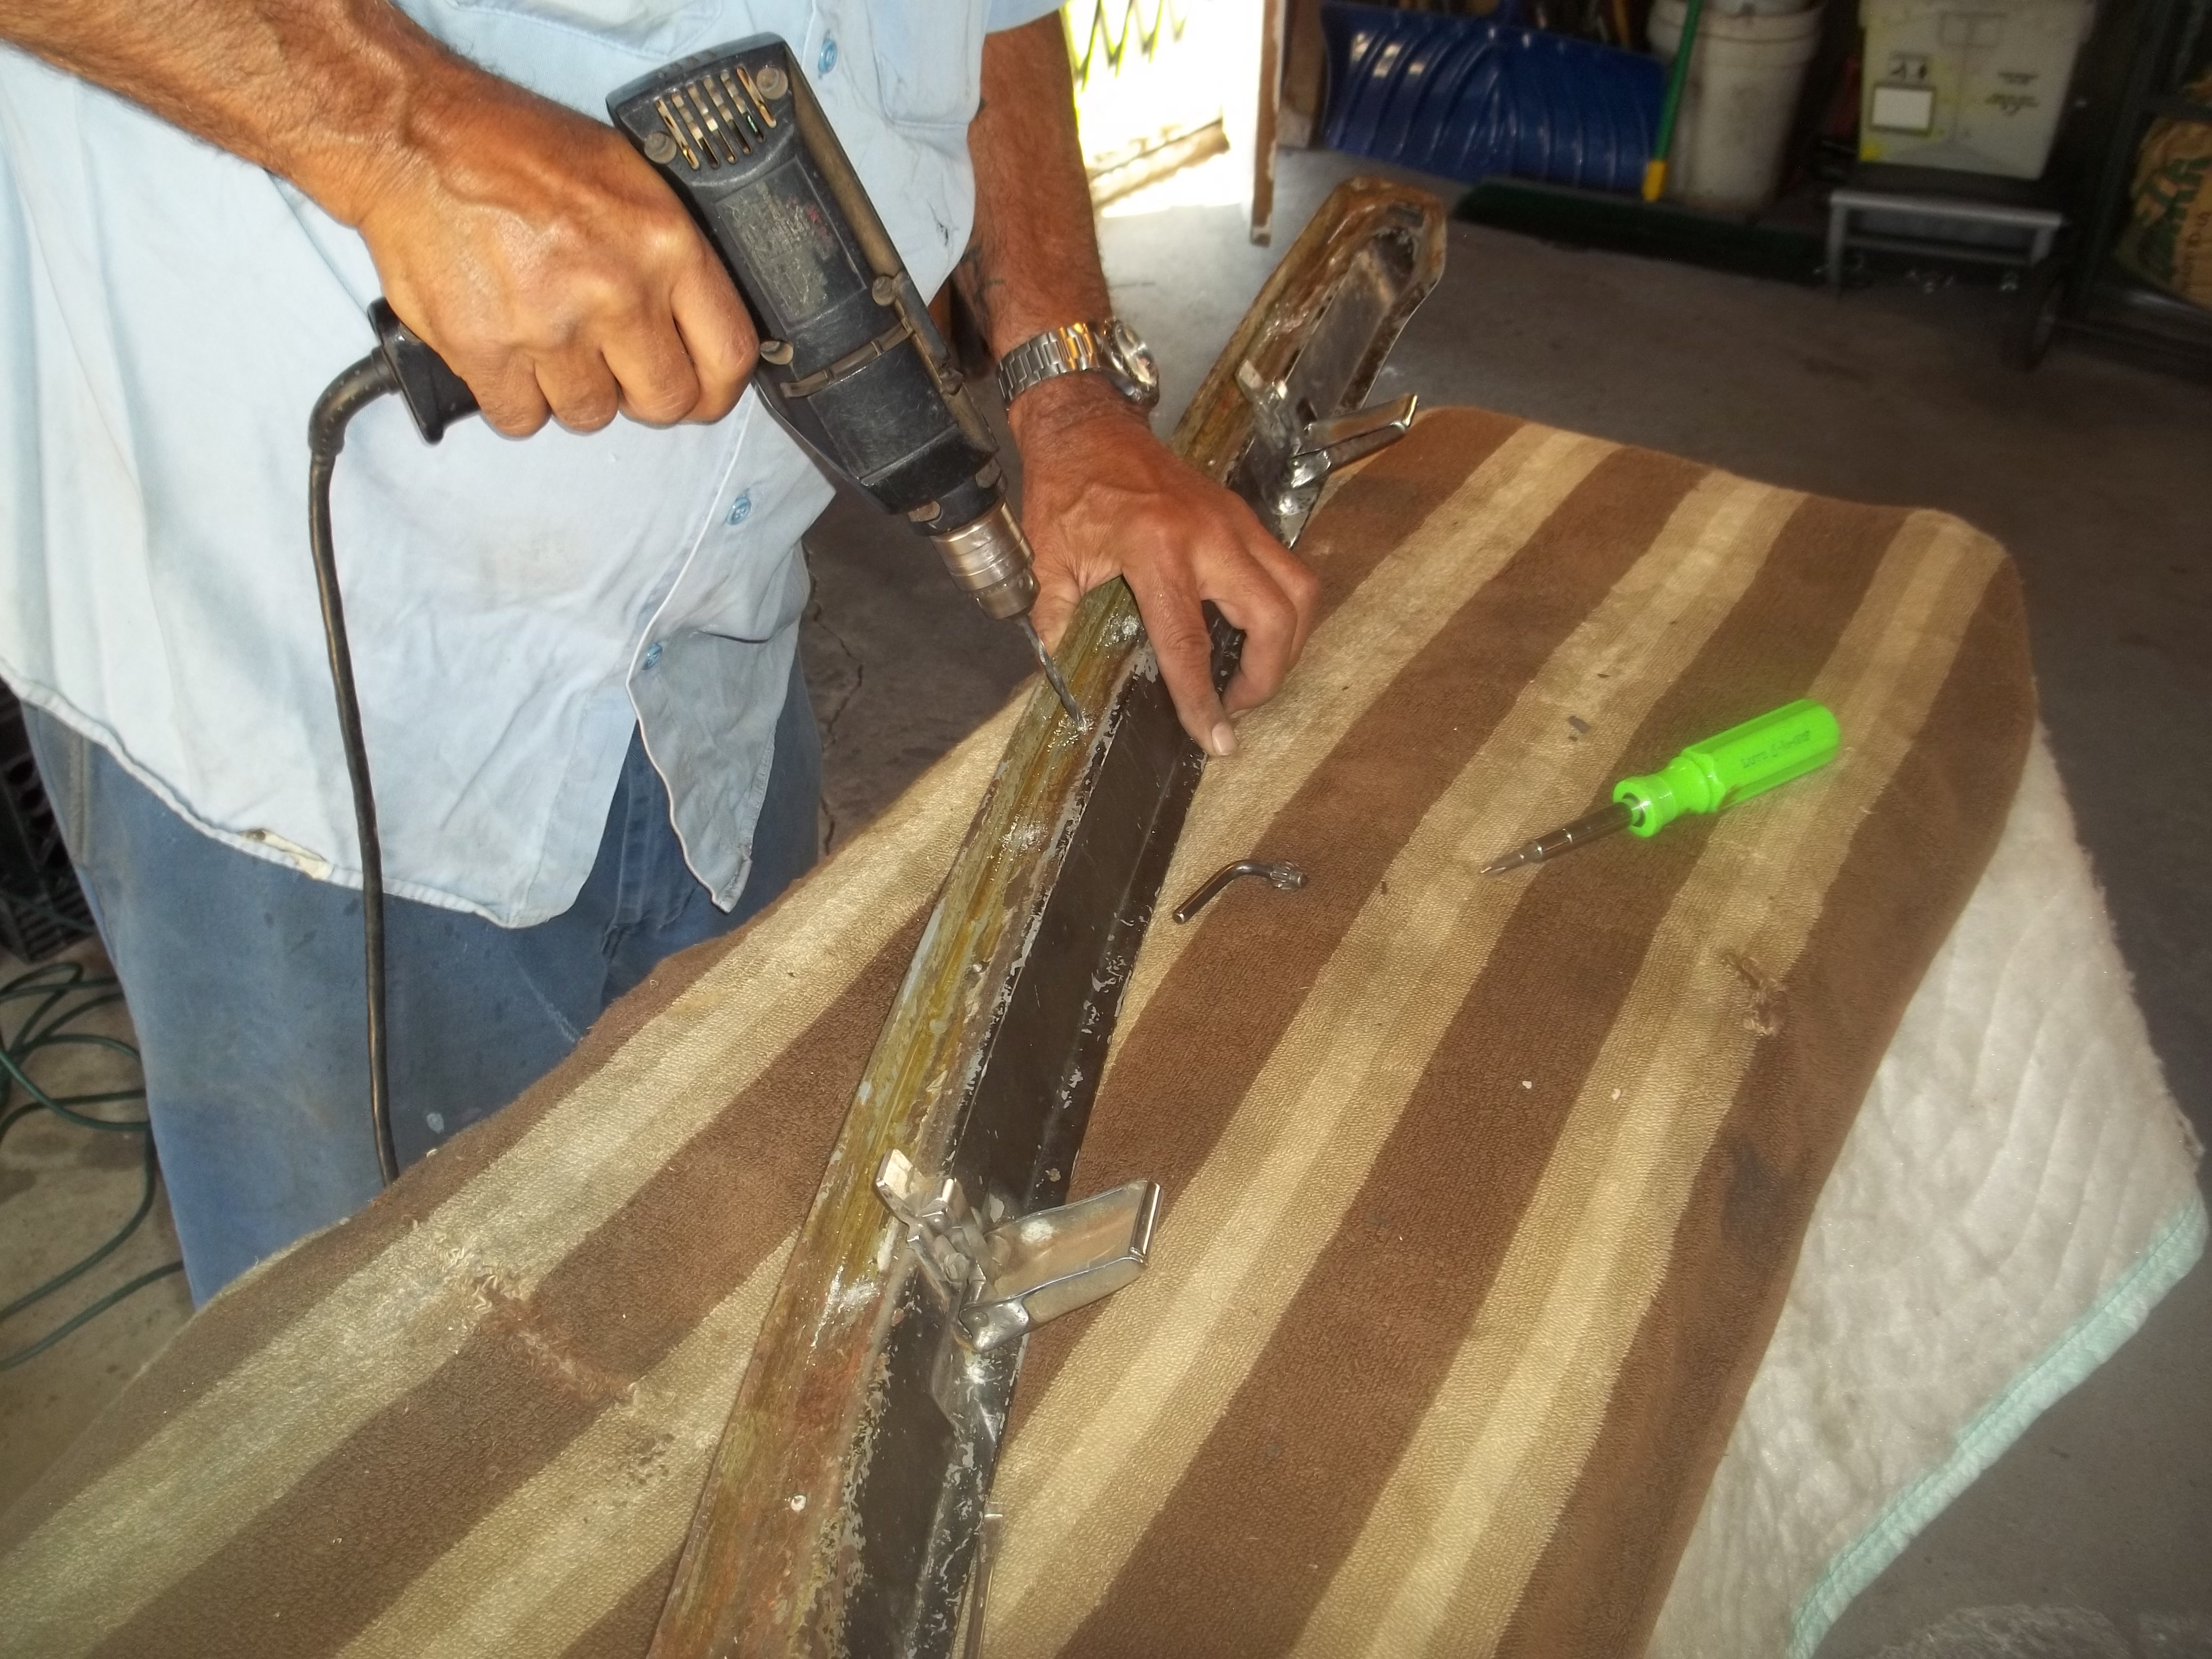
Drill out all the rivets, remove the screws and save all the hardware. Now is also a good time to clean off the header rail and repaint.
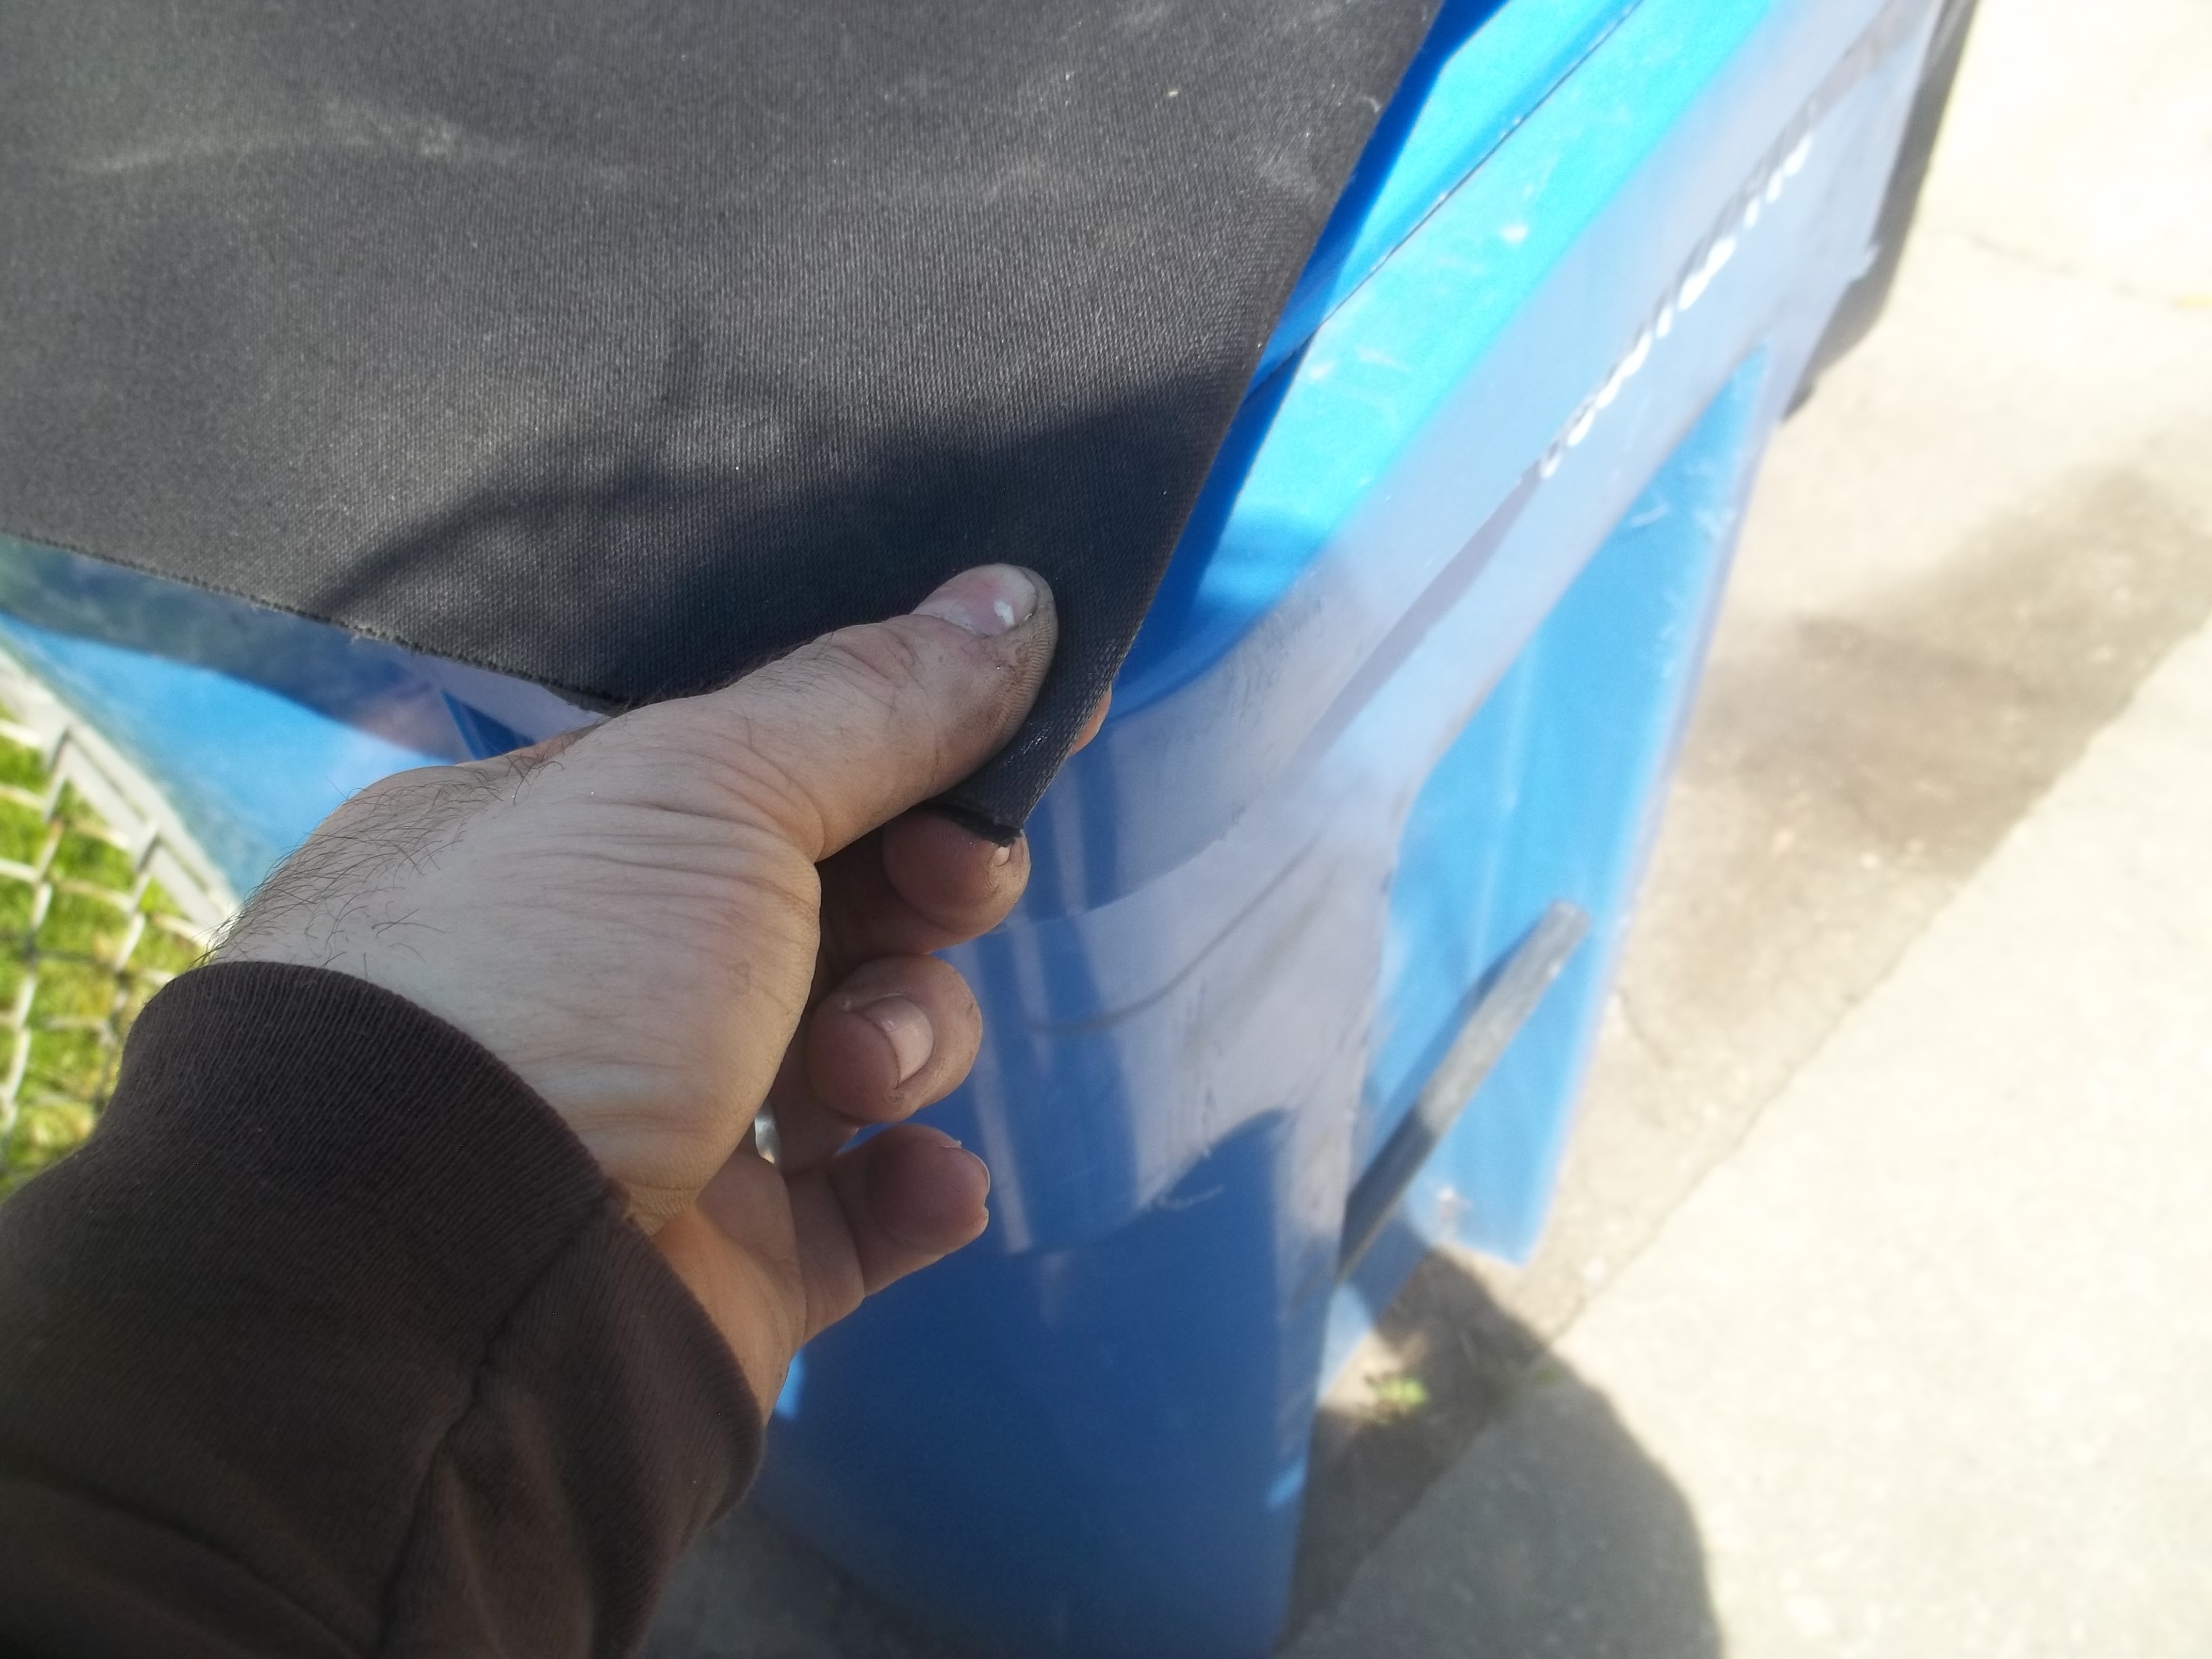
Fold the top in half lengthwise and find the center of the top in the front so that the liner is facing outwards. Mark this spot with some white chalk on the underside of the top where no one can see.
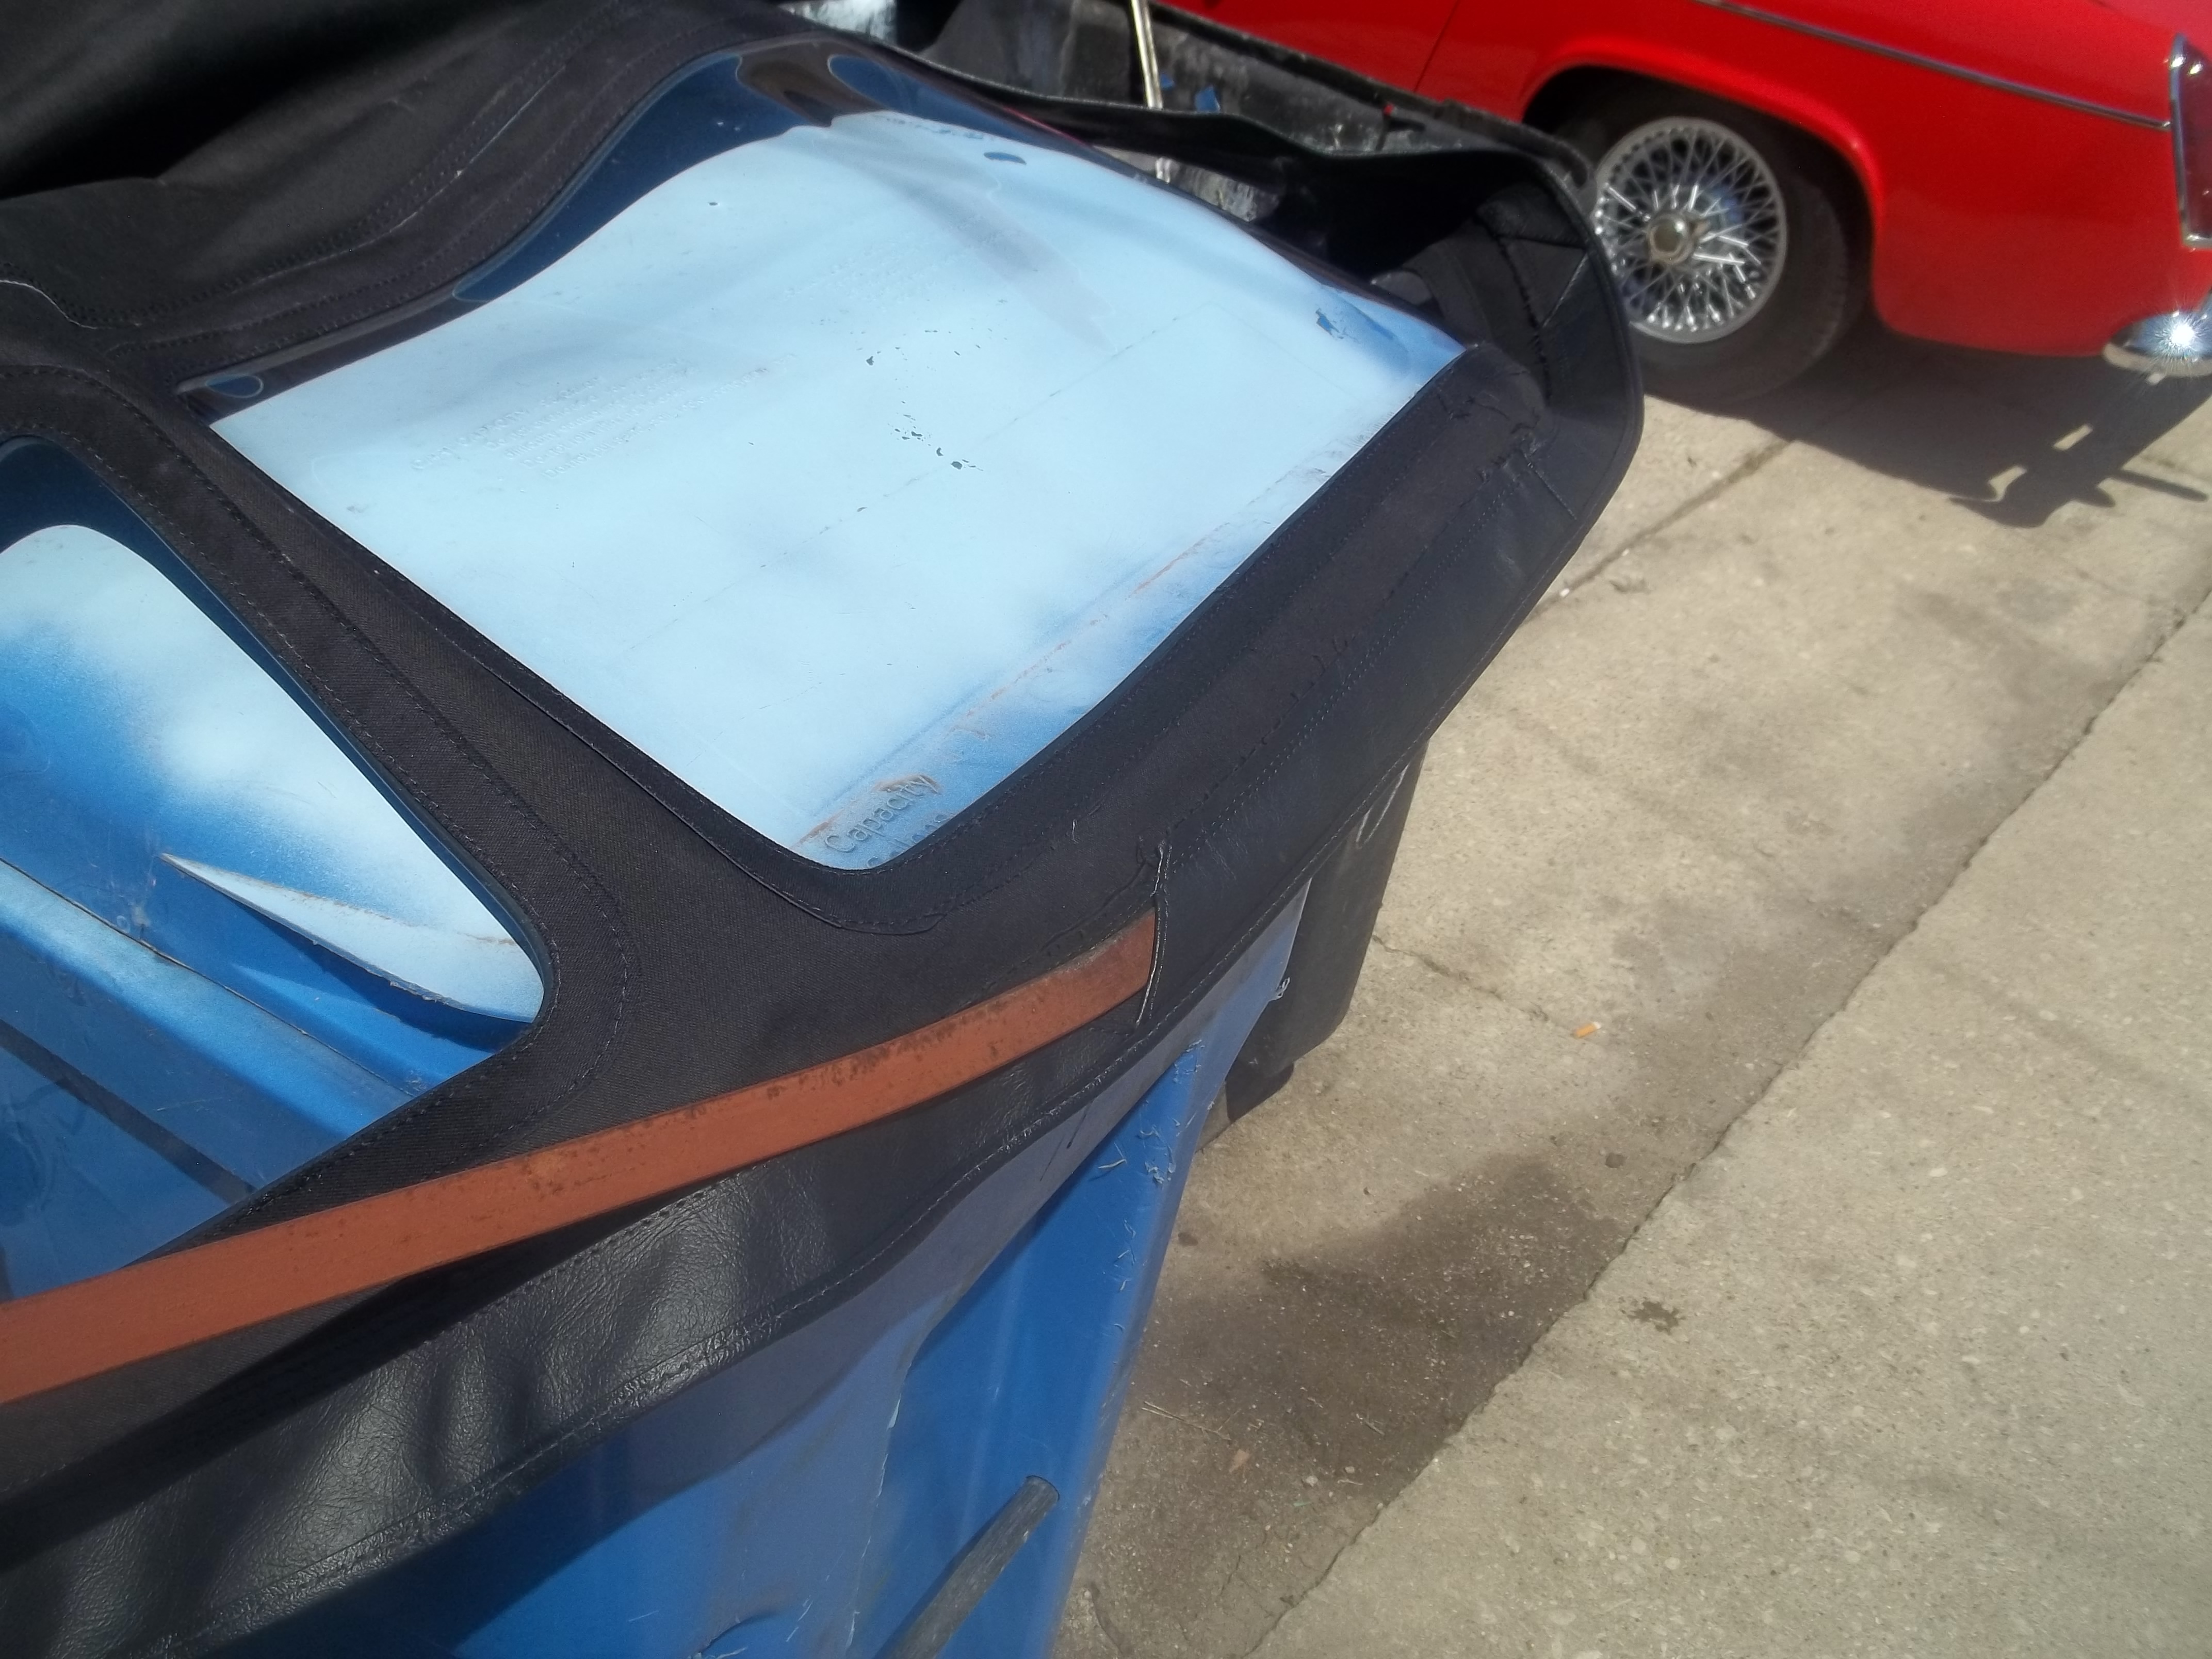
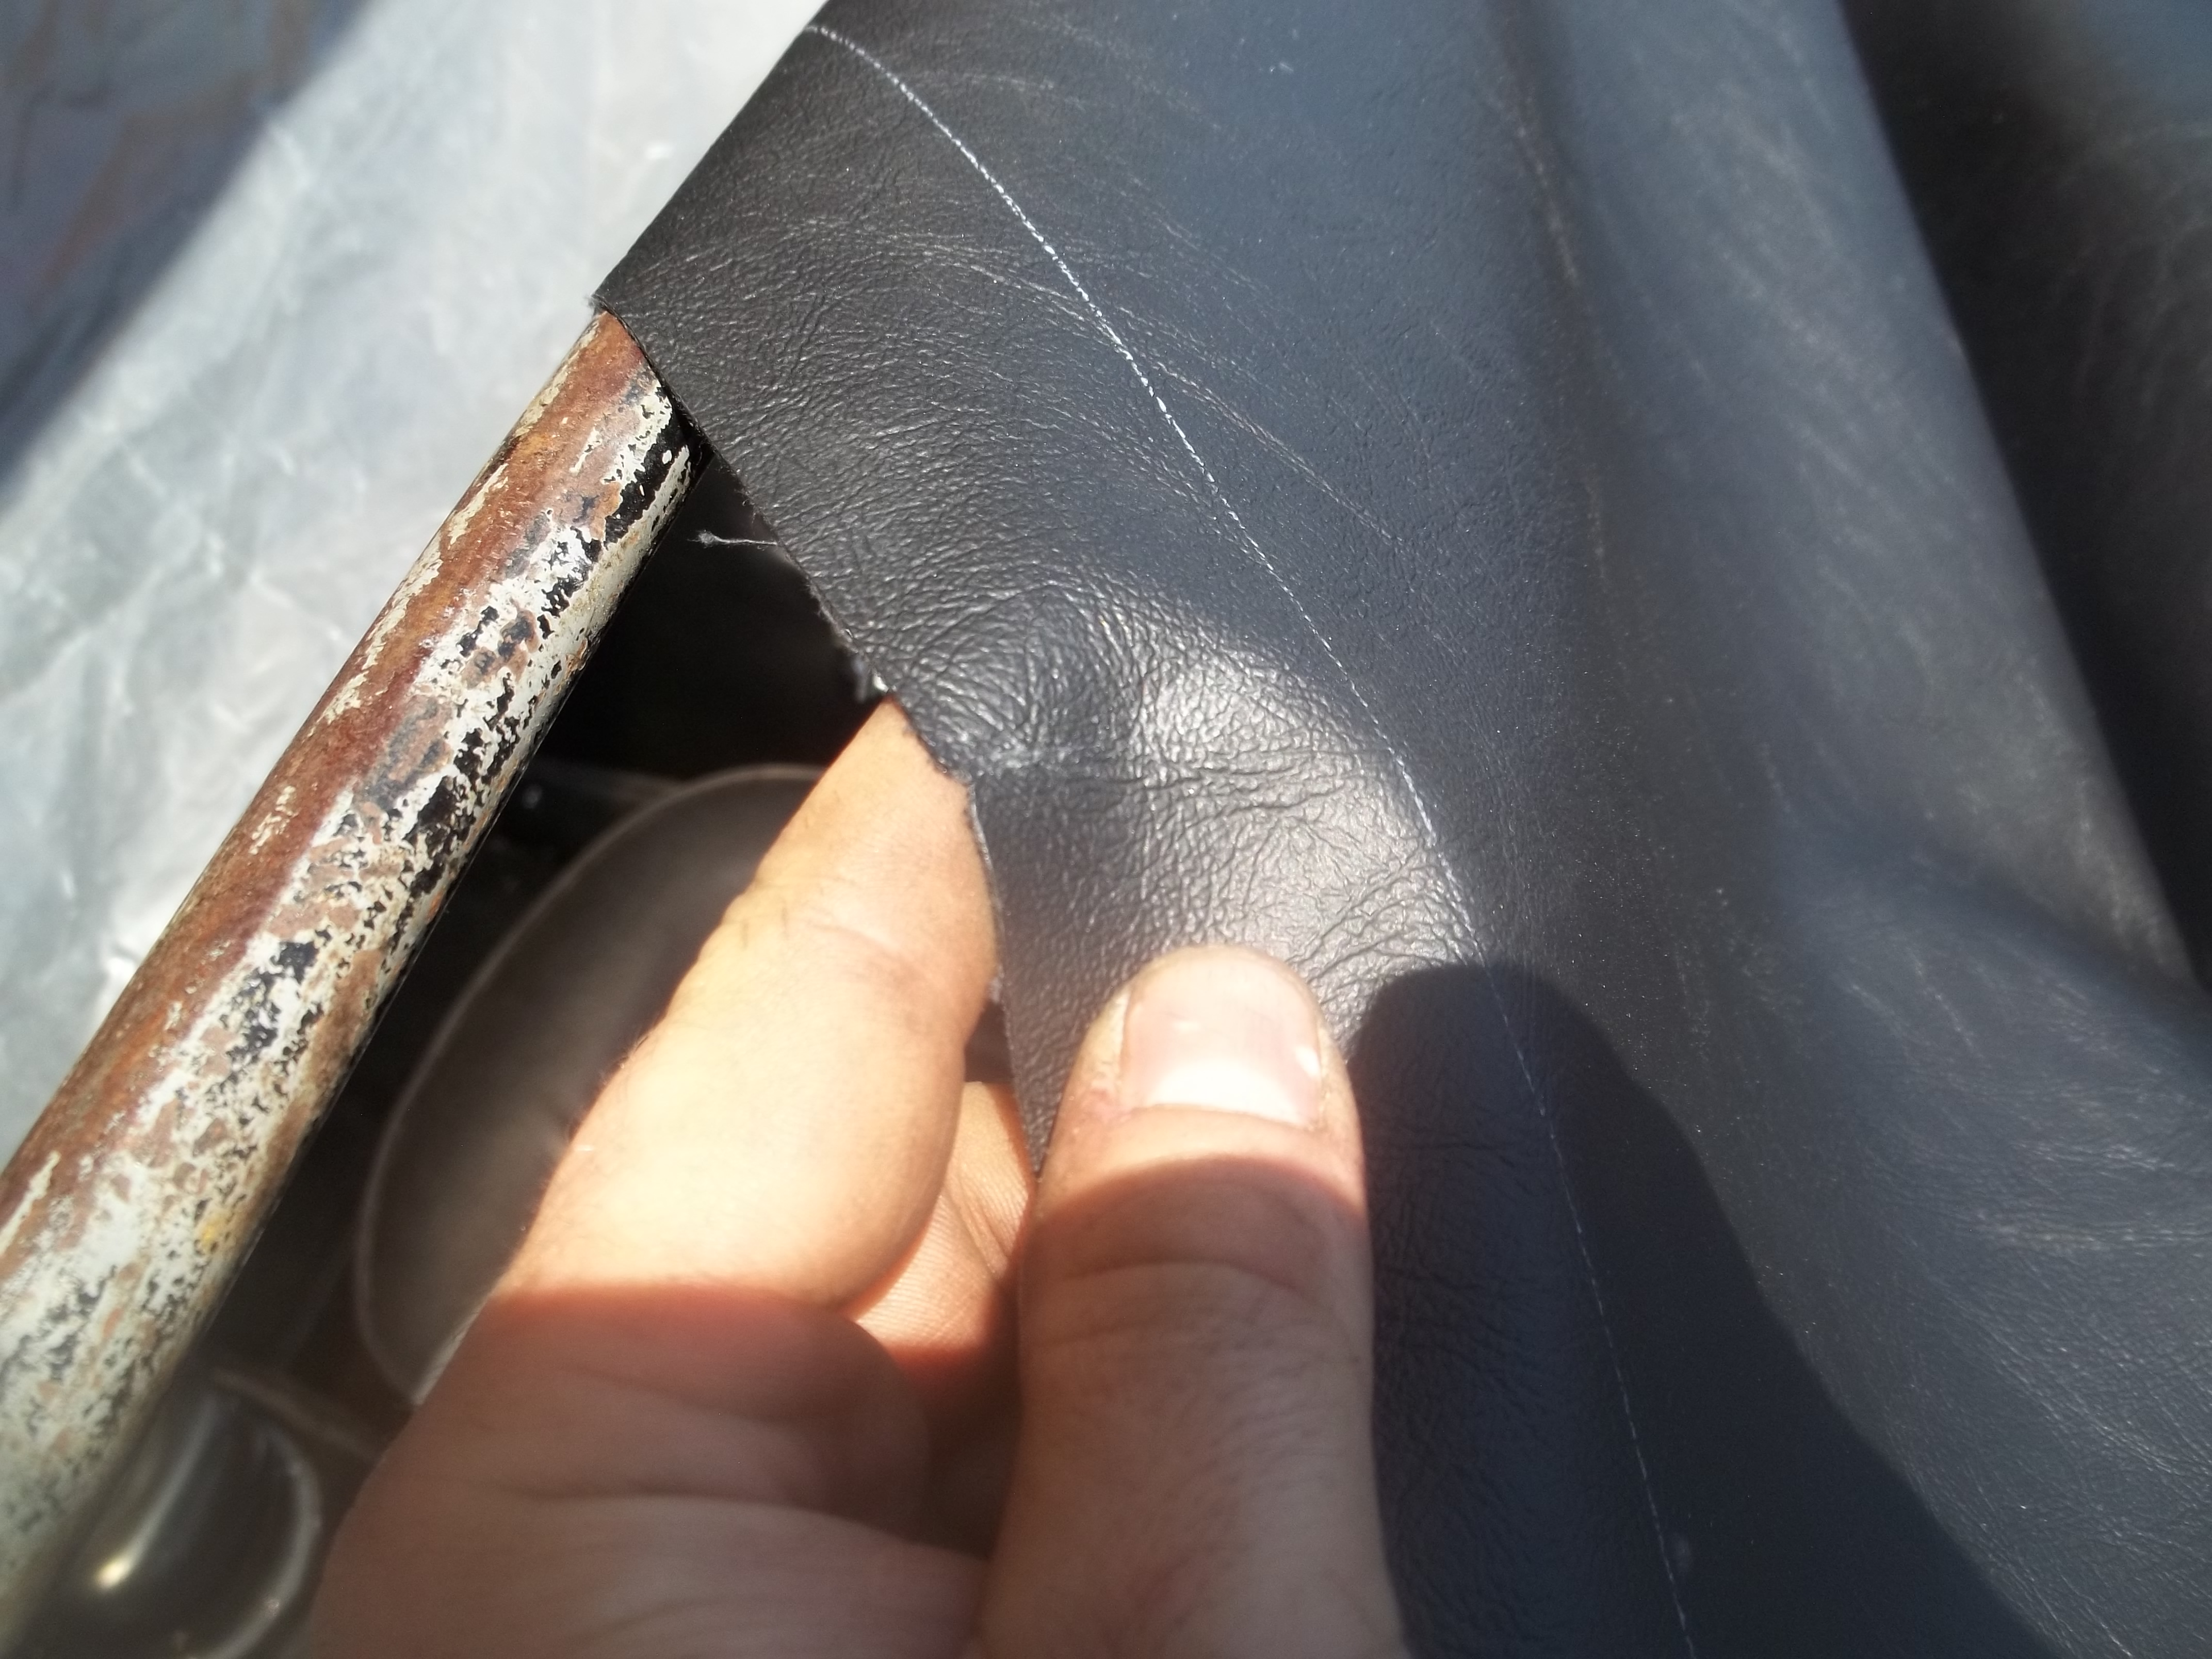
At the rear of the soft top there is a retainer bar that is fitted inside of a pocket. Slide this bar out of the old top (or obtain a new one) and install the retainer bar in the new top as shown. Slide it all the way inside and then slide it back so it is centered in the top and all the way in side both pockets. There is a hole left open on each side for the rear retainer clips. This bar must slide past these holes on both sides.
 |
 |
|---|
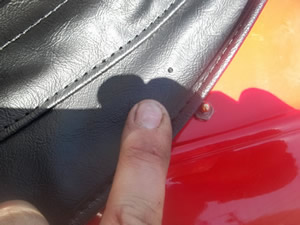
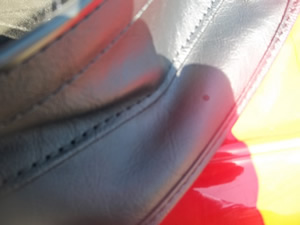
Now install the retainer bar on the rear clips, install the header rail on the windscreen, and install the top frame and pull it tight over the front of the windscreen. If the manufacturer hasn't already marked where the front of the top folds under the header rail, mark it now with some chalk. Make a note of where the tennex studs touch the top. Some tops don't come with these pre-installed or marked, this one had them marked. If you need to mark a spot for a hole, cover the stud or snap with some white chalk, stretch the soft top into position and press it against the stud or snap.
 |
 |
|---|
To install the tennex fastener, enlarge the hole a little with an awl, undo the retaining nut on the fastener and make the hole just big enough for the fastener to fit through it. A pair of needle nose pliers or snap ring pliers can help in tightening the nut. There may be a special tool for this somewhere.
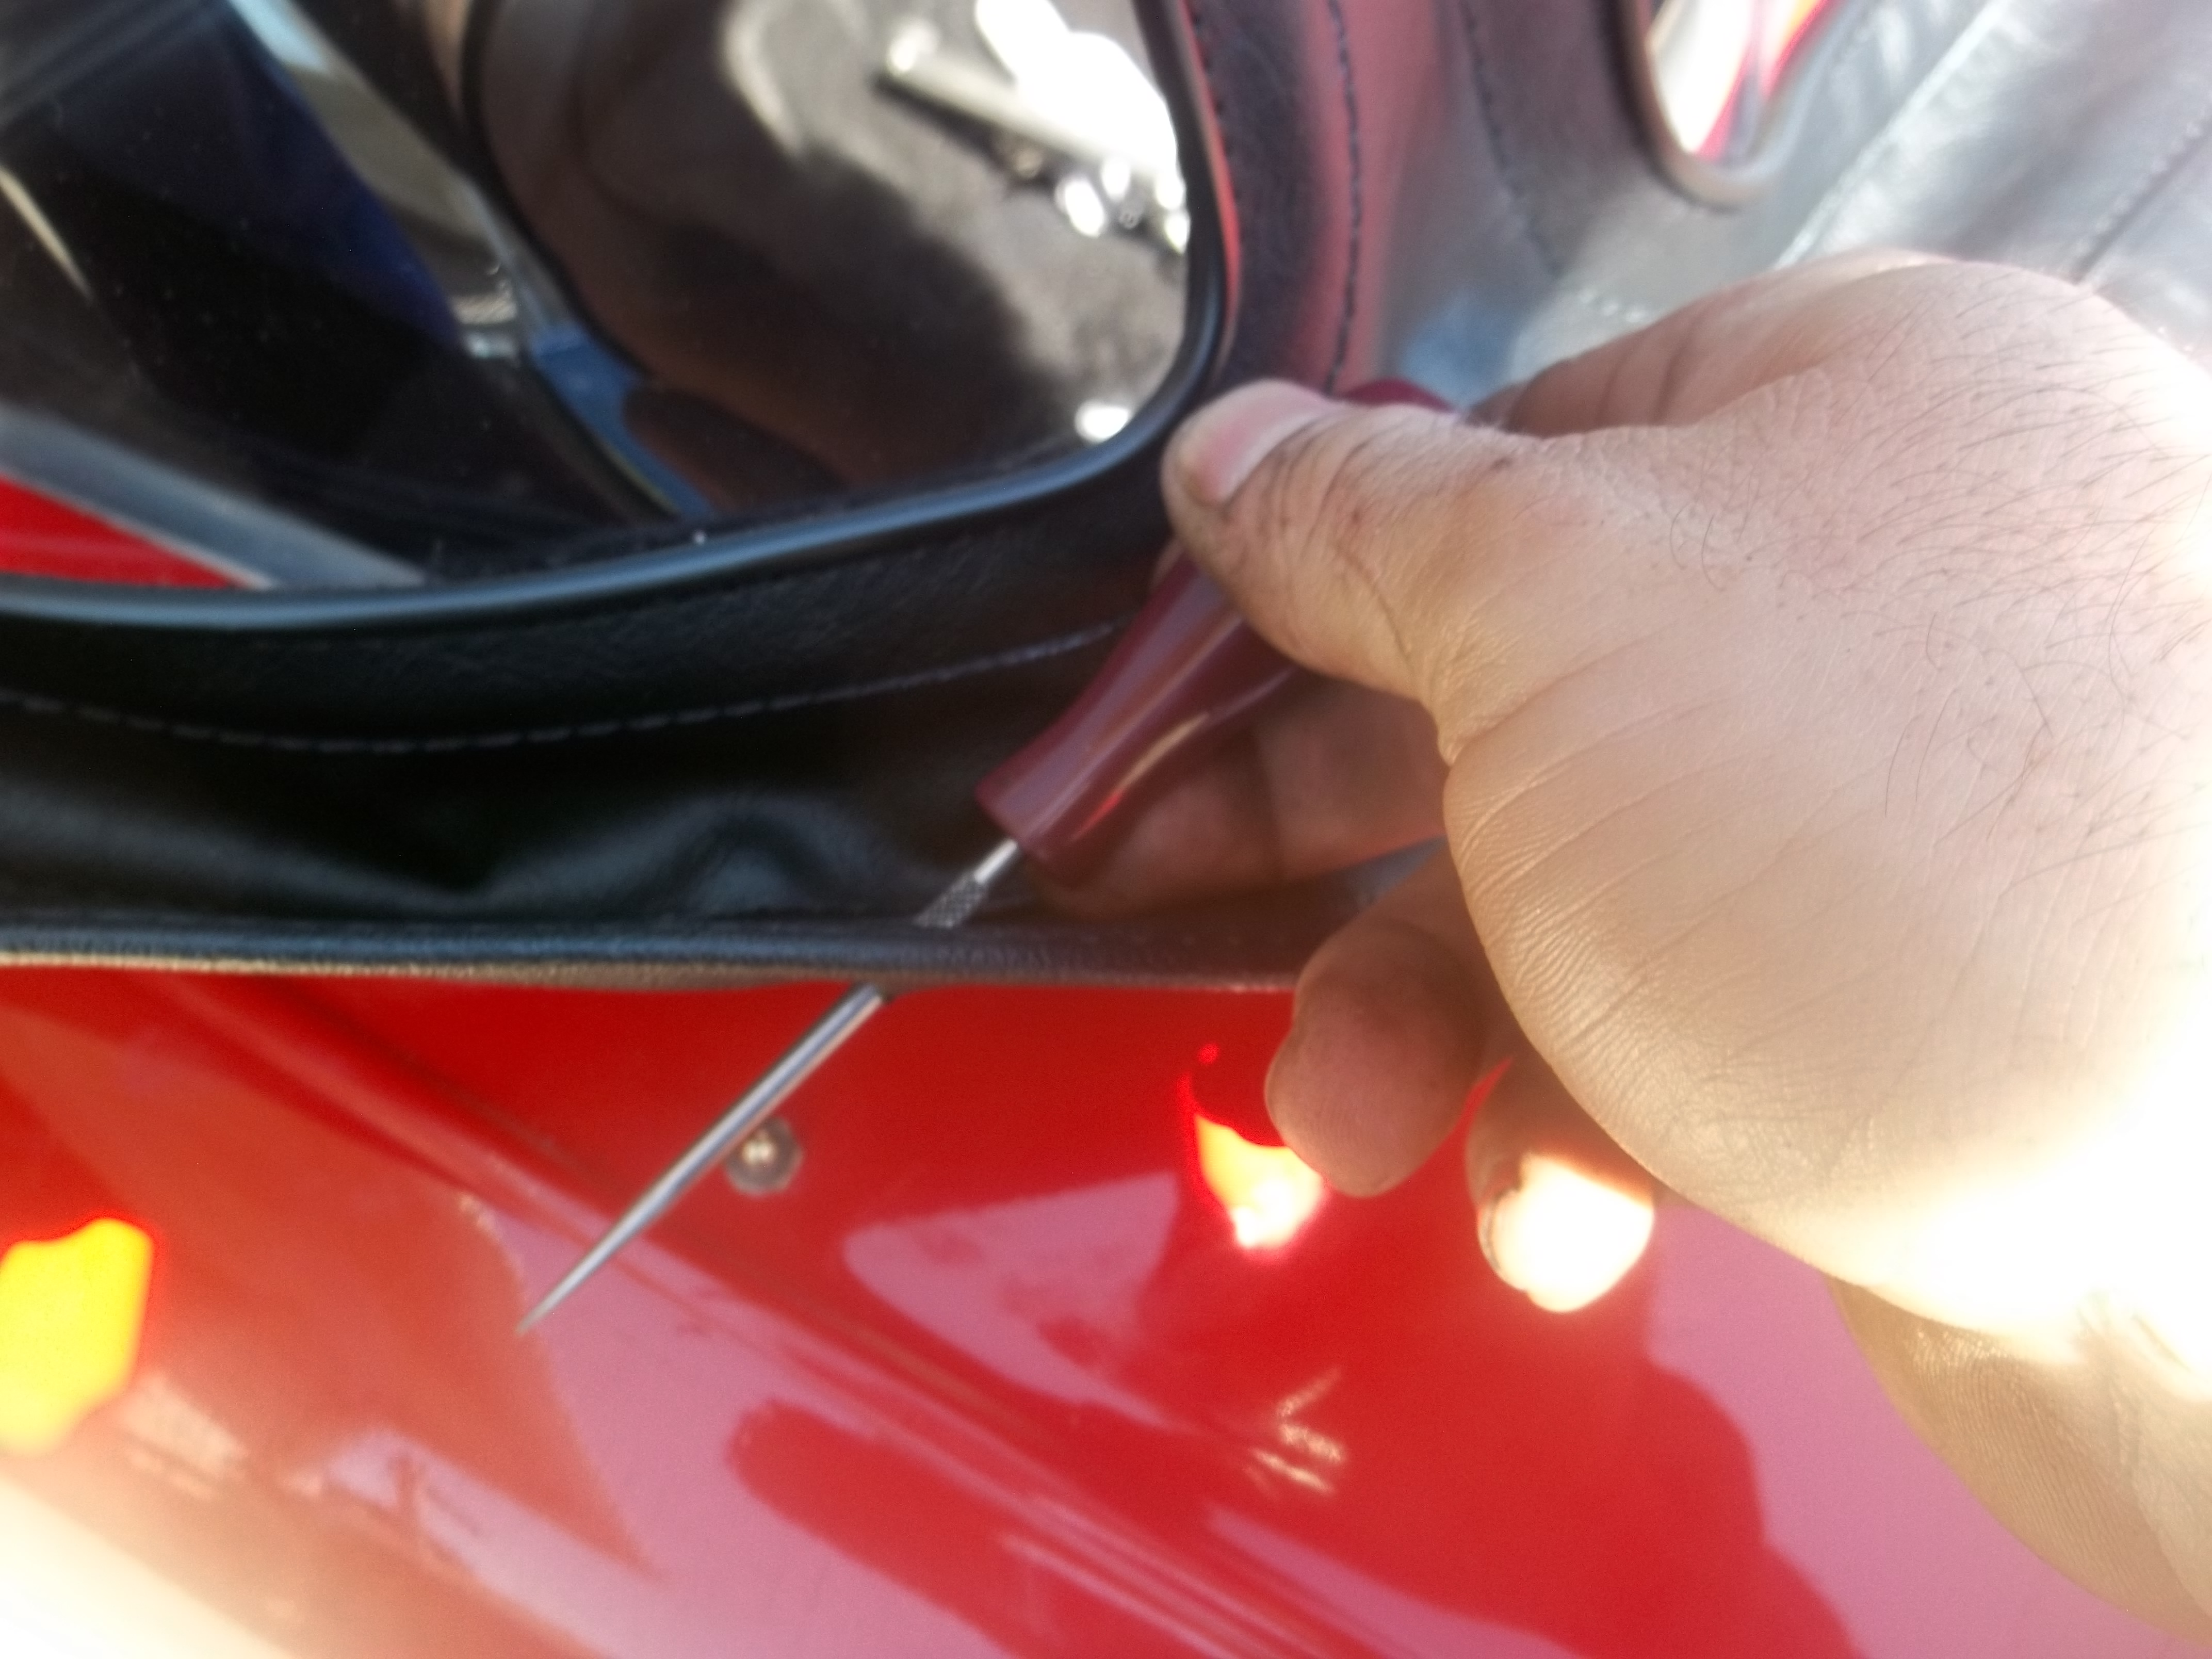 |
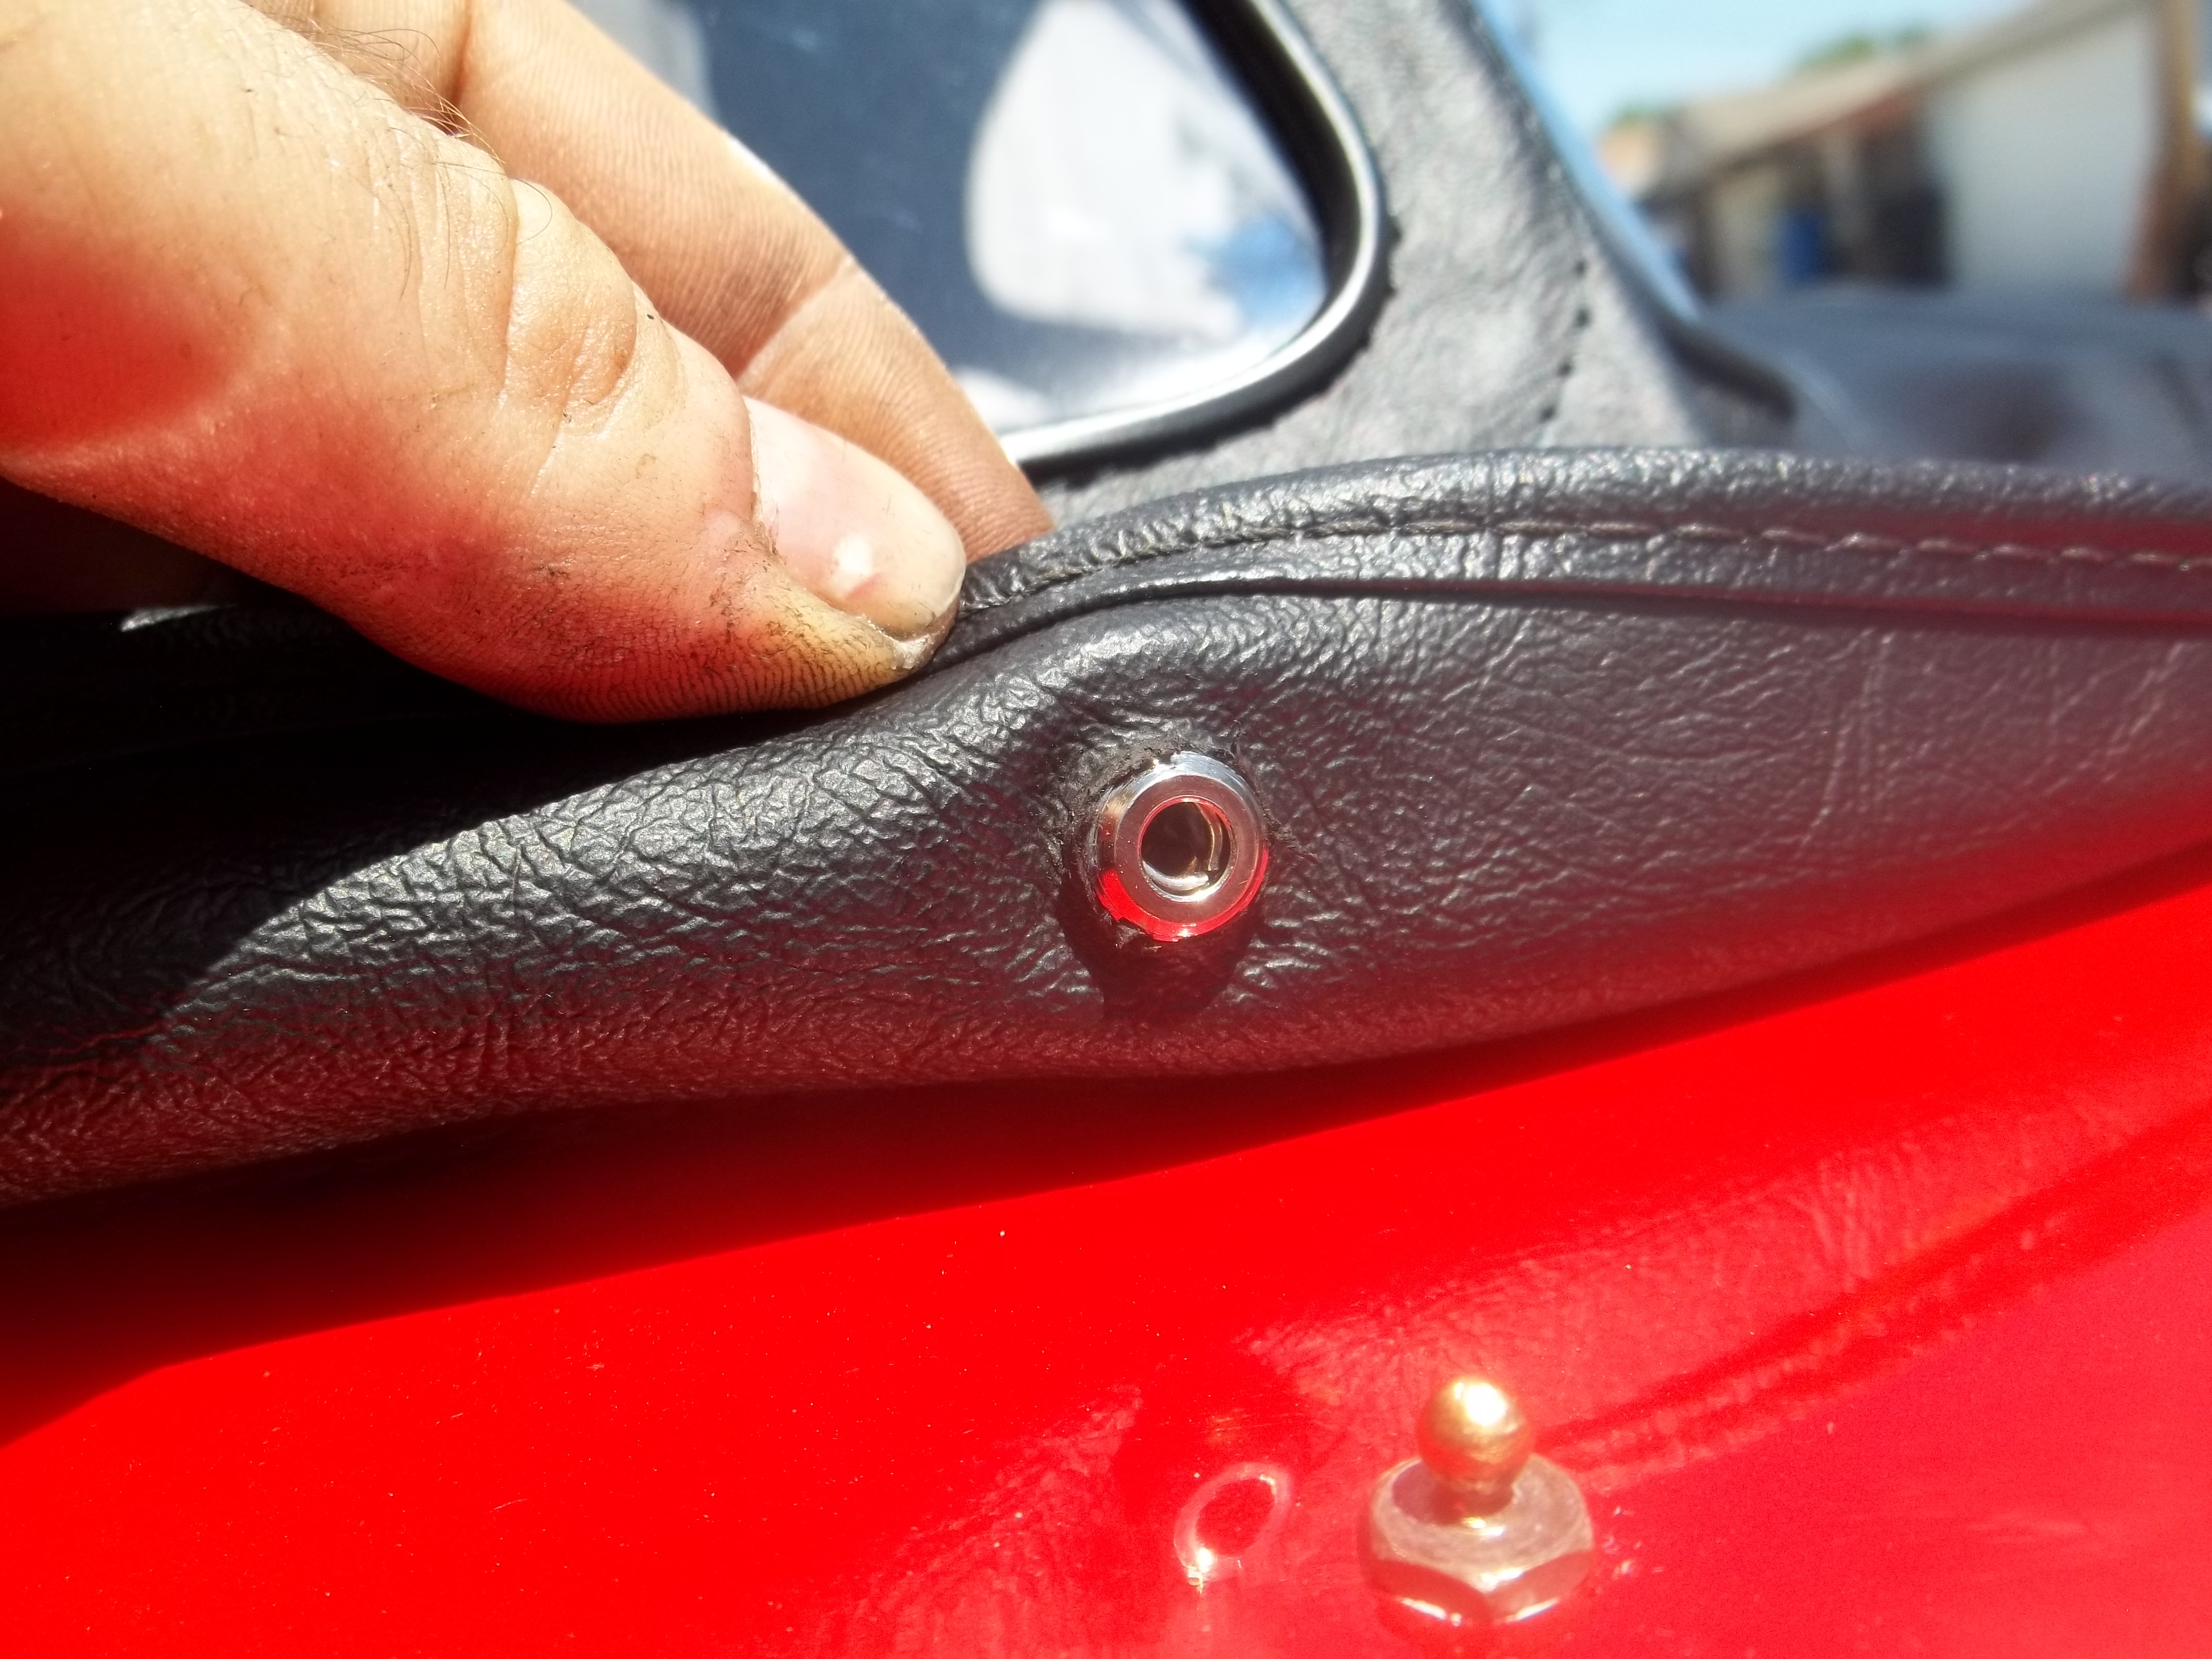 |
|---|
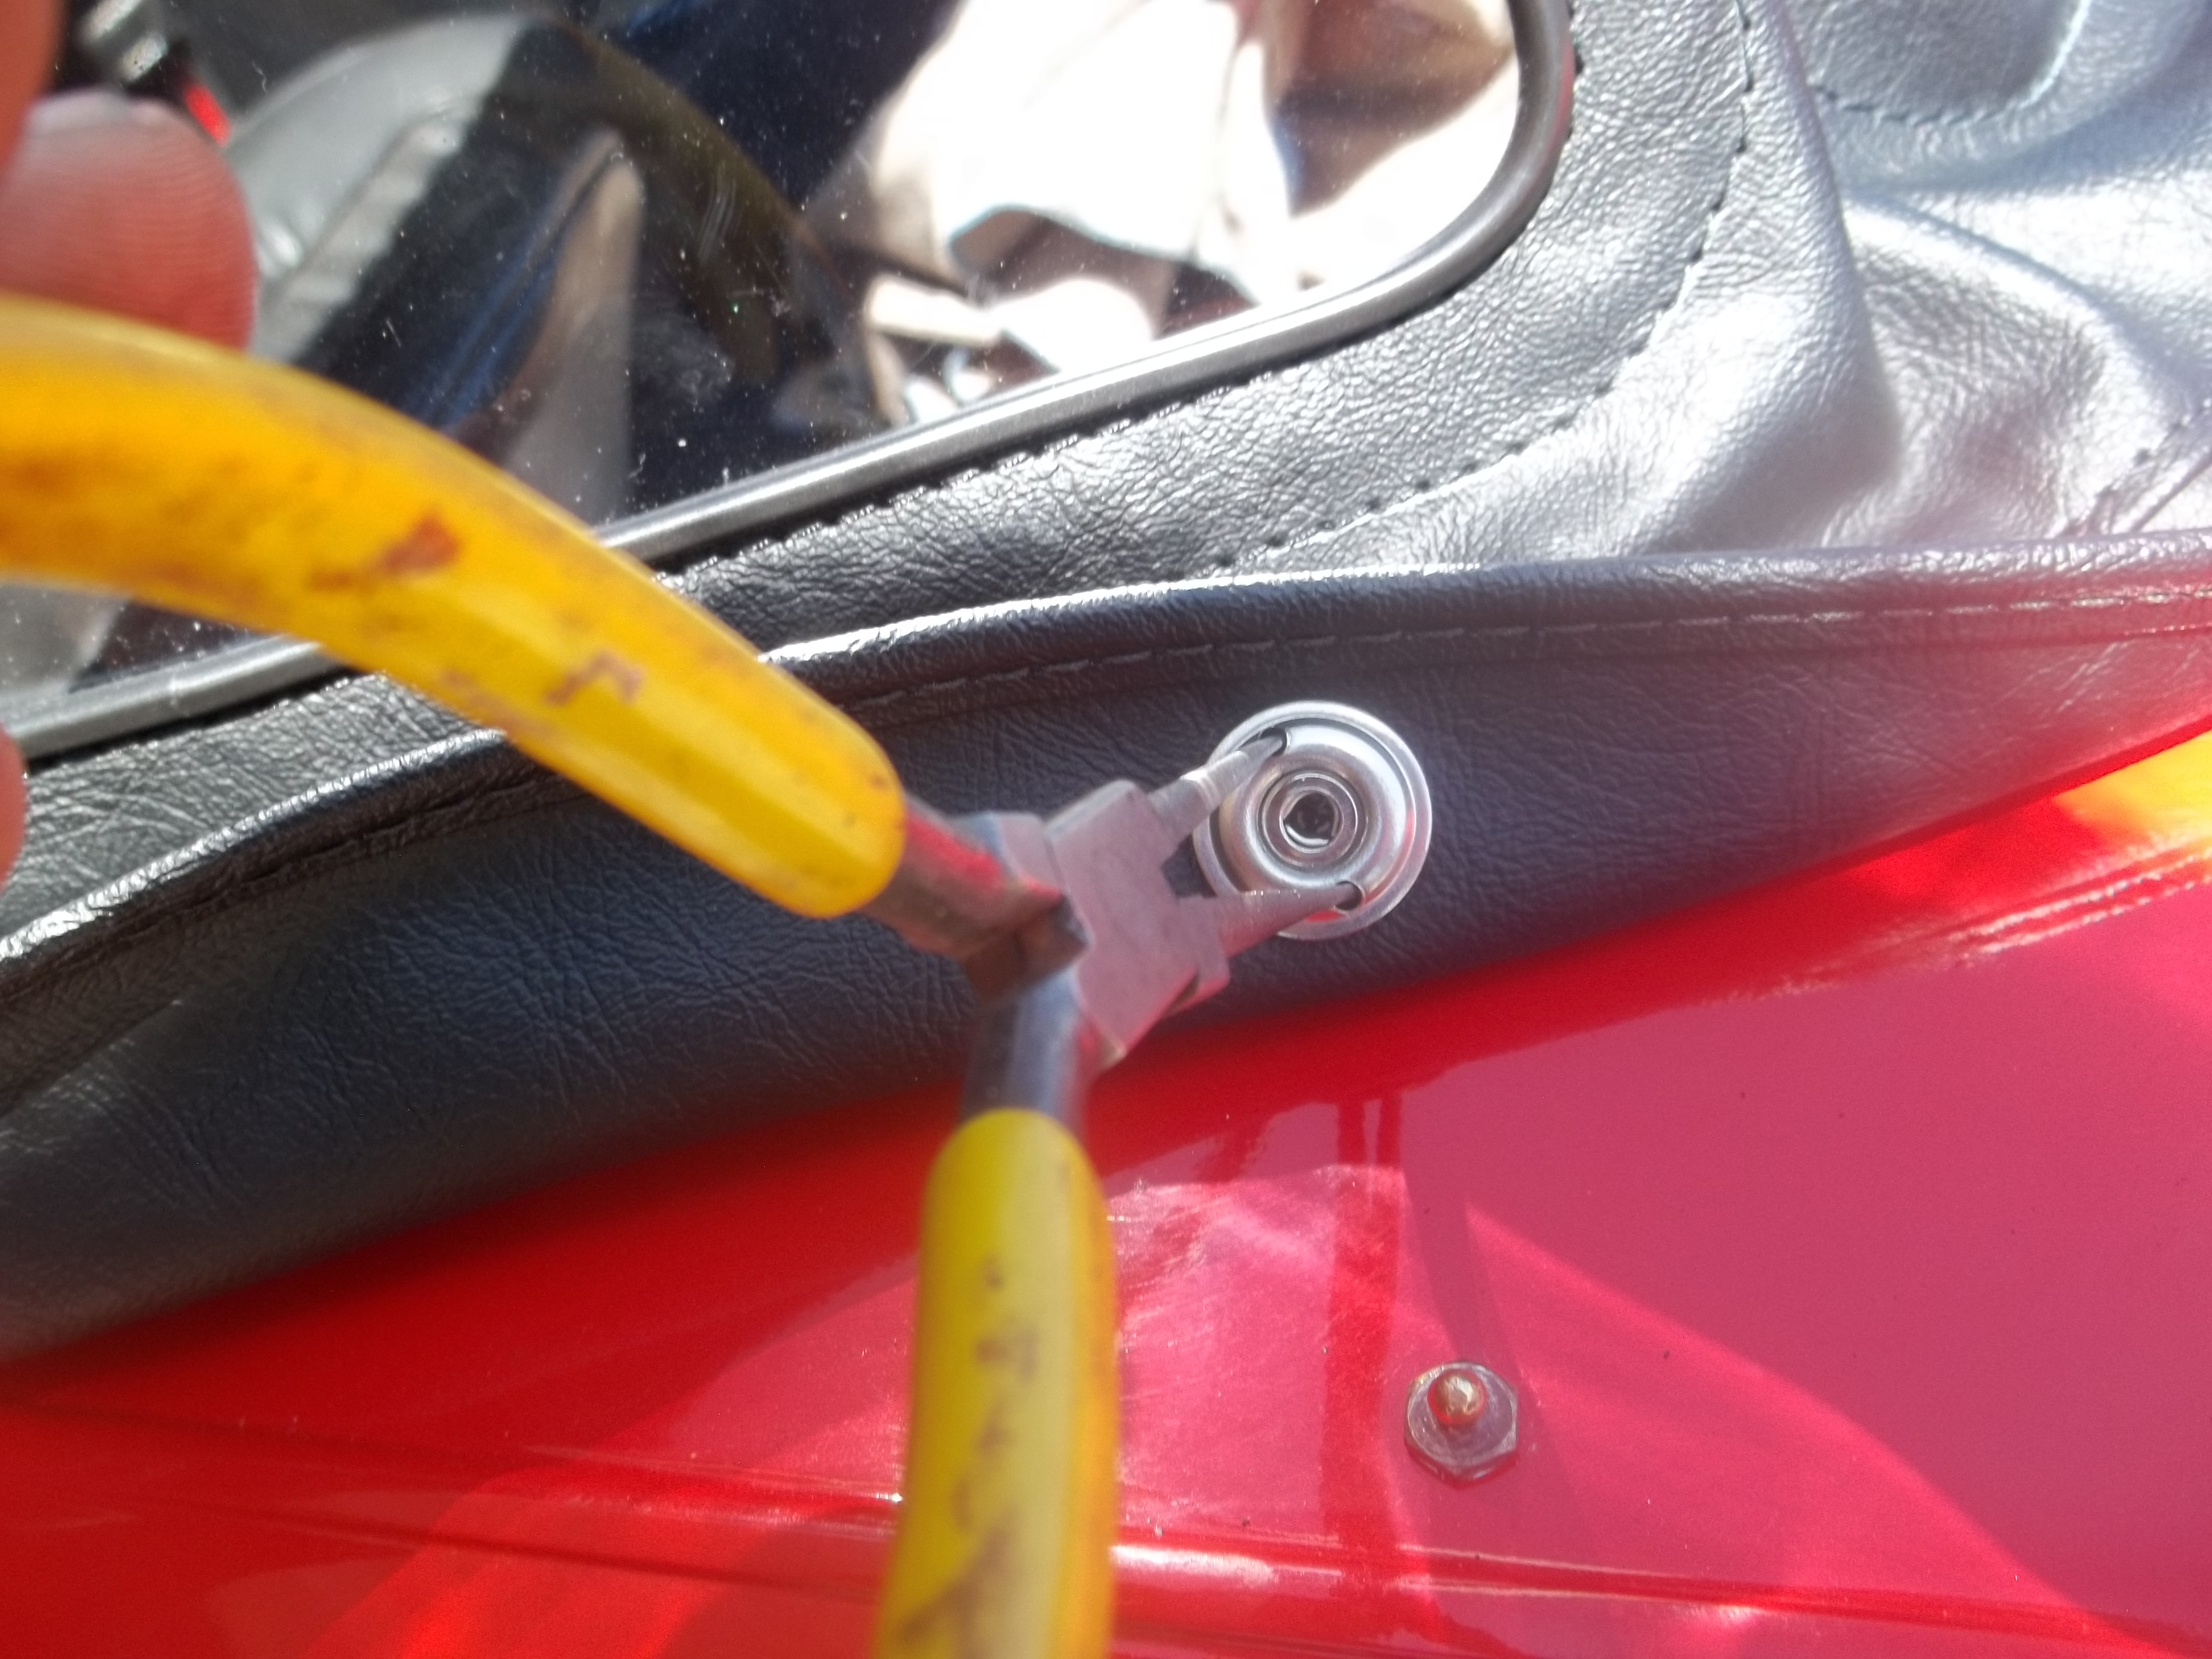
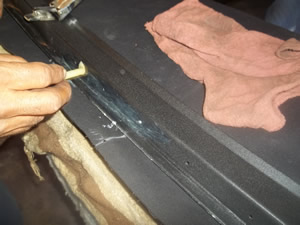
Now prepare the header rail. Paint it however you want. We used a black crackle paint to match the dash. Note that there are an odd number of rivet holes in the rail and the retainer bar. This means that there is a center rivet hole. Make note of the center hole and count how many holes in it is from each side. Lay the new top down on a large table so the inside faces up. Coat the top of the header rail with some contact cement, then lay the rail down on top of the new top so that the chalk line marking where the top folds over he rail lines up with the front edge of the header rail, AND line up the center rivet hole with the center mark you made on the front of the top.. Apply more contact cement to the underside of the front edge of the header rail.
 |
 |
|---|
Next stretch the top over the front edge of the rail and press the retainer bar over the fabric. Line everything up with your marks and then take an awl and poke a little hole in the fabric where the center rivet goes. Install the first pop rivet in this hole to hold the retainer bar and top to the header rail. It helps if you find a small nut or some sort of spacer to put between the rivet and the gun because otherwise the gun may not reach all the way into the retainer bar. Check to make sure that the fabric is lined up at the next hole to the left and repeat the process. Just work your way out from the center and check to make sure the line is right there eon the front edge of the header rail as you go. Make note of how the last rivets on the ends and the fabric are supposed to go together in the picture below.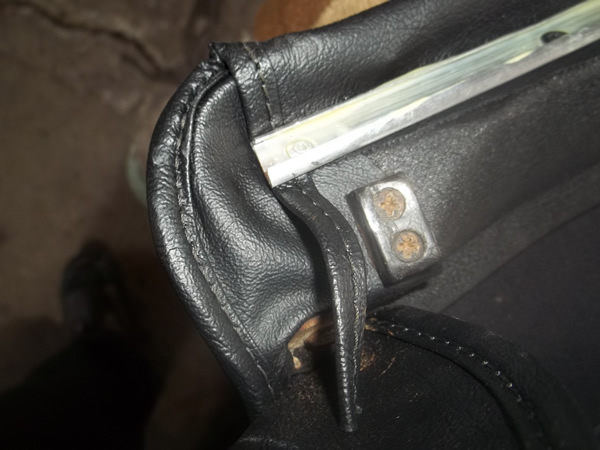
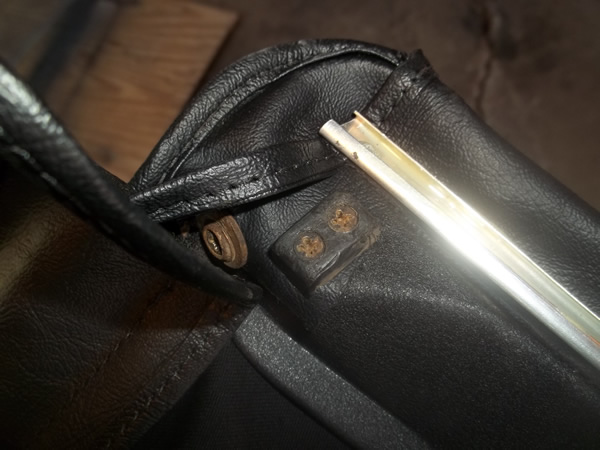
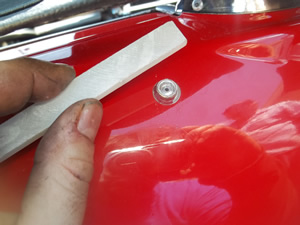
Install the last rivets, snaps, and the spacer blocks, then work out any bubbles along the leading edge with a wooden dowel or some other no mar plastic trim tool.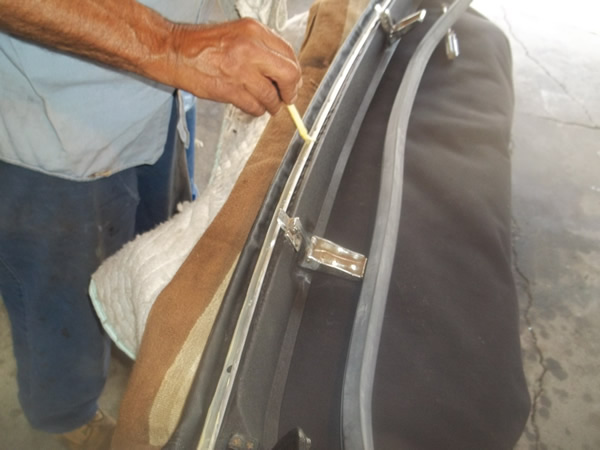
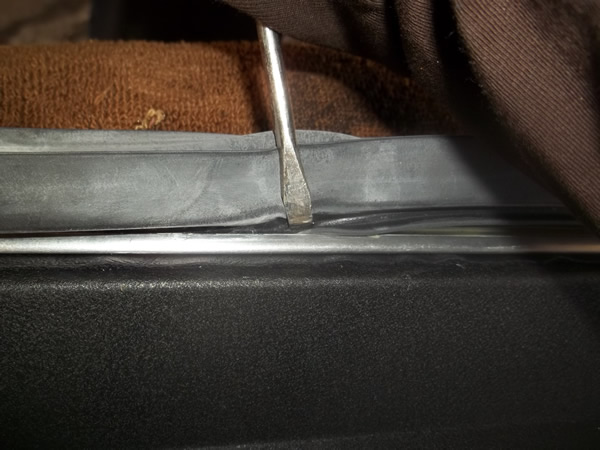
Now its time to install the rubber seal on the retainer bar. Apply a liberal amount of contact cement to the inside of the aluminum retainer bar and work the seal in very carefully using a screwdriver or trim tool.
Now you're almost done. Install the top on the car and check fitment. If your top came with all the fasteners installed, you're done. Ours didn't have the snaps installed. At this point we marked the location of the snaps and installed the snaps. To mark the location, we coated the snap on the car with chalk, stretched the top tight and pressed it against the chalk covered snaps.
Also note how the turnbuckle hole is placed. On our top the flap those goes in was stitched to the rest of the top. It needs to pull free like on the old top. We had to cut some of the stitching back so that we could get it to fit right.
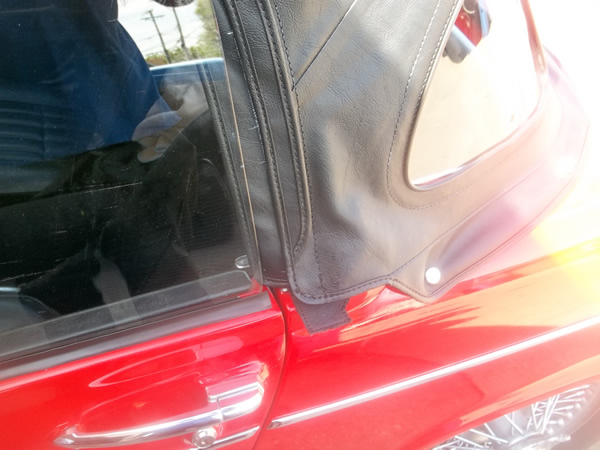
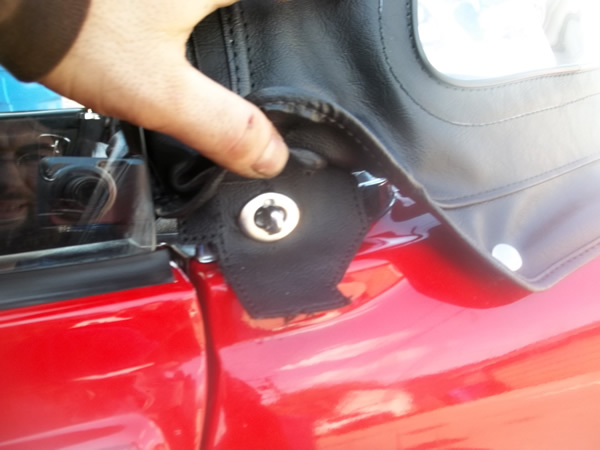
On the back of the turnbuckle piece is a plate. There are some tabs on the outer piece that push through the fabric and bend around the plate. Mark the location with chalk just like with the snaps, then cut a hole using the turn buckle plate as a template. Use a awl to punch four small holes for the tabs, press the inner plate and outer piece together and bend the tabs over to lock it in place. Once that's done, put the top on and admire your handiwork. Hope it all works out for you as well as it did for us.
-Seth